5. E-axis assembly
Original Prusa i3 MK3S+ kit assembly
69
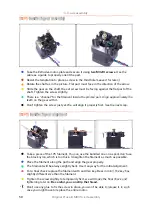
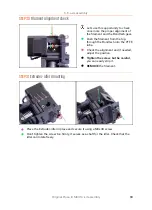
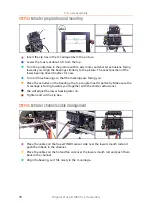
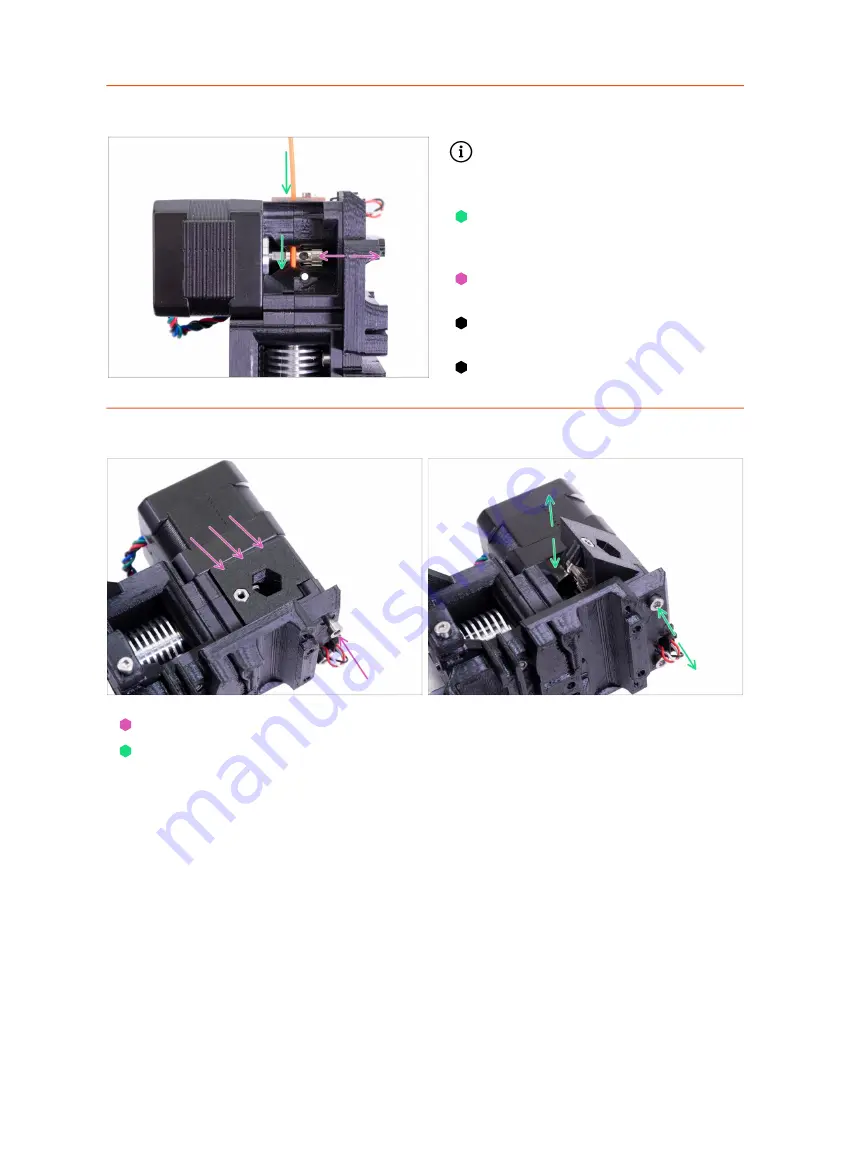
STEP 30
Filament alignment check
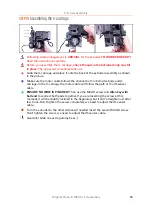
Let's use this opportunity to check
once more the proper alignment of
the filament and the Bondtech gear.
Push the filament from the top,
through the Bondtech into the PTFE
tube.
Check the alignment and if needed,
adjust the position.
Tighten the screw, but be careful
,
you can easily strip it.
REMOVE
the filament.
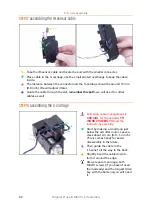
STEP 31
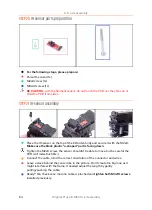
Extruder-idler mounting
Place the Extruder-idler in place and secure it using a M3x40 screw.
Don't tighten the screw too firmly, it serves as a shaft for the idler. Check that the
idler can rotate freely.
Summary of Contents for i3 MK3S+
Page 6: ...6 ...
Page 7: ...Original Prusa i3 MK3S kit assembly 7 1 Introduction ...
Page 15: ...Original Prusa i3 MK3S kit assembly 15 2 Y axis assembly ...
Page 36: ...36 Original Prusa i3 MK3S kit assembly 3 X axis assembly ...
Page 44: ...44 Original Prusa i3 MK3S kit assembly 4 Z axis assembly ...
Page 51: ...Original Prusa i3 MK3S kit assembly 51 5 E axis assembly ...
Page 88: ...88 Original Prusa i3 MK3S kit assembly 6 LCD assembly ...
Page 94: ...94 Original Prusa i3 MK3S kit assembly 7 Heatbed PSU assembly ...
Page 108: ...108 Original Prusa i3 MK3S kit assembly 8 Electronics assembly ...
Page 132: ...132 Original Prusa i3 MK3S kit assembly 9 Preflight check ...
Page 137: ...137 Notes ...
Page 138: ...138 ...
Page 139: ...139 Notes ...
Page 140: ...140 ...
Page 141: ...141 Notes ...
Page 142: ...142 ...
Page 143: ...143 Notes ...
Page 144: ...144 ...


