3. X-axis assembly
Original Prusa i3 MK3S+ kit assembly
41
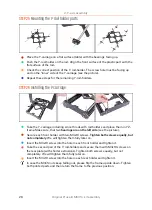
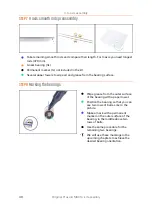
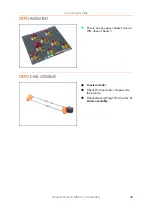
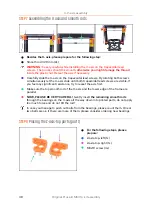
STEP 9
X-axis: assembly
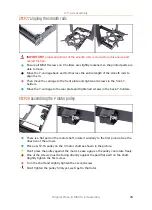
NOW, PLEASE BE VERY CAREFUL!
Gently insert the rod straight into the
bearings, do not apply too much force and do not tilt the rod!
In case you manage to push out balls from the bearings, please count them. One or
two balls are ok, if there are more of them, please consider ordering new bearings.
Insert the rods with bearings fully into the printed parts.
Insert the rods very carefully. Do not tilt the rods too much.
Ensure the correct orientation of the parts and rods.
There is a special opening in the top/bottom of both X-ends. Check if you pressed
the smooth rod all the way in.
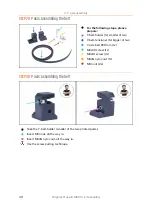
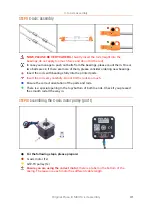
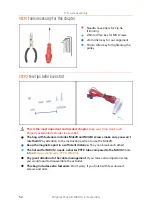
STEP 10
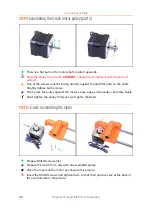
Assembling the X-axis motor pulley (part 1)
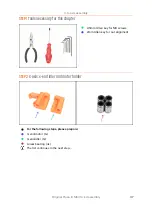
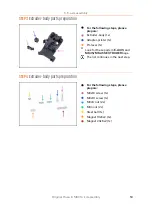
For the following steps, please prepare:
X-axis motor (1x)
GT2-16 pulley (1x)
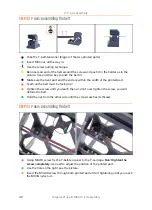
Ensure you are using the correct motor
, there is a label on the bottom of the
casing. The reason is, each motor has different cable length.
Summary of Contents for i3 MK3S+
Page 6: ...6 ...
Page 7: ...Original Prusa i3 MK3S kit assembly 7 1 Introduction ...
Page 15: ...Original Prusa i3 MK3S kit assembly 15 2 Y axis assembly ...
Page 36: ...36 Original Prusa i3 MK3S kit assembly 3 X axis assembly ...
Page 44: ...44 Original Prusa i3 MK3S kit assembly 4 Z axis assembly ...
Page 51: ...Original Prusa i3 MK3S kit assembly 51 5 E axis assembly ...
Page 88: ...88 Original Prusa i3 MK3S kit assembly 6 LCD assembly ...
Page 94: ...94 Original Prusa i3 MK3S kit assembly 7 Heatbed PSU assembly ...
Page 108: ...108 Original Prusa i3 MK3S kit assembly 8 Electronics assembly ...
Page 132: ...132 Original Prusa i3 MK3S kit assembly 9 Preflight check ...
Page 137: ...137 Notes ...
Page 138: ...138 ...
Page 139: ...139 Notes ...
Page 140: ...140 ...
Page 141: ...141 Notes ...
Page 142: ...142 ...
Page 143: ...143 Notes ...
Page 144: ...144 ...


