7. Heatbed & PSU assembly
Original Prusa i3 MK3S+ kit assembly
97
STEP 5
Preparing the heatbed
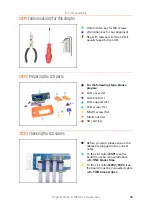
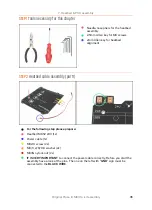
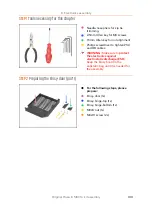
For the following steps, please
prepare:
Heatbed MK52 (1x)
Textile sleeve 5 x 300 mm (1x)
M3nN nyloc nut (1x)
M3n nut (2x)
M3x10 screw (3x)
Heatbed-cable-cover-clip (1x)
Heatbed-cable-cover (1x)
STEP 6
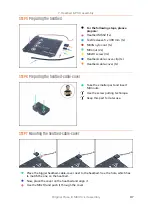
Preparing the heatbed-cable-cover
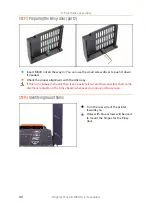
Take the smaller part and insert
M3n nuts.
Use the screw pulling technique.
Keep this part for later use.
STEP 7
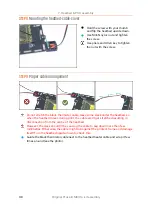
Mounting the heatbed-cable-cover
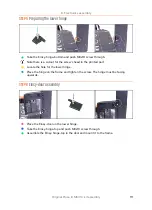
Place the bigger heatbed-cable-cover next to the heatbed. See the hole, which has
to match the one on the heatbed.
Now, place the cover on the heatbed and align it.
Use the M3x10 and push it through the cover.
Summary of Contents for i3 MK3S+
Page 6: ...6 ...
Page 7: ...Original Prusa i3 MK3S kit assembly 7 1 Introduction ...
Page 15: ...Original Prusa i3 MK3S kit assembly 15 2 Y axis assembly ...
Page 36: ...36 Original Prusa i3 MK3S kit assembly 3 X axis assembly ...
Page 44: ...44 Original Prusa i3 MK3S kit assembly 4 Z axis assembly ...
Page 51: ...Original Prusa i3 MK3S kit assembly 51 5 E axis assembly ...
Page 88: ...88 Original Prusa i3 MK3S kit assembly 6 LCD assembly ...
Page 94: ...94 Original Prusa i3 MK3S kit assembly 7 Heatbed PSU assembly ...
Page 108: ...108 Original Prusa i3 MK3S kit assembly 8 Electronics assembly ...
Page 132: ...132 Original Prusa i3 MK3S kit assembly 9 Preflight check ...
Page 137: ...137 Notes ...
Page 138: ...138 ...
Page 139: ...139 Notes ...
Page 140: ...140 ...
Page 141: ...141 Notes ...
Page 142: ...142 ...
Page 143: ...143 Notes ...
Page 144: ...144 ...

