5. E-axis assembly
68
Original Prusa i3 MK3S+ kit assembly
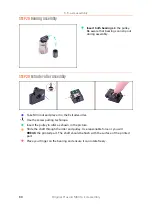
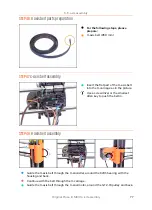
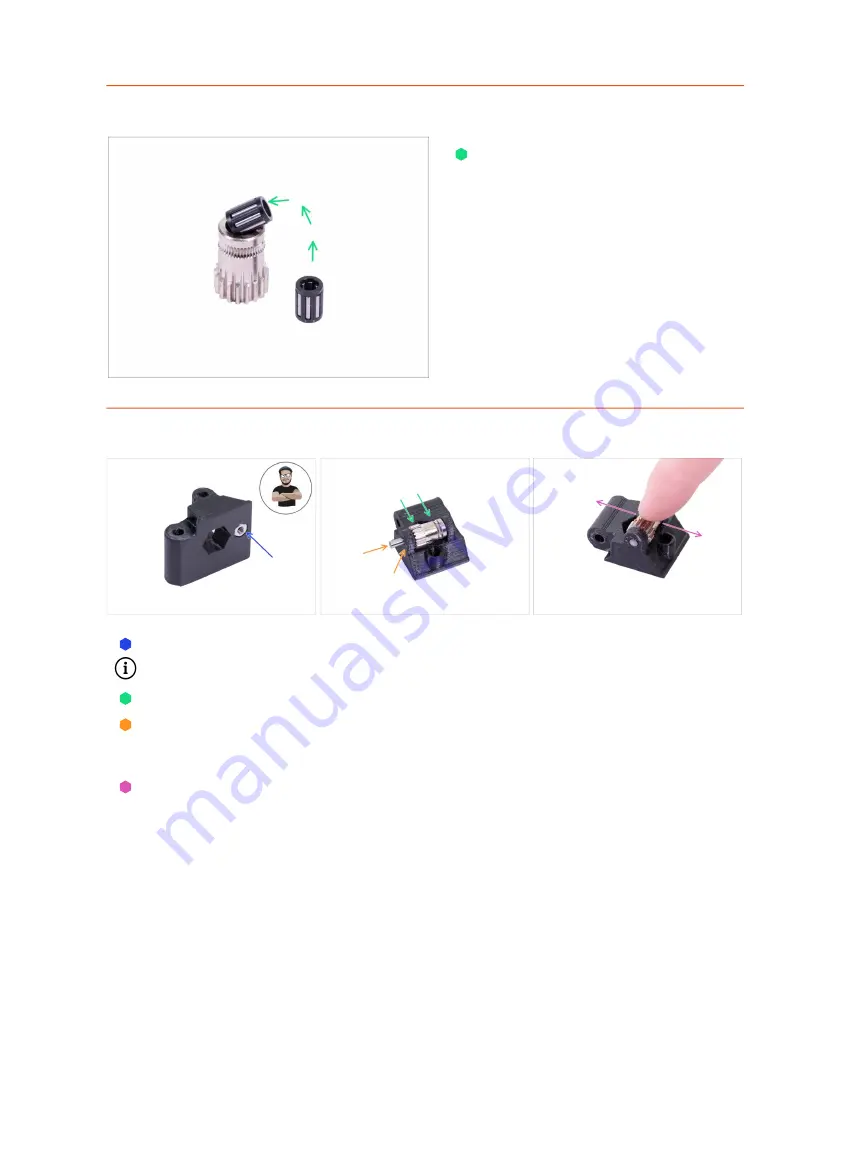
STEP 28
Bearing assembly
Insert both bearings
in the pulley.
Be aware that bearings can slip out
during assembly.
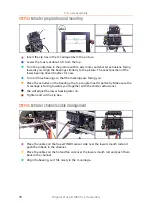
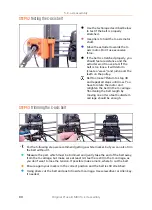
STEP 29
Extruder-idler assembly
Take M3n nut and place it in the Extruder-idler.
Use the screw pulling technique.
Insert the pulley in idler as shown in the picture.
Slide the shaft through the idler and pulley. Use reasonable force or you will
BREAK
the printed part. The shaft should be flush with the surface of the printed
part.
Place your finger on the bearing and ensure it can rotate freely.
Summary of Contents for i3 MK3S+
Page 6: ...6 ...
Page 7: ...Original Prusa i3 MK3S kit assembly 7 1 Introduction ...
Page 15: ...Original Prusa i3 MK3S kit assembly 15 2 Y axis assembly ...
Page 36: ...36 Original Prusa i3 MK3S kit assembly 3 X axis assembly ...
Page 44: ...44 Original Prusa i3 MK3S kit assembly 4 Z axis assembly ...
Page 51: ...Original Prusa i3 MK3S kit assembly 51 5 E axis assembly ...
Page 88: ...88 Original Prusa i3 MK3S kit assembly 6 LCD assembly ...
Page 94: ...94 Original Prusa i3 MK3S kit assembly 7 Heatbed PSU assembly ...
Page 108: ...108 Original Prusa i3 MK3S kit assembly 8 Electronics assembly ...
Page 132: ...132 Original Prusa i3 MK3S kit assembly 9 Preflight check ...
Page 137: ...137 Notes ...
Page 138: ...138 ...
Page 139: ...139 Notes ...
Page 140: ...140 ...
Page 141: ...141 Notes ...
Page 142: ...142 ...
Page 143: ...143 Notes ...
Page 144: ...144 ...


