5. E-axis assembly
82
Original Prusa i3 MK3S+ kit assembly
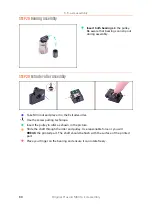
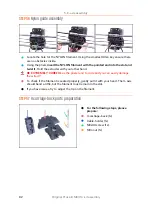
STEP 56
Nylon guide assembly
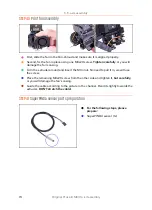
Locate the hole for the NYLON filament. Using the smallest Allen key ensure there
are no obstacles inside.
Using the pliers
insert the NYLON filament with the pointed end into the slot and
twist it
. Hold the extruder with your other hand.
BE EXTREMELY CAREFUL
as the pliers tend to slide and you can easily damage
the wires!!!
To check if the filament is seated properly, gently pull it with your hand. The X-axis
should bend a little, but the filament must remain in the slot.
If you have issues, try to adjust the tip on the filament.
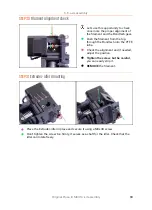
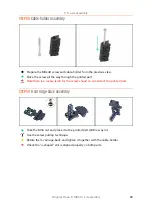
STEP 57
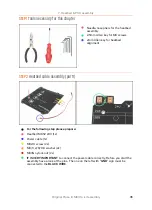
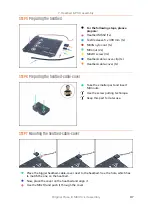
X-carriage-back parts preparation
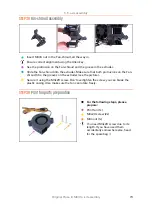
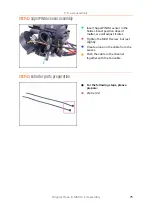
For the following steps, please
prepare:
X-carriage-back (1x)
Cable-holder (1x)
M3x40 screw (1x)
M3n nut (1x)
Summary of Contents for i3 MK3S+
Page 6: ...6 ...
Page 7: ...Original Prusa i3 MK3S kit assembly 7 1 Introduction ...
Page 15: ...Original Prusa i3 MK3S kit assembly 15 2 Y axis assembly ...
Page 36: ...36 Original Prusa i3 MK3S kit assembly 3 X axis assembly ...
Page 44: ...44 Original Prusa i3 MK3S kit assembly 4 Z axis assembly ...
Page 51: ...Original Prusa i3 MK3S kit assembly 51 5 E axis assembly ...
Page 88: ...88 Original Prusa i3 MK3S kit assembly 6 LCD assembly ...
Page 94: ...94 Original Prusa i3 MK3S kit assembly 7 Heatbed PSU assembly ...
Page 108: ...108 Original Prusa i3 MK3S kit assembly 8 Electronics assembly ...
Page 132: ...132 Original Prusa i3 MK3S kit assembly 9 Preflight check ...
Page 137: ...137 Notes ...
Page 138: ...138 ...
Page 139: ...139 Notes ...
Page 140: ...140 ...
Page 141: ...141 Notes ...
Page 142: ...142 ...
Page 143: ...143 Notes ...
Page 144: ...144 ...

