7. Heatbed & PSU assembly
100
Original Prusa i3 MK3S+ kit assembly
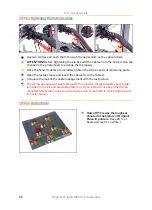
STEP 12
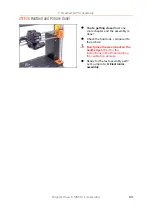
Finalizing the wrap
Now, finish wrapping the cable into
the textile sleeve.
When done, slightly twist the sleeve
(not the cables inside). The sleeve
will evenly wrap all around the
cable bundle.
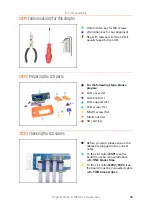
STEP 13
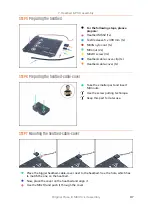
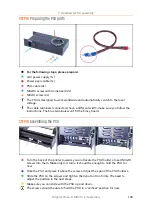
Preparing the heatbed screws and spacers
For the following steps, please
prepare:
M3x12b screw (9x)
6x6x3t spacer (9x)
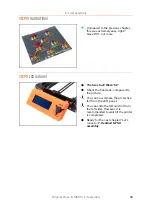
STEP 14
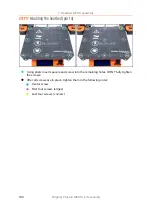
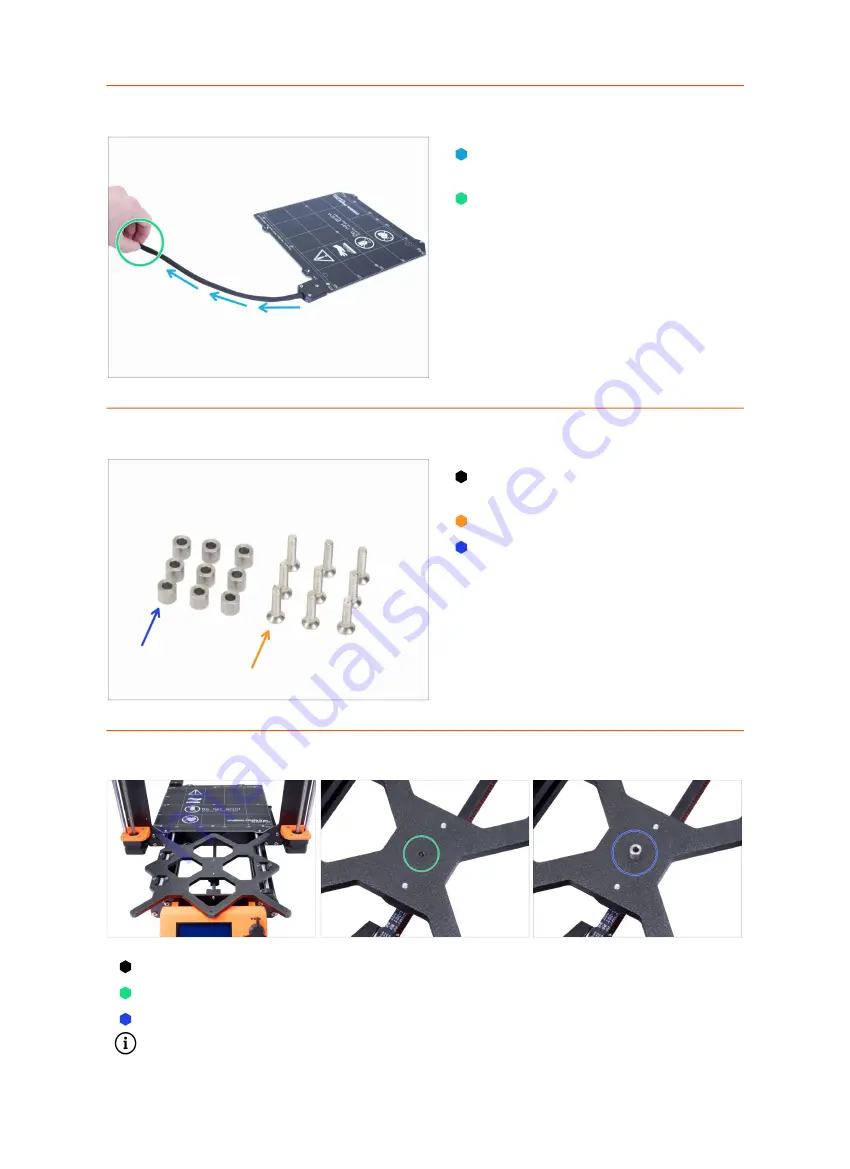
Mounting the heatbed (part 1)
Push the Y-carriage to the front and place the Heatbed behind.
Locate a hole in the centre of the Y-carriage.
Place one spacer on the top of the hole.
The exact position of the spacer will be adjusted in the next step.
Summary of Contents for i3 MK3S+
Page 6: ...6 ...
Page 7: ...Original Prusa i3 MK3S kit assembly 7 1 Introduction ...
Page 15: ...Original Prusa i3 MK3S kit assembly 15 2 Y axis assembly ...
Page 36: ...36 Original Prusa i3 MK3S kit assembly 3 X axis assembly ...
Page 44: ...44 Original Prusa i3 MK3S kit assembly 4 Z axis assembly ...
Page 51: ...Original Prusa i3 MK3S kit assembly 51 5 E axis assembly ...
Page 88: ...88 Original Prusa i3 MK3S kit assembly 6 LCD assembly ...
Page 94: ...94 Original Prusa i3 MK3S kit assembly 7 Heatbed PSU assembly ...
Page 108: ...108 Original Prusa i3 MK3S kit assembly 8 Electronics assembly ...
Page 132: ...132 Original Prusa i3 MK3S kit assembly 9 Preflight check ...
Page 137: ...137 Notes ...
Page 138: ...138 ...
Page 139: ...139 Notes ...
Page 140: ...140 ...
Page 141: ...141 Notes ...
Page 142: ...142 ...
Page 143: ...143 Notes ...
Page 144: ...144 ...

