7. Heatbed & PSU assembly
Original Prusa i3 MK3S+ kit assembly
105
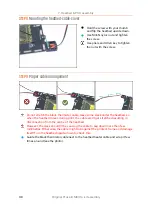
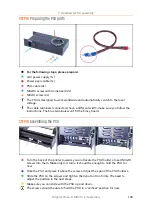
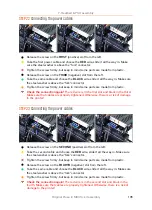
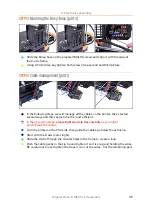
STEP 22
Connecting the power cables
Release the screw on the
FIRST
(positive) slot from the left.
Take the first power cable and choose the
RED
wire, slide it all the way in. Make
sure the steel washer is above the "fork" connector.
Tighten the screw firmly, but keep in mind some parts are made from plastic.
Release the screw on the
THIRD
(negative) slot from the left.
Take the same cable and choose the
BLACK
wire, slide it all the way in. Make sure
the steel washer is above the "fork" connector.
Tighten the screw firmly, but keep in mind some parts are made from plastic.
Check the connection again!
The red wire is in the first slot and black in the third.
Make sure that cables are properly tightened. Otherwise, there is a risk of damage
to the printer!
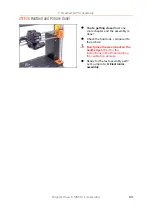
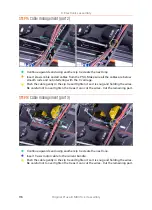
STEP 23
Connecting the power cables
Release the screw on the
SECOND
(positive) slot from the left.
Take the second cable and choose the
RED
wire, slide it all the way in. Make sure
the steel washer is above the "fork" connector.
Tighten the screw firmly, but keep in mind some parts are made from plastic.
Release the screw on the
FOURTH
(negative) slot from the left.
Take the same cable and choose the
BLACK
wire, slide it all the way in. Make sure
the steel washer is above the "fork" connector.
Tighten the screw firmly, but keep in mind some parts are made from plastic.
Check the connection again!
The red wire is in the second slot and black in the
fourth. Make sure that cables are properly tightened. Otherwise, there is a risk of
damage to the printer!
Summary of Contents for i3 MK3S+
Page 6: ...6 ...
Page 7: ...Original Prusa i3 MK3S kit assembly 7 1 Introduction ...
Page 15: ...Original Prusa i3 MK3S kit assembly 15 2 Y axis assembly ...
Page 36: ...36 Original Prusa i3 MK3S kit assembly 3 X axis assembly ...
Page 44: ...44 Original Prusa i3 MK3S kit assembly 4 Z axis assembly ...
Page 51: ...Original Prusa i3 MK3S kit assembly 51 5 E axis assembly ...
Page 88: ...88 Original Prusa i3 MK3S kit assembly 6 LCD assembly ...
Page 94: ...94 Original Prusa i3 MK3S kit assembly 7 Heatbed PSU assembly ...
Page 108: ...108 Original Prusa i3 MK3S kit assembly 8 Electronics assembly ...
Page 132: ...132 Original Prusa i3 MK3S kit assembly 9 Preflight check ...
Page 137: ...137 Notes ...
Page 138: ...138 ...
Page 139: ...139 Notes ...
Page 140: ...140 ...
Page 141: ...141 Notes ...
Page 142: ...142 ...
Page 143: ...143 Notes ...
Page 144: ...144 ...


