ULN-8 Quick Start Guide
31
3. The
section, including “Selected Strips”, is at the bottom. With “Selected Strips”
checked, shift- or command-click to select a few random faders in the mixer. You now have an
“Selected Strips” link group of just those selected faders.
With the “Rel” (as in “Relative”) setting selected, it behaves just as one would expect - move one
fader and the rest follow.
Now click “Rel” and select “Inv” (for “Inverse”). In this mode moving one fader causes the other
faders in the group to move in the opposite direction.
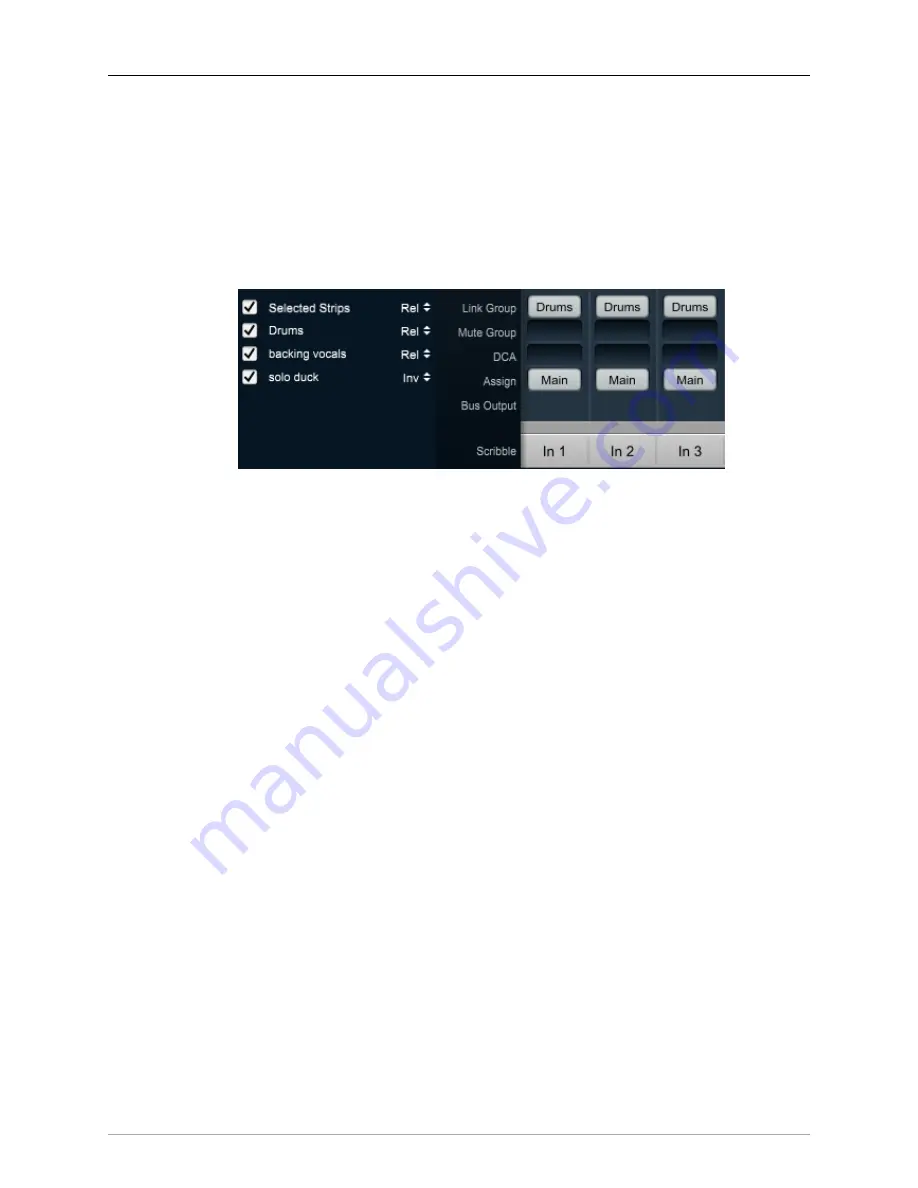
Figure 1.5: Link Groups example
Any Link Groups you create will be listed below “Selected Strips” in this section and can be assigned
using the Link Groups selectors in each mixer strip (as illustrated in the example above). Saved Link
Groups have additional operational modes, which will be detailed in the dedicated Link Groups
section of the manual.
The visibility of the System Status and Link Groups section of the 3d Console
interface can be toggled with the “ [ ” key (or the “Mixer > Show System Status Pane” menu
command).
4. To the right of the System Status Pane is the primary default Mixer window.
There are three “Mix Panes” available to help organize your mixer. Each Mix Pane can show any
combination of Input strips, Bus strips (Main, Aux and Group) or DCA strips. Mixer strip layouts (i.e.:
which mix desk strip controls are shown) are configured independently for each Mixer Pane, and
are controlled from the “hamburger menu” icon in the upper left corner of each Mix Pane. This lets
you set up the strips in one Mix Pane for tracking and the same channel strips in another pane for
mixing. Additionally, each Mix Pane has it's own independent scroll bar.
In the default view, only Mix Pane 1 is set up and visible - Mix Panes 2 and 3 are currently unconfig-
ured and are accessible by the two “Hamburger Menus” at the far top right of the Mixer window.
Click on the Mix Pane 1 hamburger menu and uncheck “Show Input Strips” - that hides the Input
strips in Mix Pane 1. Now bring them back, and select “Configure Channel Strip Elements...”. This
sub-window let’s you show or hide any of the control elements for the strips within that Mix Pane.
Click on the Show/Hide box for each of the Strip elements so you can see what happens. This feature
allows you optimize your Mixer layout for whatever workflow you may require.


