MIOConsole3d Session
340
Record Trigger modes
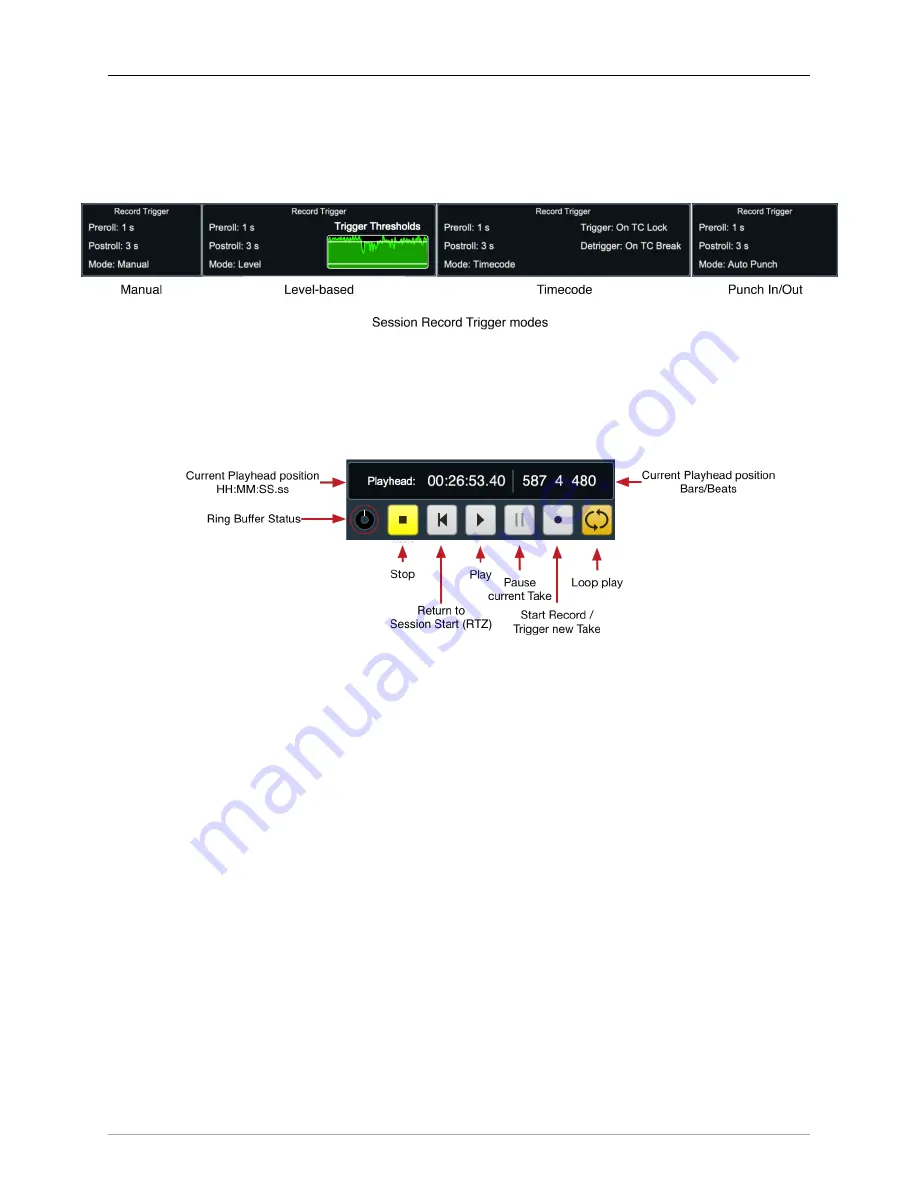
You can select your record trigger mode from the Record Trigger control block in the hamburger menu
or by selecting “Manual”, “Level”, “Timecode“ or “Auto Punch”. The Record Trigger control UI morphs
to reflect each recording trigger mode, as shown below.
Figure 12.33: Session Transport Controls: Record Trigger modes
•
Manual Trigger Mode:
This is the most basic recording trigger mode, In Manual mode, you hit the ‘Record’ button to start
recording, and the ‘Stop’ button to stop recording.
Figure 12.34: Session Transport: Manual trigger mode
The ‘Stop’ button will remain yellow (indicating ‘Standby’) until you hit the ‘Record’ button.
Manual Record Start:
Hitting ‘Record’ immediately starts recording your new Take. The ‘Stop’ button
will turn white, the “Record” button red, and the Preroll buffer will write its data to the beginning of
the new audio files, capturing the audio which occurred just before you hit ‘Record’ into the current
Take.
Record Pause:
While recording, you can hit ‘Pause’ to temporarily suspend recording while remaining
within the current Take. When you click ‘Pause’ the Pause button turns blue, waveform drawing in
Overview stops and audio stops being written to your drives. The Record button will remain red,
confirming that you are still in record mode.
During Pause, the Preroll ring buffer will continue operating in the background as usual.
When you click ‘Pause’ again or ‘Record’ to resume recording, the preroll-buffer audio will be printed
to the existing Take fileset and recording will continue as usual.
Note that hitting ‘Stop’ while in Record Pause will disarm Record mode and immediately end the
Take.
Manual Break:
If you want to break up your recording on the fly and start capturing a new Take fileset
in a new Take folder, hit ‘Record’ again while record is running. This is called a “Manual Break”.
The new audio files can include an audio overlap as defined by the


