5 Scan
222
Sca
n
5
4
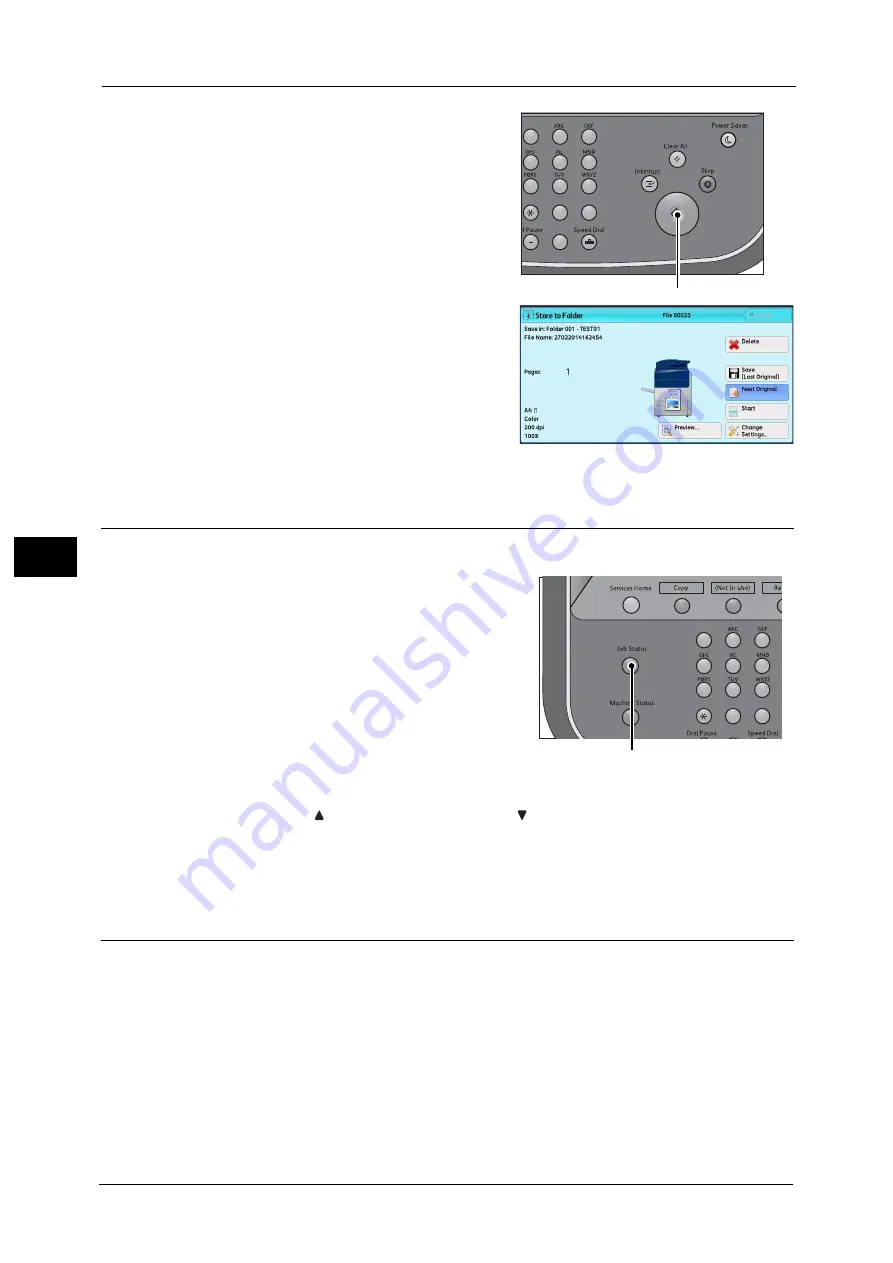
Press the <Start> button.
If you have more documents, repeat steps 3
and 4.
5
When all documents have been scanned, select
[Save (Last Original)].
Step 4 Confirming the Scan Job in Job Status
The following describes how to confirm the status of a scan job.
1
Press the <Job Status> button.
2
Confirm the job status.
Note
•
Select [
] to return to the previous screen or [
] to move to the next screen.
•
Scroll the list by drag or flick operation to switch the screen to be displayed. For information on how
to drag or flick, refer to "Touch Screen" (P.88).
•
From the drop-down menu, you can select [Scan Jobs] and display the desired job.
Step 5 Saving the Scanned Data
When you used the Store to Folder service, you can use the following methods to import the
file stored in a folder of the machine to your computer:
Import using an application
Use Network Scanner Driver.
Refer to "Importing to a TWAIN Compatible Application" (P.392).
Import using Stored File Manager 3
Use Stored File Manager 3 (Fuji Xerox application software).
Refer to "Importing Using Stored File Manager 3" (P.394).
Start
1
2
3
4
5
6
7
8
9
0
#
C
<Start> button
1
2
3
4
5
6
7
8
9
0
#
<Job Status> button
Summary of Contents for Versant 80 Press
Page 1: ...User Guide Versant 80 Press ...
Page 18: ...18 Index 1007 ...
Page 159: ...Image Quality 159 Copy 4 2 Select a button to adjust the color tone ...
Page 214: ...4 Copy 214 Copy 4 ...
Page 304: ...5 Scan 304 Scan 5 ...
Page 382: ...11 Job Status 382 Job Status 11 ...
Page 562: ...14 CentreWare Internet Services Settings 562 CentreWare Internet Services Settings 14 ...
Page 580: ...16 E mail Environment Settings 580 E mail Environment Settings 16 ...
Page 618: ...18 Encryption and Digital Signature Settings 618 Encryption and Digital Signature Settings 18 ...
Page 916: ...22 Problem Solving 916 Problem Solving 22 ...
Page 1018: ...1018 Index ...


