21 Maintenance
722
M
a
int
e
na
nc
e
21
13
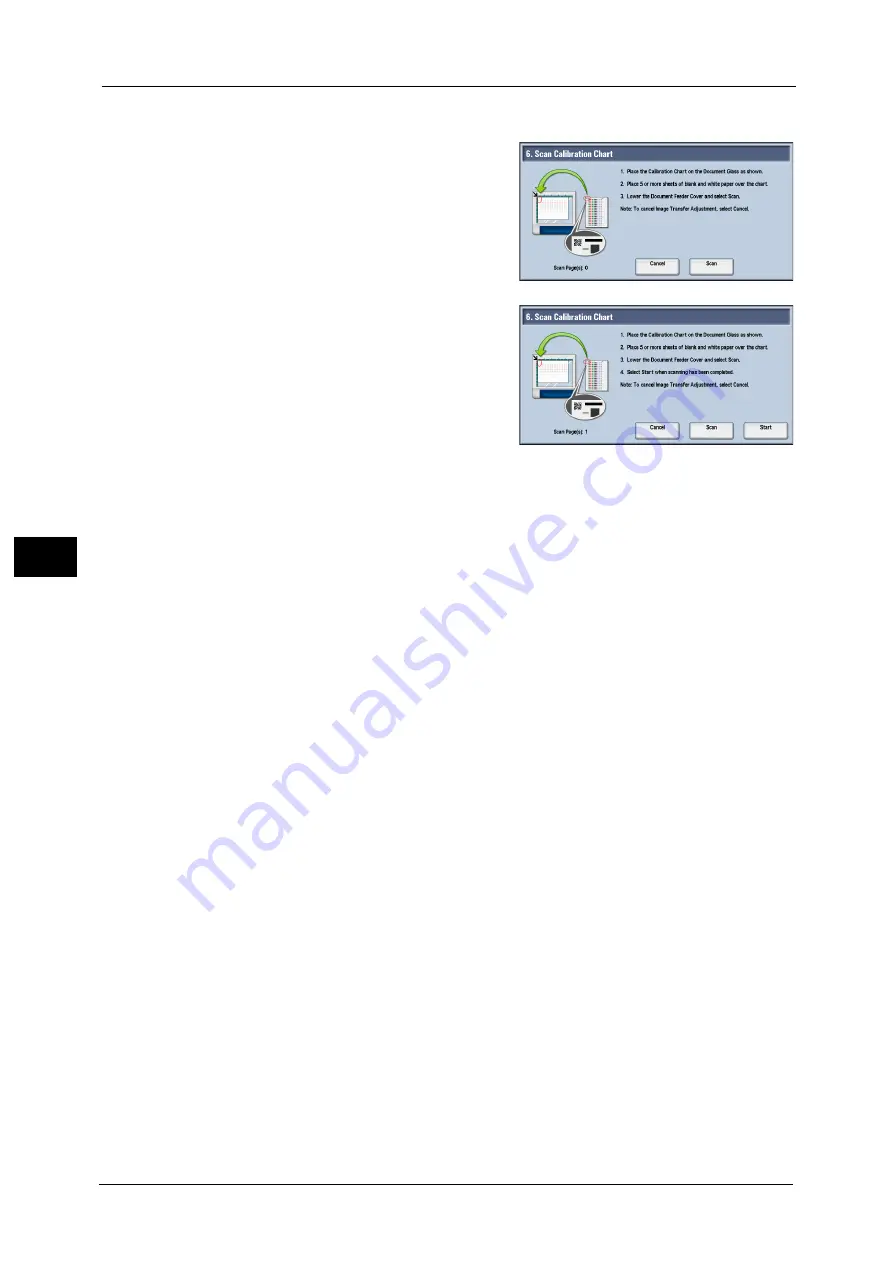
Select [Scan Sample].
14
Place the sample printout with the print side
facing down so that its QR code is aligned to
the back left corner of the document glass.
15
Place five or more blank sheets with the same
size as for the sample printout on the sample
printout, close the document cover, and select
[Start].
After scanning has been completed, remove the
sample printout and blank sheets.
Scanning a sample printout printed both sides,
you perform step 14 and 15 to the side 1 and
the side 2 of the sample printout.
Note
•
Based on the contents and the number of sample printouts, it decides how many times you need to
scan.
- When the sample printout is printed on one page of one side, once.
- When the sample printout is printed on one page of both sides, twice.
- When the sample printout is printed on two pages of one side, twice.
- When the sample printout is printed on one page of both sides, 4 times.
•
[Start] is displayed on the screen, a sample printout scanned once. Select it after scanning sample
printouts as many times as necessary.
•
If you select [Start] although needing to scan more times, the job completes with error in the next
step.
•
You can scan a sample printout at most four times regardless of the contents. If you scan it more
than the times you are required, it adjusts image transfer by the scan data as many times as
necessary the data scanned later is takes priority.
•
If you scan the sample printout scanned twice and more times, scan successively the sample
printout set output by [Sample Printout]. If you scan a sample printout with another that was output
at time intervals 24 hours and more, the sample printout that was output 24 hours and more earlier
isn’t used as data for adjustment.
16
After scanning has been completed, select [Start].
Note
•
The message "Adjustment has been completed." is displayed when the adjustment process is
completed normally.
17
Recommendable adjustment setting (sample number) is displayed on [Side 1] and [Side 2].
Then select [Close].
Note
•
You can adjust the sample number from -5 ~ +10 as necessary.
18
Select [Close] repeatedly until the Services Home screen is displayed.
Summary of Contents for Versant 80 Press
Page 1: ...User Guide Versant 80 Press ...
Page 18: ...18 Index 1007 ...
Page 159: ...Image Quality 159 Copy 4 2 Select a button to adjust the color tone ...
Page 214: ...4 Copy 214 Copy 4 ...
Page 304: ...5 Scan 304 Scan 5 ...
Page 382: ...11 Job Status 382 Job Status 11 ...
Page 562: ...14 CentreWare Internet Services Settings 562 CentreWare Internet Services Settings 14 ...
Page 580: ...16 E mail Environment Settings 580 E mail Environment Settings 16 ...
Page 618: ...18 Encryption and Digital Signature Settings 618 Encryption and Digital Signature Settings 18 ...
Page 916: ...22 Problem Solving 916 Problem Solving 22 ...
Page 1018: ...1018 Index ...


