


install - concepts - PixMaster - switcher - CG - clips - controls - team - appendix
FLINT
V1.1
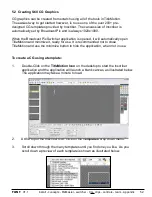
7.
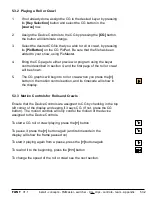
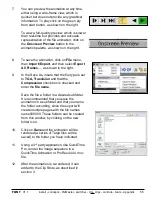
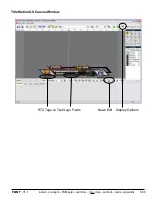
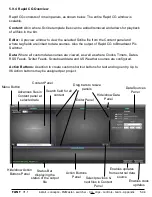
You can preview the animation at any time,
either using a wire-frame view, which is
quicker but does not provide any graphical
information. To play click on the green ply
from start button, as shown on the right.
To view a full-quality preview, which is slower
than real-time but provides and accurate
representation of the file animation, click on
the
Onscreen Preview
button in the
animation palette, as shown on the right.
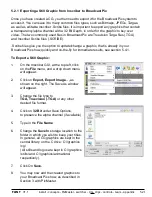
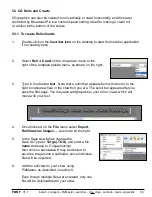
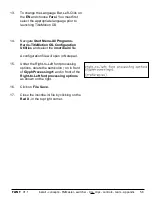
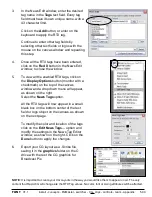
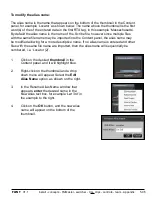
8.
To save the animation, click on
File
menu,
then
Import/Export
, and then select
Export
All Frames…
, as shown to the right.
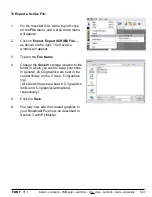
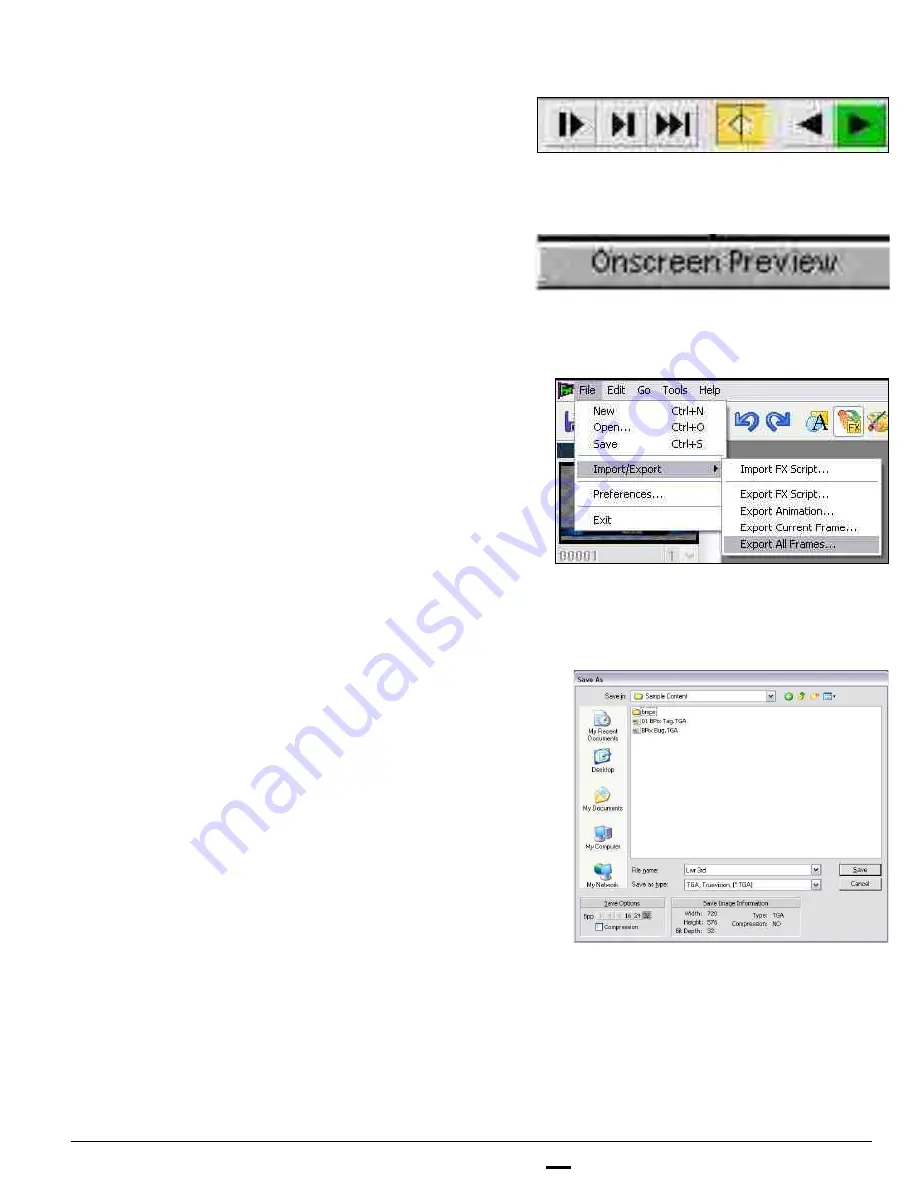
9.
In the Save As, insure that the file type is set
to
TGA, Truevision
and that the
Compression
check box is checked and
enter the
file name.
Save the file a folder in a desired subfolder.
It is recommended that you save the
animation in a subfolder and that you name
the folder according, since the export will
create multiple pages with the file names
name
000000. These folders can be created
from this window, by clicking on the new
folder icon.
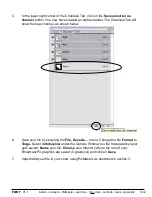
10.
Click on
Save
and the animation will be
rendered (a series of Targa files will be
saved) to the folder you have indicated.
11.
Using a 3
rd
party application, like QuickTime
Pro, render the image sequence to a
QuickTime Animation or ProRes 4444 .mov
file.
12.
After the animation is re-rendered, it can
added to the Clip Store, as described in
section 3.
5.5


