


install - concepts - PixMaster - switcher - CG - clips - controls - team - appendix
FLINT
V1.1
5.9.6
5.
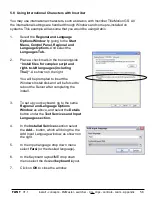
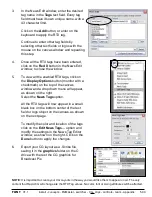
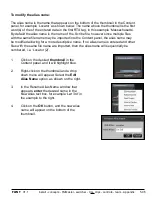
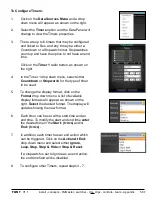
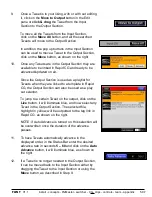
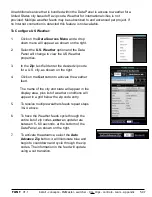
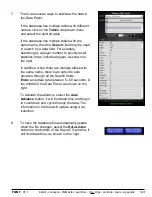
To view all the properties of the selected
file, click on the
Editor Menu
and select
the
Show Tag Grid,
as shown on the right.
A grid will appear below the image in the
Editor Panel showing all the assigned
TagNames, TagText and TagLink. The
TagNames are the assigned RTX tags from
TitleMotion, the TagText is current text or
image path for the tag and the TagLink will
display the data source for each tag.
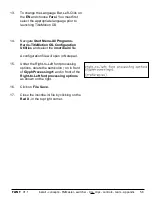
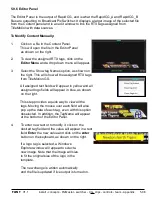
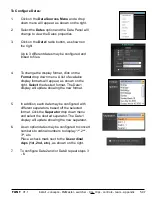
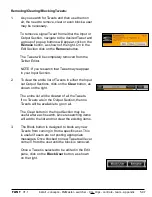
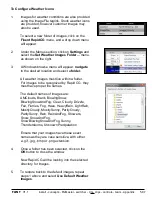
6.
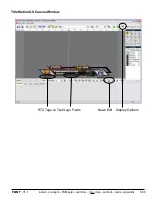
To modify a new file, either click a different
file in the Content Panel or use the
Back
and
Forward
navigation buttons at the
button of the Editor Panel, as shown on the
right.
Selecting a new file will also update the
output to the selected file if live output is
turned on.
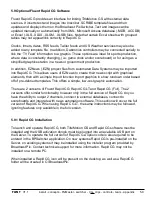
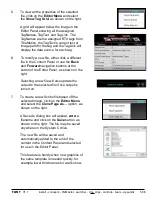
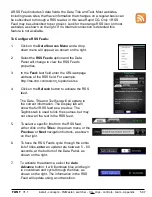
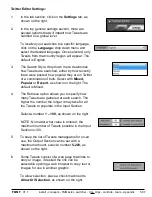
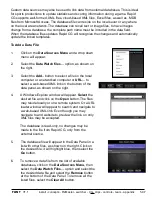
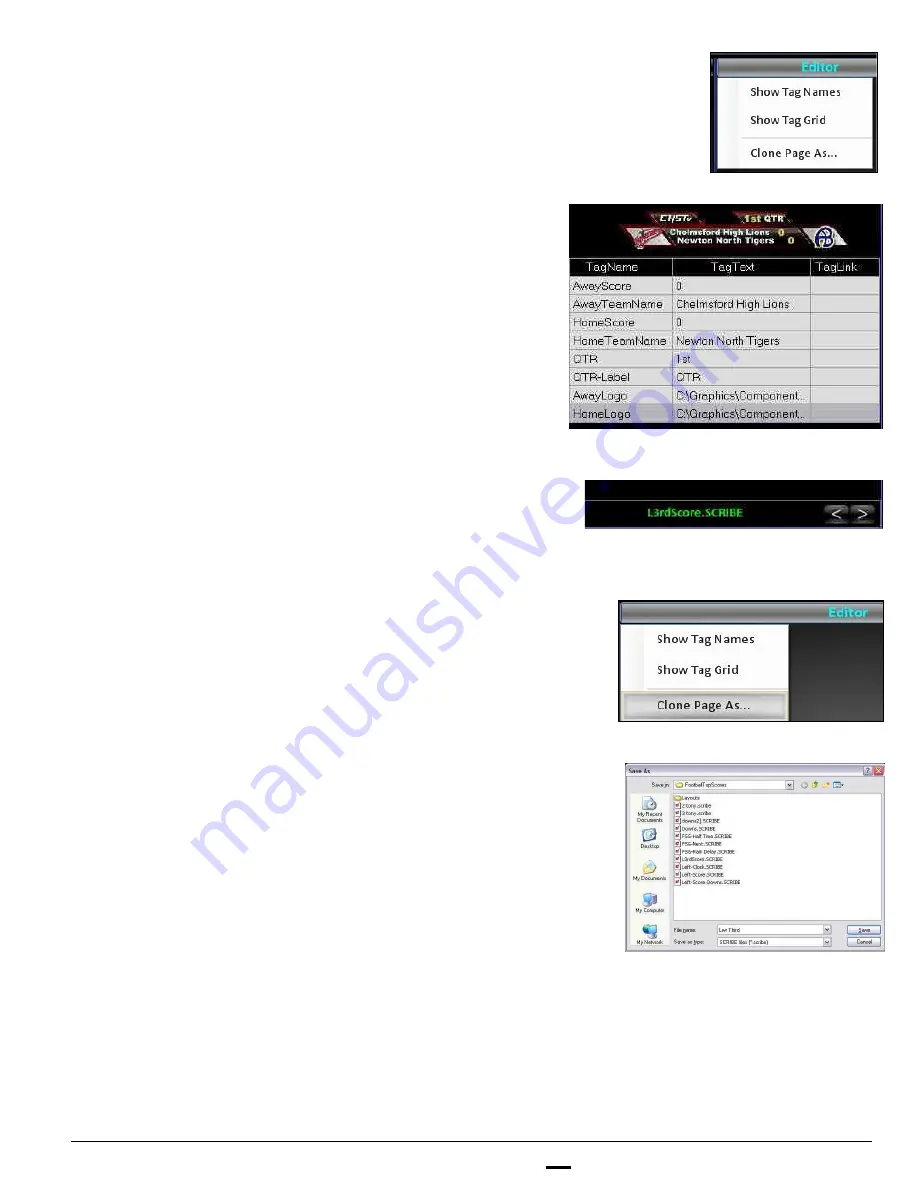
7.
To create a new Scribe file based off the
selected image, click on the
Editor Menu
and select the
Clone Page As…
option, as
shown on the right.
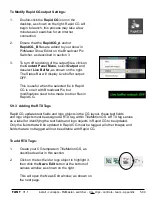
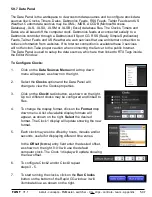
A Save As dialog box will appear,
enter
a
filename and click on the
Save
button, as
shown on the right. The file may be saved
anywhere on the System C drive.
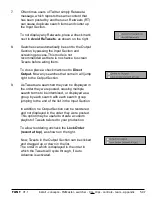
The new file will be saved and
automatically added to the end of the
content in the Content Panel and selected
for use in the Editor Panel.
This feature is handy when new graphics of
the same template is needed quickly, for
example lower third names for a talk show.


