


install - concepts - PixMaster - switcher - CG - clips - controls - team - appendix
FLINT
V1.1
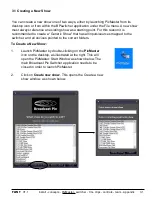
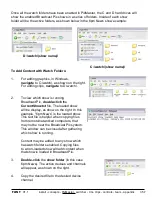
3.5.5
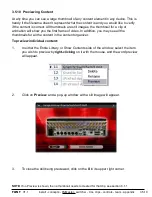
1.
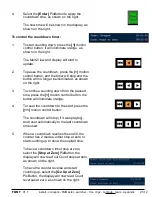
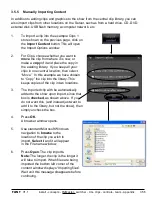
To import a clip into the example Clips 1
store shown on the previous page, click on
the
Import Content
button This will open
the Import Options window.
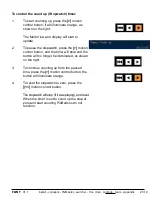
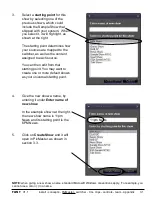
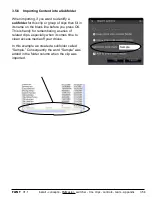
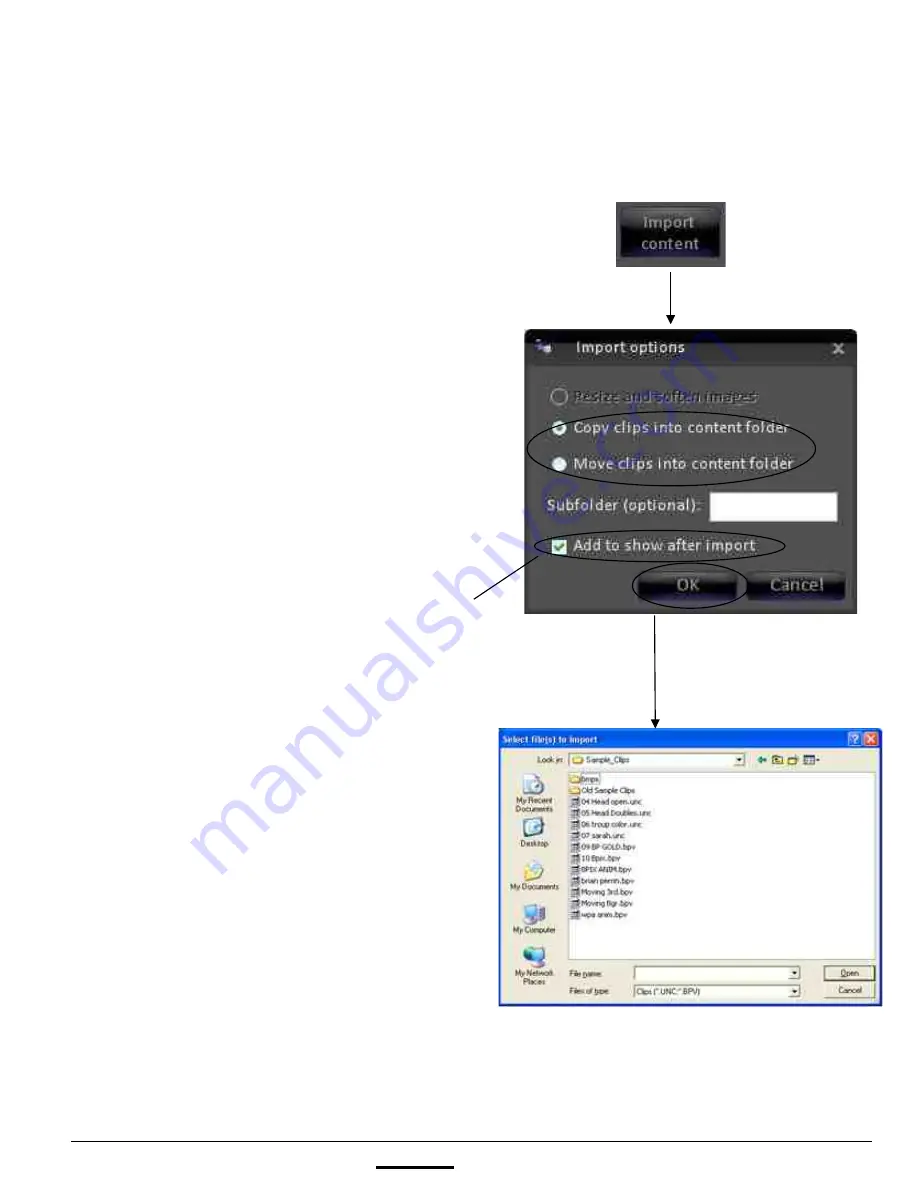
2.
For Clips, choose whether you want to
move
the clip from where it is now, or
make a
copy
of it and place the copy in
the existing library.
If you keep all your
clips in one central location, then select
“Move.”
In this example we have chosen
to “Copy” the clip into the library. This
keeps copies of the clip in two locations.
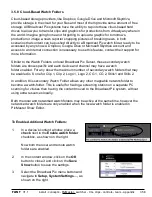
3.
The imported clip with be automatically
added to the show upon import, since that
box is
checked
, as shown above. If you
do not want this, (and instead just want to
add it to the library, but not the show), then
simply uncheck the box.
4.
Press
OK
.
A browser window opens.
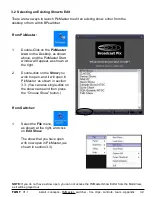
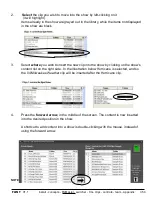
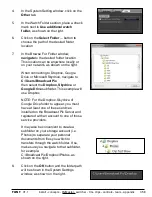
5.
Use standard Microsoft Windows
navigation to
browse
to the
location of the clip you wish to
import.
Select
it and it will appear
in the File name window.
6.
Press
Open
. The clip imports.
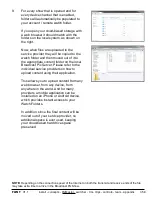
Note:
The longer the clip is the longer it
will take to import. When files are being
imported the bottom left corner of the
content window displays “Importing files”.
Wait unit this message disappears before
continuing.
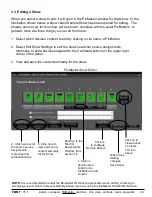
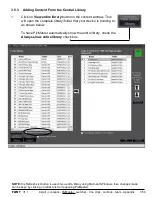
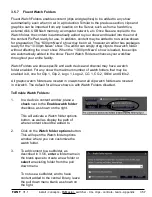
3.5.5 Manually Importing Content
In addition to adding clips and graphics to the show from the central clip library, you can
also import clips from other locations on the Server, such as from a hard drive, CD, DVD,
external disk, USB flash memory, a computer network, etc.


