
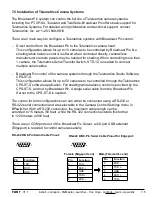

install - concepts - PixMaster - switcher - CG - clips - controls - team - appendix
FLINT
V1.1
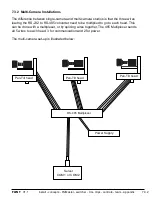
7.4.2
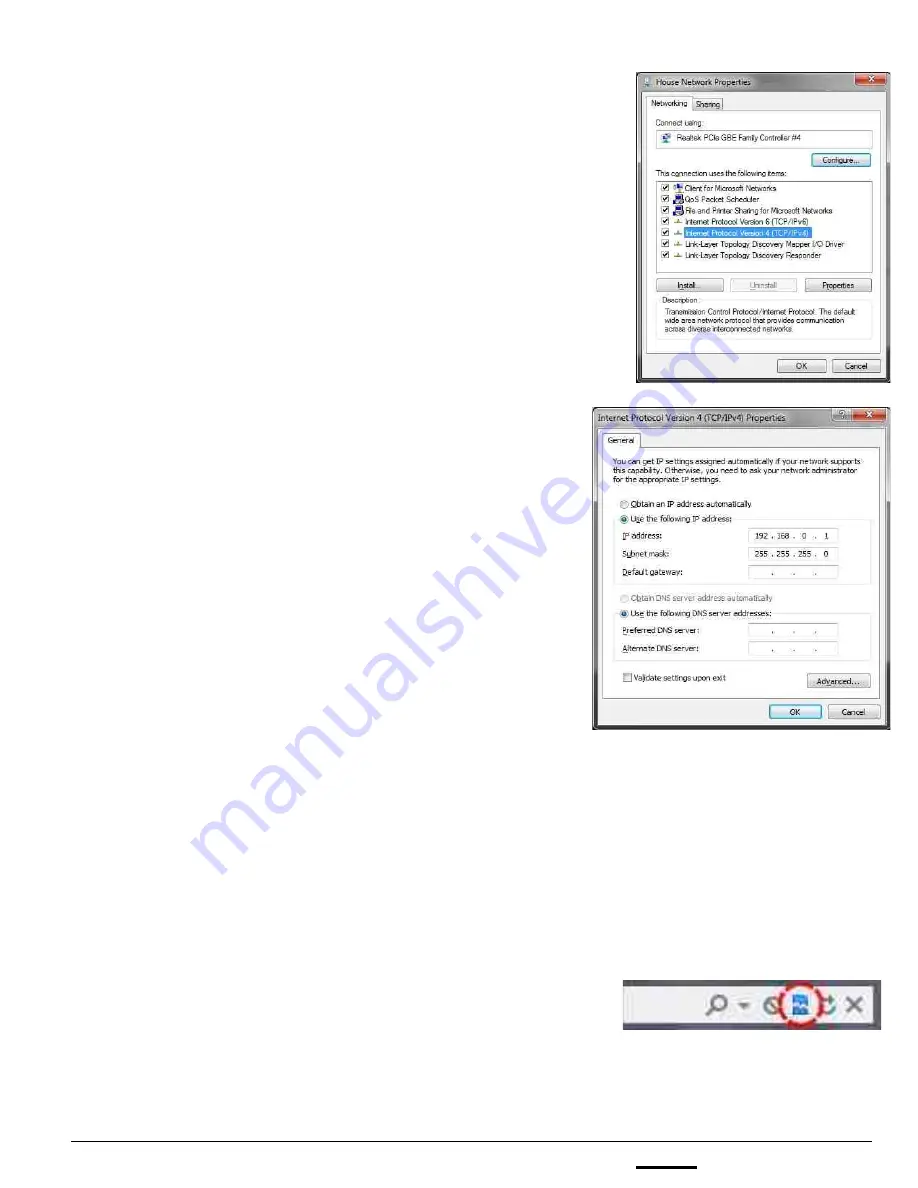
5.
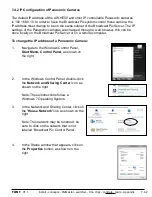
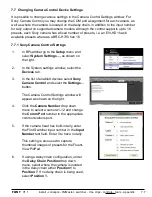
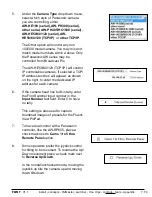
In the Properties window that appears,
double-click on the
Internet Protocol
Version 4 (TCP/IPv4)
item, as shown on
the right.
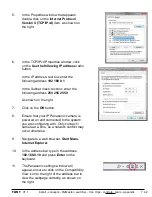
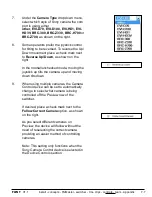
6.
In the TCP/IPv4 Properties window, click
on the
Use the following IP address
radio
button.
In the IP address: text box enter the
following address
192 168 0 1
In the Subnet mask: text box enter the
following address
255 255 255 0
As shown on the right.
7.
Click on the
OK
button.
8.
Ensure that your IP Panasonic camera is
powered on and connected to the system
you are configuring with. Only connect 1
camera at a time, as a network conflict may
occur otherwise.
9.
Navigate to a web browser,
Start Menu,
Internet Explorer.
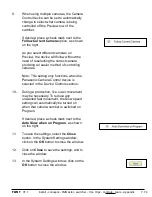
10.
In the address bar, type in the address
192.168.0.10
and press
Enter
on the
keyboard.
11.
The Panasonic settings window will
appear, ensure to click on the Compatibility
View icon to the right of the address bar to
view the webpage correctly, as shown on
the right.


