

install - concepts - PixMaster - switcher - CG - clips - controls - team - appendix
FLINT
V1.1
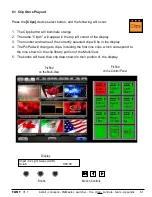
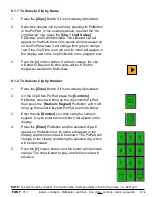
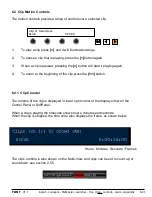
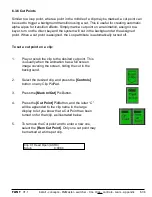
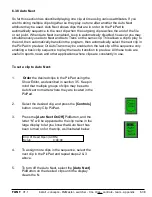
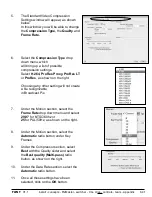
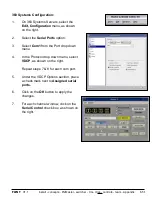
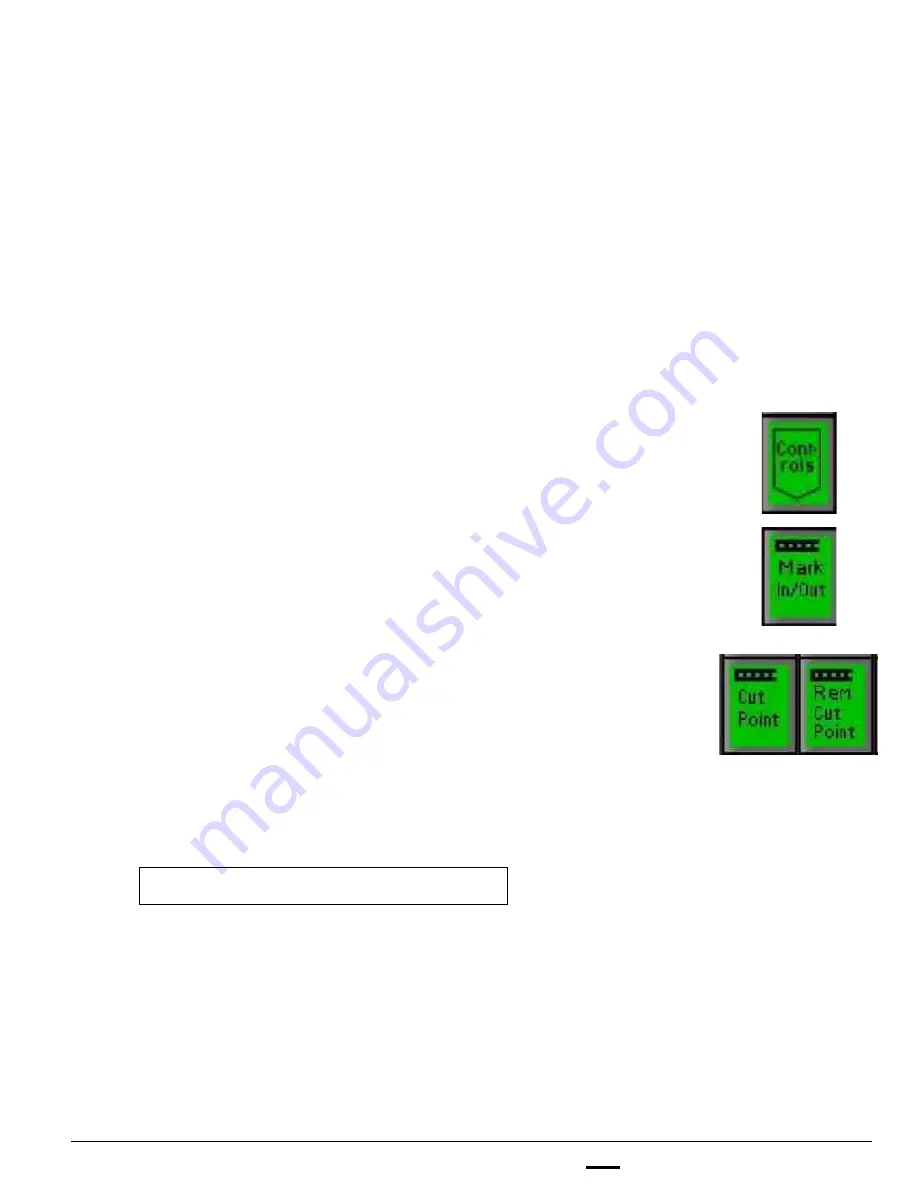
To set a cut point on a clip:
1.
Play or scrub the clip to the desired cut point. This
is usually when the animation has a full screen
image covering the screen, hiding the cut in the
background.
2.
Select the desired clip, and press the
[Controls]
button on any Clip PixPad.
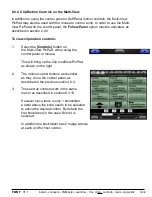
3.
Press the
[Mark In/Out]
PixButton.
4.
Press the
[Cut Point]
PixButton, and the letter “C”
will be appended to the clip name in the large
display to let you know that a Cut Point has been
turned on for that clip, as illustrated below.
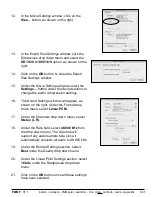
5.
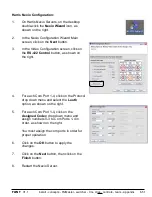
To remove the Cut point and to enter a new one,
select the
[Rem Cut Point]
. Only one cut point may
be marked at a time per clip.
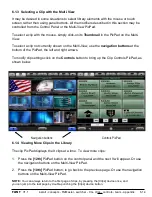
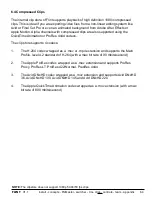
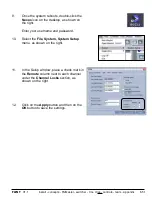
6.3.6 Cut Points
Similar to a loop point, where a point in the middle of a clip may be marked, a cut point can
be used to trigger a background transition using a cut. This is useful for creating automatic
alpha wipes for transition effects. Simply mark a cut point on an animation, assign it to a
keyer, turn on the direct key and the system will cut in the background at the assigned
point. When a cut point is assigned, the Loop attribute is automatically turned off.
6.3.6
Clip: 01 Head Open (AXRC)
Scrub
0:00:00


