Installation
3-27
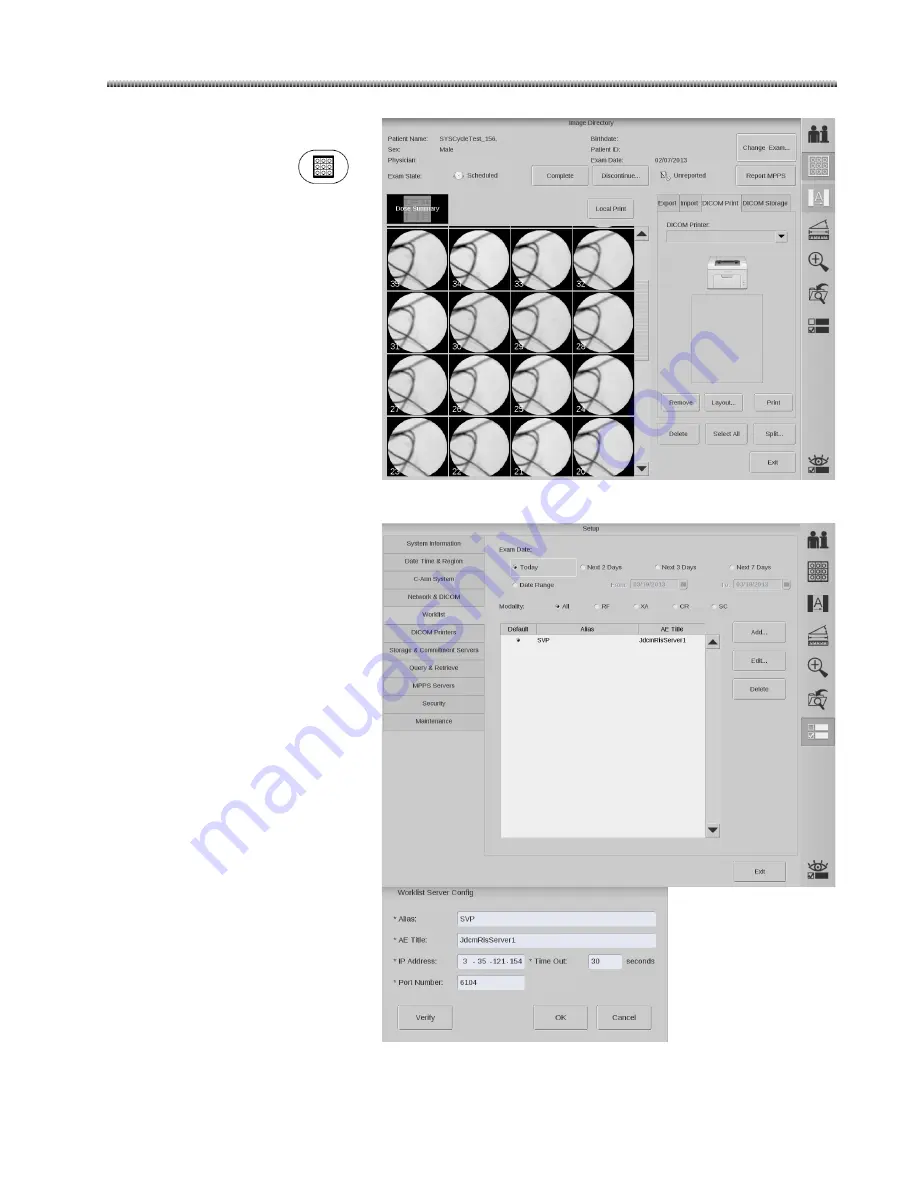
DICOM printers function Check:
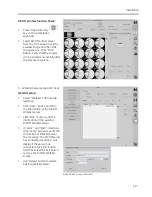
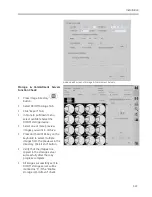
Press Image Directory
key on the workstation
keyboard.
Select DICOM printer server
from the Print screen. Click the
preview image and then click
the queue box. Click “Print”
button. Verify that the images
can be printed successfully after
the process complete.
5.
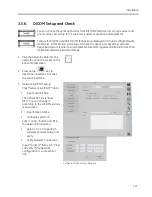
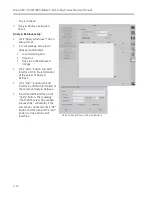
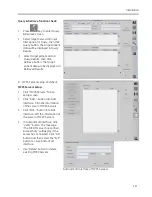
Worklist Server setup and check
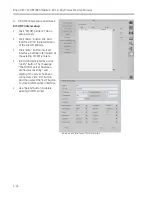
Worklist setup:
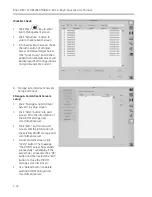
Select “Worklist” Tab in setup
interface.
Click “Add…” button and fill in
the information of the DICOM
Worklist server.
Click “Edit…” button, edit the
information of the existing
DICOM Worklist server.
In “Add…” and “Edit…” interface,
click “Verify” button to verify the
connection of Worklist server.
The message “The DICOM server
has verified successfully.” will
display if the server has
connected. Click “OK” button,
and then select the Exit button
to close the DICOM Worklist
screen.
Use “Delete” button to delete
existing Worklist server.
Add and edit screen of Worklist
Содержание Brivo OEC 715
Страница 2: ......
Страница 19: ...Chapter1 Introduction and Safety...
Страница 41: ...Introduction and Safety 23 46 54 20 18 26...
Страница 55: ...Chapter2 System Overview...
Страница 137: ...Chapter3 Installation...
Страница 147: ...Installation 3 11 7 Put the ramp in position Release all bracket and move the workstation along the ramp off the pallet...
Страница 211: ...Installation 3 75 3 9 Reporting For U S Systems Complete and submit Form 2579 within 15 days of installation...
Страница 212: ...Chapter4 Calibration...
Страница 223: ...Brivo OEC 715 785 865 Mobile C Arm X Ray Product Service Manual 4 12 Mainframe Control Board TP7...
Страница 231: ...Brivo OEC 715 785 865 Mobile C Arm X Ray Product Service Manual 4 20 Mainframe Control Board TP17 POT4 J5 TP7 POT7 POT5...
Страница 275: ...Brivo OEC 715 785 865 Mobile C Arm X Ray Product Service Manual 4 64...
Страница 284: ...Chapter5 Software...
Страница 312: ...Software 5 29 4 Click Next 5 Click Install 6 Click Finish button to complete installation procedure...
Страница 326: ...Software 5 43 2 Click on install to continue 3 Click Next to continue...
Страница 335: ...Chapter6 Troubleshooting...
Страница 408: ...Chapter7 Replacement...
Страница 418: ...Replacement 7 11 166...
Страница 488: ...Chapter8 Periodic Maintenance...
Страница 502: ...Periodic Maintenance 8 15...
Страница 505: ...Chapter9 Technical Reference...
Страница 520: ...Brivo OEC 715 785 865 Mobile C Arm X Ray Product Service Manual 9 16 Lateral configuration 1 5m Lateral configuration 1m...
Страница 521: ...Technical Reference 9 17 Vertical configuration 1 5m Vertical configuration 1m...
Страница 526: ...11 Appendix System Schematics...

