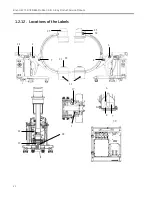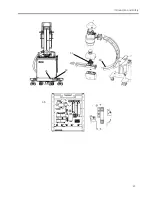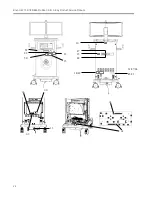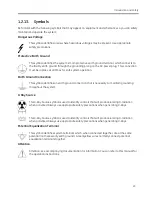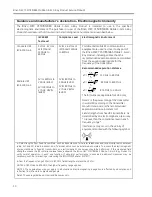
Introduction and Safety
15
26
1
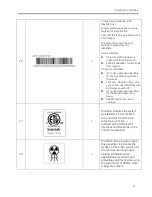
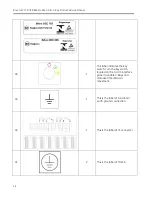
Unique Device Identifier (UDI)
label(US only)
Every medical device has a unique
marking for identification.
Note that this is only an example of a
UDI marking.
The characters used in the UDI
marking represent specific
identifiers.
Device identifier:
(01)= GS1 global trade item
number (GTIN) of the device.
00001234567895 = Global trade
item number.
Production identifiers:
(11) = GS1 application identifier
for the manufacturing date of
the device.
150700= Manufacturing date:
year-month-day (YYMMDD) with
DD always equal to 00.
(21) = GS1 application identifier
for the serial number of the
device.
AAAAAYY00001AA = Serial
number.
27
1
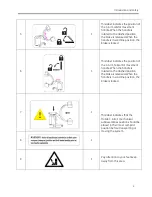
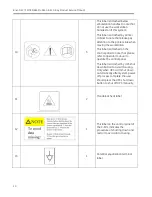
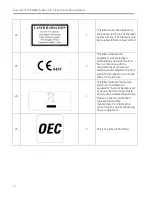
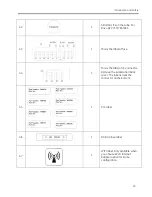
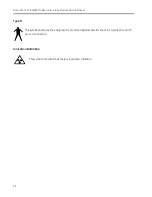
This label indicates the system
was tested by ITS authorized
body and was found to be in
compliance with the
requirements of all relevant
directives and standards at the
time of manufacture.
28
1
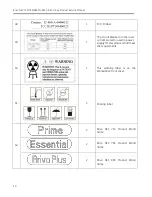
This label can be found on the X-
Ray generator. It indicates the
location of the X-Ray source and
the controls used to produce
ionizing X-Radiation. Use
appropriate precautions and
protective equipment when using
the system and at all time when
X-Rays are present.
Содержание Brivo OEC 715
Страница 2: ......
Страница 19: ...Chapter1 Introduction and Safety...
Страница 41: ...Introduction and Safety 23 46 54 20 18 26...
Страница 55: ...Chapter2 System Overview...
Страница 137: ...Chapter3 Installation...
Страница 147: ...Installation 3 11 7 Put the ramp in position Release all bracket and move the workstation along the ramp off the pallet...
Страница 211: ...Installation 3 75 3 9 Reporting For U S Systems Complete and submit Form 2579 within 15 days of installation...
Страница 212: ...Chapter4 Calibration...
Страница 223: ...Brivo OEC 715 785 865 Mobile C Arm X Ray Product Service Manual 4 12 Mainframe Control Board TP7...
Страница 231: ...Brivo OEC 715 785 865 Mobile C Arm X Ray Product Service Manual 4 20 Mainframe Control Board TP17 POT4 J5 TP7 POT7 POT5...
Страница 275: ...Brivo OEC 715 785 865 Mobile C Arm X Ray Product Service Manual 4 64...
Страница 284: ...Chapter5 Software...
Страница 312: ...Software 5 29 4 Click Next 5 Click Install 6 Click Finish button to complete installation procedure...
Страница 326: ...Software 5 43 2 Click on install to continue 3 Click Next to continue...
Страница 335: ...Chapter6 Troubleshooting...
Страница 408: ...Chapter7 Replacement...
Страница 418: ...Replacement 7 11 166...
Страница 488: ...Chapter8 Periodic Maintenance...
Страница 502: ...Periodic Maintenance 8 15...
Страница 505: ...Chapter9 Technical Reference...
Страница 520: ...Brivo OEC 715 785 865 Mobile C Arm X Ray Product Service Manual 9 16 Lateral configuration 1 5m Lateral configuration 1m...
Страница 521: ...Technical Reference 9 17 Vertical configuration 1 5m Vertical configuration 1m...
Страница 526: ...11 Appendix System Schematics...


