Installation
3-37
5.
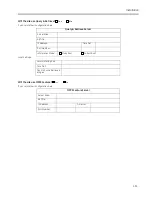
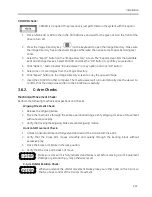
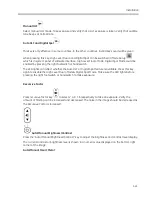
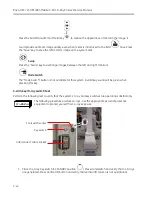
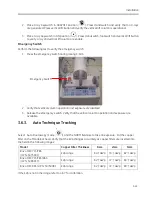
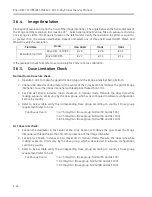
Verify the DICOM Q/R function (
) allows you to enter Q/R screen,
if customer purchase
the option
.
6.
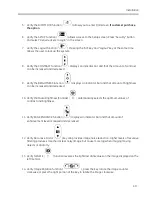
Verify the SETUP function (
)
allows access to the Setup screen. Press “Security” button
and select “Require Users to Login” in the screen.
7.
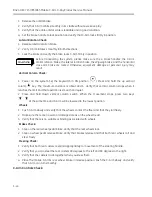
Verify the Logout function (
), Pressing the “Alt” key and “Logout” key at the same time
allows the user to lock up the system.
8.
Verify the CONTRAST function (
) displays an indicator bar and that the amount of contrast
can be increased and decreased.
9.
Verify the BRIGHTNESS function (
) displays an indicator bar and that amount of brightness
can be increased and decreased.
10.
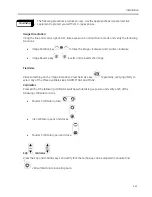
Verify that Auto Brightness/Contrast (
) automatically selects the optimum values of
contrast and brightness.
11.
Verify EDGE ENHANCE function (
) displays an indicator bar and that amount of
enhancement level increased and decreased.
12.
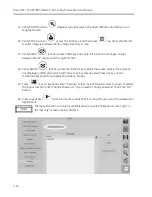
Verify Recursive Factor (
) key can provides image noise reduction. Higher levels of recursive
filtering produce smoother (or less noisy) image, but cause more lag when imaging moving
objects or anatomy.
13.
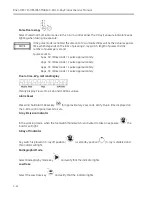
Verify NEGATE (
) function reverses the light and dark values on the image displayed on the
left monitor.
14.
Verify Image Rotation function (
) , press the key rotate the image counter-
clockwise or press the right portion of the key to rotate the image clockwise.
Содержание Brivo OEC 715
Страница 2: ......
Страница 19: ...Chapter1 Introduction and Safety...
Страница 41: ...Introduction and Safety 23 46 54 20 18 26...
Страница 55: ...Chapter2 System Overview...
Страница 137: ...Chapter3 Installation...
Страница 147: ...Installation 3 11 7 Put the ramp in position Release all bracket and move the workstation along the ramp off the pallet...
Страница 211: ...Installation 3 75 3 9 Reporting For U S Systems Complete and submit Form 2579 within 15 days of installation...
Страница 212: ...Chapter4 Calibration...
Страница 223: ...Brivo OEC 715 785 865 Mobile C Arm X Ray Product Service Manual 4 12 Mainframe Control Board TP7...
Страница 231: ...Brivo OEC 715 785 865 Mobile C Arm X Ray Product Service Manual 4 20 Mainframe Control Board TP17 POT4 J5 TP7 POT7 POT5...
Страница 275: ...Brivo OEC 715 785 865 Mobile C Arm X Ray Product Service Manual 4 64...
Страница 284: ...Chapter5 Software...
Страница 312: ...Software 5 29 4 Click Next 5 Click Install 6 Click Finish button to complete installation procedure...
Страница 326: ...Software 5 43 2 Click on install to continue 3 Click Next to continue...
Страница 335: ...Chapter6 Troubleshooting...
Страница 408: ...Chapter7 Replacement...
Страница 418: ...Replacement 7 11 166...
Страница 488: ...Chapter8 Periodic Maintenance...
Страница 502: ...Periodic Maintenance 8 15...
Страница 505: ...Chapter9 Technical Reference...
Страница 520: ...Brivo OEC 715 785 865 Mobile C Arm X Ray Product Service Manual 9 16 Lateral configuration 1 5m Lateral configuration 1m...
Страница 521: ...Technical Reference 9 17 Vertical configuration 1 5m Vertical configuration 1m...
Страница 526: ...11 Appendix System Schematics...

