19-12
FRX8000 3. 0 User G uide, Rev 02
Icons
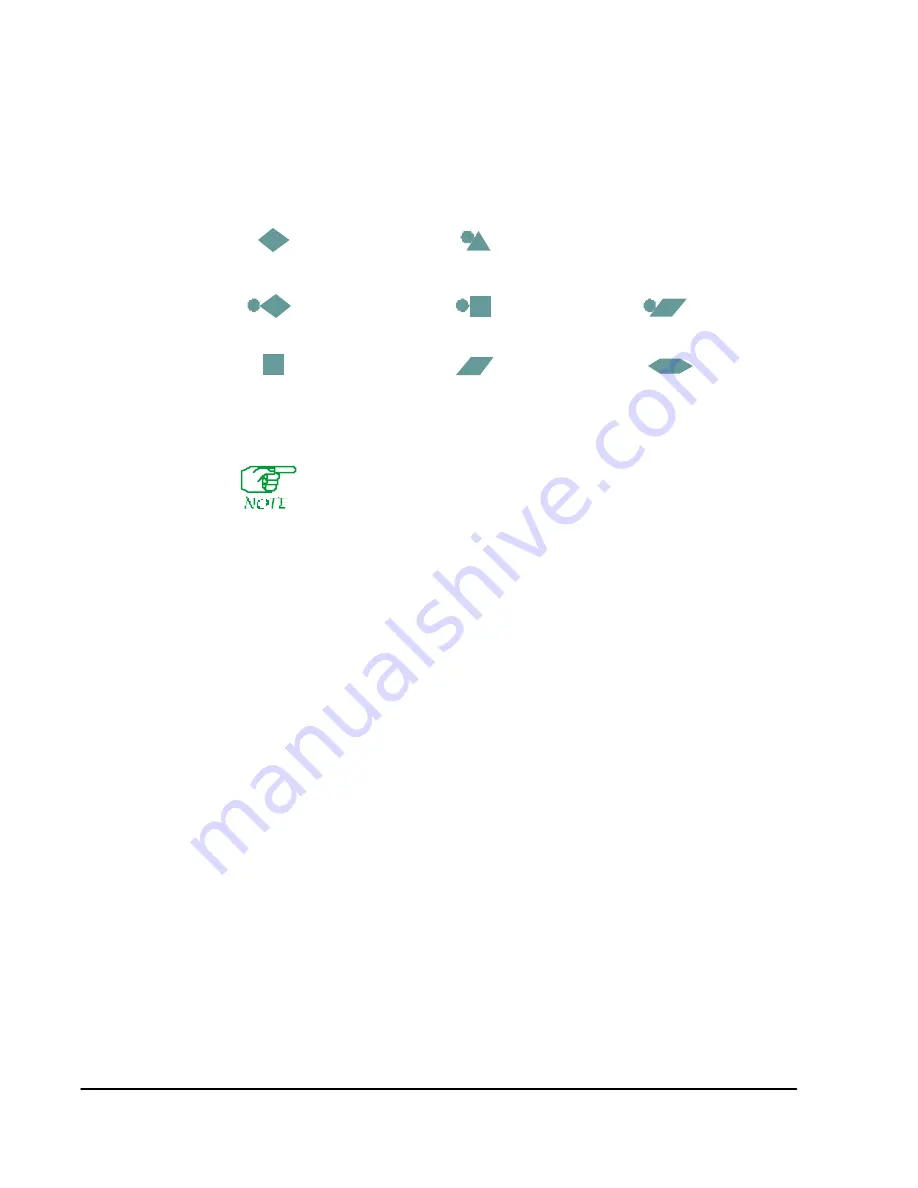
Symbols used to represent components in network/subnetwork displays are shown
below:
Figure 19-9 Status Display Icons
The circle on the current database master INM/NMP will be displayed as
hollow, rather than filled in as shown above.
Pull-down Menus
Most selections across the top of a screen have associated pull-down menus that
appear when the selections are chosen (one exception is
Events
, discussed on
page 19-13
). When a pull-down menu appears, the default selection appears in white
text on a black background. Other items are in black text on a white background,
unless they are not valid at the current level, in which case they appear in light grey
text on a white background. The default value can be selected by pressing
[Enter]
, or
by pressing the
[F“n”]
key (the one you pressed to display the menu) a second time.
Each pull-down menu has an entry–
Cancel
. Selecting
Cancel
exits the current menu
and allows you to make another
[F“n”]
selection; pressing
[Esc]
will do the same thing.
[F1] – View
Zoom In
(default, except at port level, where it is not valid) allows you to
look at the next lower level of the network. (Position the cursor on
a component and select
Zoom In
.)
Zoom Out
(default at port level) returns you to the next higher level of the
display. (Not valid at network level.)
Goto
allows you to view another subnetwork, node, or LP without
moving one step at a time through the menus. When prompted,
enter the subnet/node/LP number(s). (Not valid at port level.)
Edit
opens (only if your node is database master) Network Representation
operations (see Chapter 4), allowing you to make changes to
components of the network representation. (Not valid at node or port
level.)
FRX 8000
N7400 DPPM
FRX 8000 with
attached NMP
FRX 8000 or N7500 ICP/INM
N7500 DPPM
N7500 with
attached NMP
Subnetwork
N7400 with
attached NMP
Содержание Netlink FRX8000
Страница 1: ...User Guide For Release 3 0 09 41 06 150 02 The Complete Networking Solution T M ...
Страница 2: ......
Страница 14: ......
Страница 15: ...Section I Getting Started ...
Страница 16: ......
Страница 25: ...Section II Configuration ...
Страница 26: ......
Страница 40: ......
Страница 60: ......
Страница 80: ......
Страница 106: ...7 26 FRX8000 3 0 User Guide Rev 02 ...
Страница 148: ...9 30 FRX8000 3 0 User Guide Rev 02 ...
Страница 251: ...Section III Operation ...
Страница 252: ......
Страница 392: ......
Страница 397: ...Section IV Appendices ...
Страница 398: ......
Страница 410: ......
Страница 444: ......
Страница 448: ......


