X3200
User’s Guide
59
Configuring X3200 Under Windows
3
➤
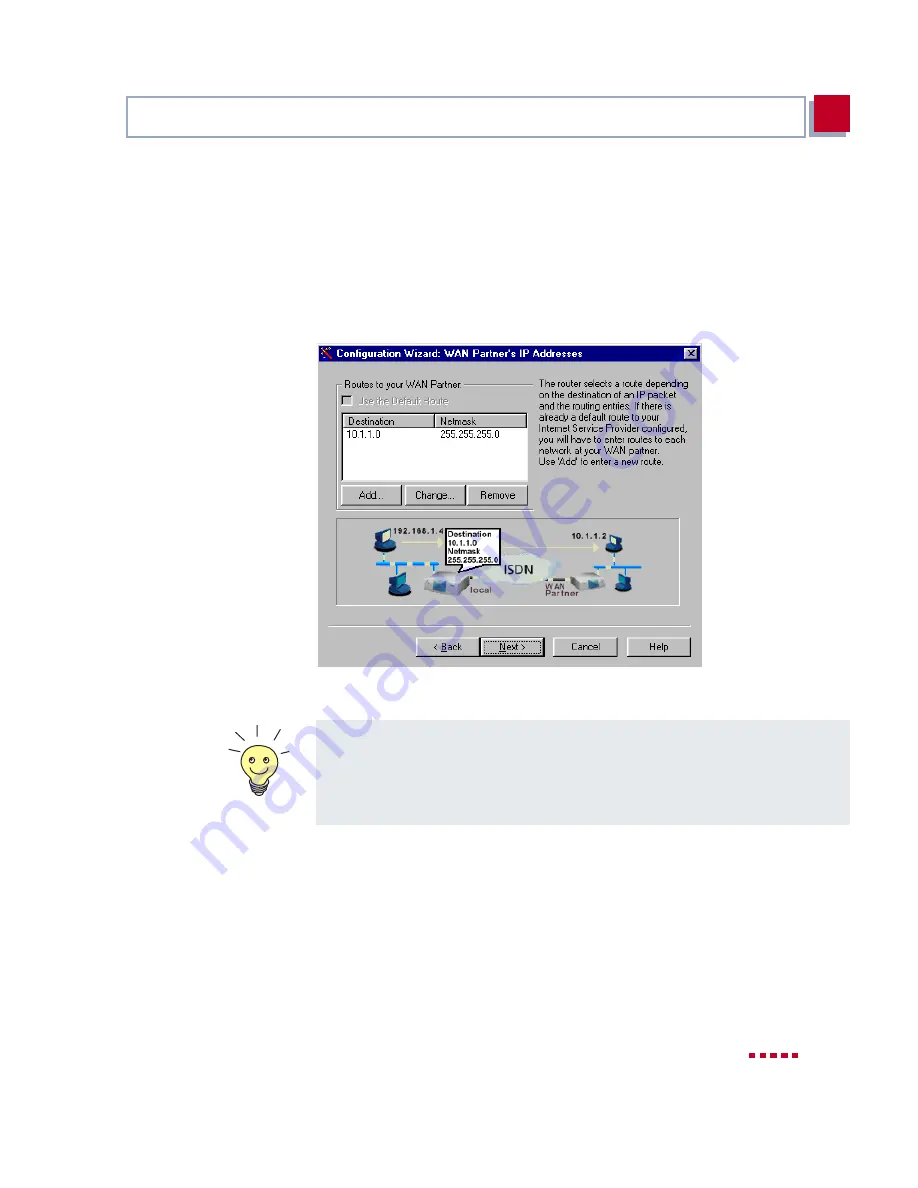
Add a route to your head office:
If you have not configured Internet access, choose Use Default Route.
If you have configured Internet access, then enter the route yourself: Click
Add. Enter the IP address or network address and the netmask, e.g.
10.1.1.0
and
255.255.255.0
. By setting the route, you define the path con-
necting you to your WAN partner (e.g. head office) (cf.
figure 3-12,
page 59
).
Figure 3-12:
Defining the route to the WAN partner in the
Configuration Wizard
➤
Click OK.
➤
If the network of your head office comprises several single networks (sub-
nets) and you want access to each of these subnets, you must enter a route
for each one of them (cf.
figure 4-3, page 99
).
➤
Click Next.
Each route determines the path to a network or subnet of your WAN partner. A
route is clearly defined by IP address/network address and netmask.
Instead of the network address, you can choose and enter any IP address from
your partner’s network. The
Configuration Wizard
determines the network
address automatically using the corresponding netmask.
Summary of Contents for X3200
Page 4: ...4 BinTec Communications AG...
Page 28: ...28 BinTec Communications AG Welcome 1...
Page 258: ...258 BinTec Communications AG Advanced Configuration 6...
Page 348: ...348 BinTec Communications AG Technical Data 10...
Page 369: ...X3200 User s Guide 369 12 BinTec Communications AG...
Page 393: ...X3200 User s Guide 393 12...
Page 394: ...394 BinTec Communications AG General Safety Precautions in 15 Different Languages 12...
Page 412: ...412 BinTec Communications AG Glossary...
Page 419: ...X3200 User s Guide 419 Index WINS 210 229 X X 31 TEI 182...


