3: C
on
fig
uri
ng I
np
ut
s •
31
©2016 Axia Audio- Rev 1.8.1
follow.
Reminder: Did you define your audio sources
from the Engine and Nodes as outlined in Chap-
ter One or Two? If not, go no further – you’ve
got to do that before you can continue with
Source Profile setup.
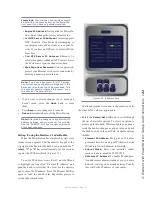
•
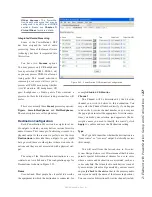
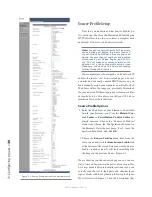
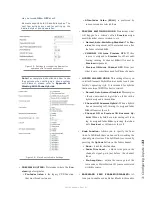
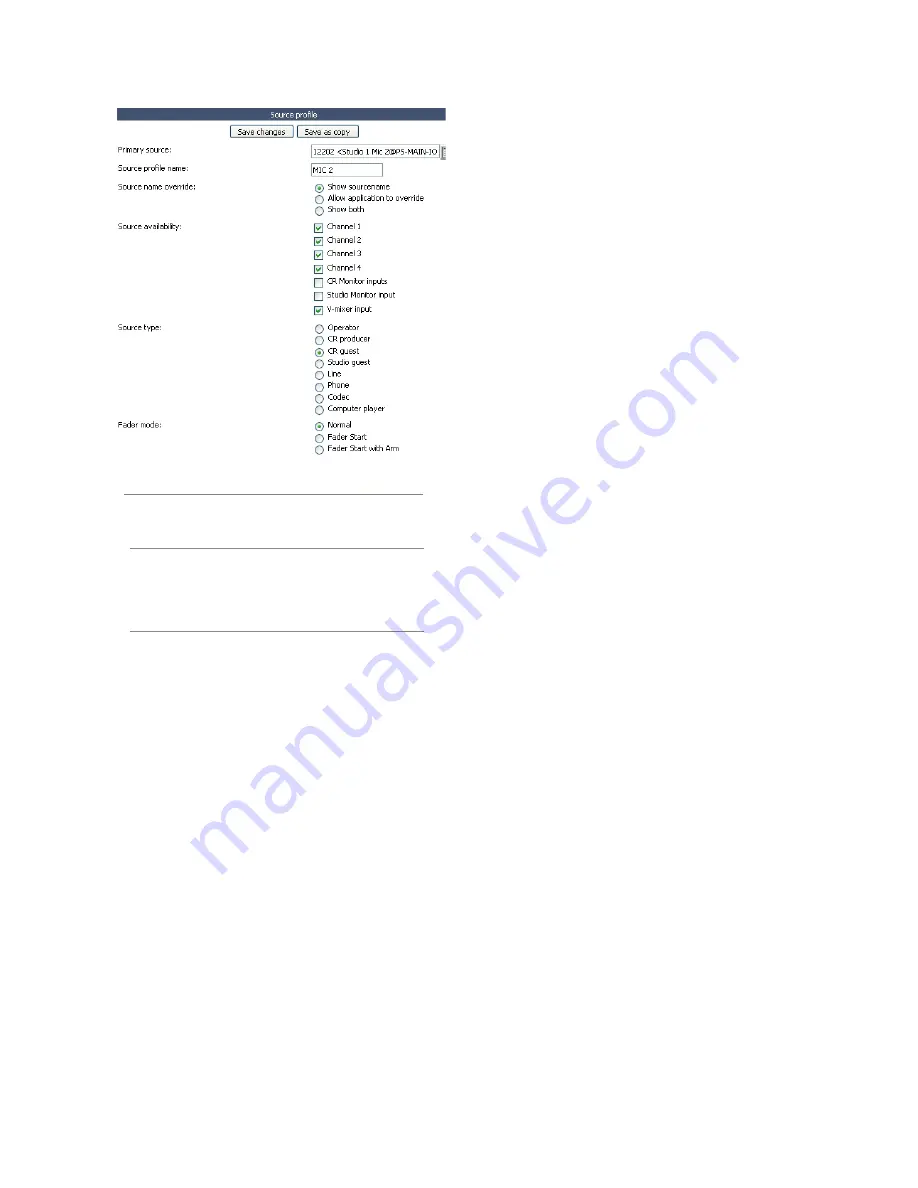
PRIMARY SOURCE:
All of the audio sources that
you previously defined (during Audio Node or Pow-
erStation I/O setup) are available in this drop-down
box; pick one.
•
SOURCE PROFILE NAME:
Type a 10-charac-
ter descriptive name for your source. This is the
description that will appear on the LED display
above the console fader.
•
SOURCE NAME OVERRIDE:
If the source you’re
defining can supply Program Associated Data (for
instance, a computer playout system that sends song/
artist information), you can choose to have that text
dynamically substituted in the alphanumeric display
of the fader the source is assigned to. Instead of read-
ing
PROPHET_1
, for example, it could scroll
FERGIE
.
»
Choose
Show Sourcename
to have the channel
alpha display the name you typed into the Source
Profile Name field above.
»
Choose
Allow Application to Override
if
you’d like the PAD text displayed instead.
»
Choose
Show Both
to have the Source Name
and PAD text alternately display on a 3-second
interval.
•
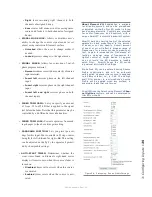
SOURCE AVAILABILITY:
These check boxes de-
termine which faders (or other inputs) you’ll allow
this source to be assigned to. For example, if your
source is a Control Room mic, and you only want
it to appear on the left-most fader, you would check
only the box marked
Channel 1
. You might want to
make a CD player available on any fader, so you’d
check the boxes for all faders. Some sources – es-
pecially air monitors – you might wish to prevent
from ever being assigned to a fader, so you would
uncheck the boxes for all faders. The number of fad-
er checkboxes show will vary depending upon the
number of faders installed in your Element.
The three final check boxes,
CR monitor inputs
,
Studio monitor input
and
V-Mixer input
deter-
mine whether the board op will be able to assign this
source to the CR and Studio monitor and headphone
buses or the Virtual Mixer (please see Chapter 7:
Virtual Mixer for details on this feature).
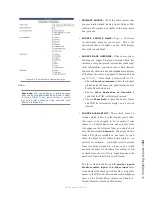
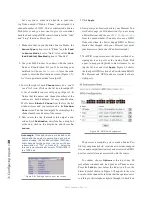
Figure 3-2: Source Profile General Settings
Содержание element v.2.0
Страница 100: ...5 Element Operations 90 2016 Axia Audio Rev 1 8 1 Capital budget may you never decrease for we need new test gear...
Страница 149: ...Appendix A Specifications 139 2016 Axia Audio Rev 1 8 1...
Страница 183: ...Warranty 173 2016 Axia Audio Rev 1 8 1 TCP IP How did we live without thee Analogicly...
Страница 184: ...THIS PAGE INTENTIONALLY LEFT BLANK...
Страница 185: ...THIS PAGE INTENTIONALLY LEFT BLANK...

