2: E
le
m
en
t w
ith P
ow
er
S
ta
tio
n: S
et
up a
nd C
on
ne
ct
io
ns •
20
©2016 Axia Audio- Rev 1.8.1
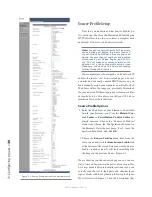
unit. In this case, you will use its factory-assigned IP ad-
dress to access the unit for configuration with your web
browser. You may change the standalone PowerStation
AUX IP address to match your IP scheme.
Factory default IP address is 192.168.2.50.
Multiple PowerStations? If you are configur-
ing multiple units, we strongly recommend that
you proceed by connecting only one system at a
time. That way you will not have IP conflicts and
any PowerStation AUX units will automatically
be paired with the correct PowerStation MAIN.
If your system employs an Ethernet core switch, it
must have an IP address that is lower than any PowerSta-
tion units. This function of the IGMP standard ensures
that the multicast querier is handled by the core switch if
one exists and passed off transparently to another switch
should the core switch fail or be disconnected.
Note: “Gateway” settings on PowerStation
equipment are required. The Gateway may be
used by PowerStation during IP address setup.
A valid Gateway also enables access the Pow-
erStation’s configuration utility remotely, from
outside your network and the use of an external
NTP server. Enter the IP address of your master
router (the one with external network connec-
tions) whenever you’re given the option to enter
a gateway IP address.
Note: Element v2.x software supports redun-
dant NTP servers. Use the second field in the IP
Address Book to enter the address of a backup
server.
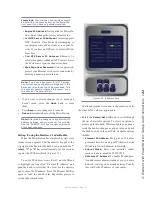
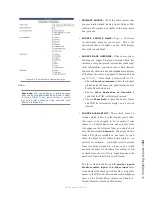
Setting IP using the Standard Monitor Module
When the PowerStation has completed its start cycle
(meter screen appears), find the section marked
Global
Options
on the Monitor Module. Press and hold the key
marked
Fader Options
located in the top right corner
of the module (or press * and 4 and 7) for five seconds to
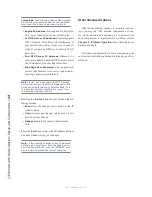
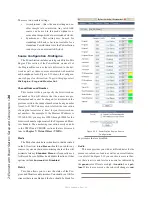
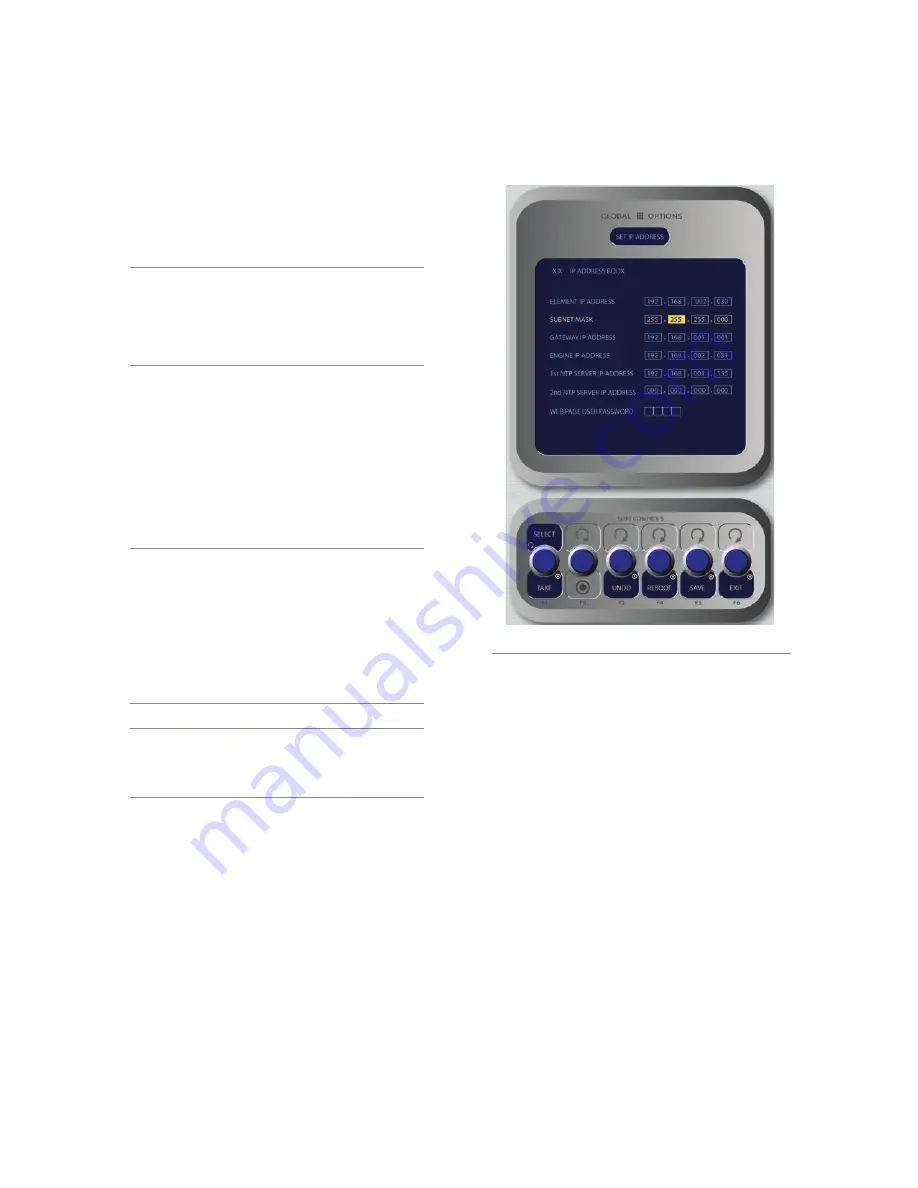
enter the IP Address Book (Figure 2-14).
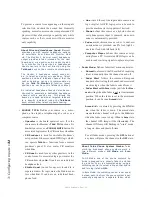
To set the IP address, rotate the left-most SoftKnob
to highlight the line titled “Element IP Address” and
push the knob to select that line. Now use the numeric
pad to enter the IP address. Press the leftmost SoftKey
again to “take” the new IP value. Repeat this process to
set the subnet mask value.
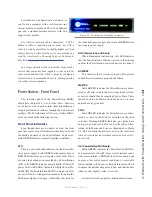
Figure 2-14: IP Address Book
Continue down the screen and, in the same way, enter
the other fields’ values as appropriate.
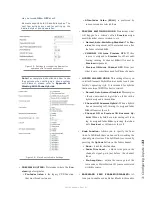
• Rotate the
Select/Set
SoftKnob to scroll through
the list of available options. To select an option to
modify, push this knob. While modifying an options,
rotate the knob to change an option’s value, and push
the knob to move to the next field. Options include:
»
Element IP Address:
Every piece of Livewire
gear must have its own unique IP Address. Set the
IP Address for each Element in this field.
»
Subnet Mask:
Enter your network’s subnet
mask value here, usually 255.255.255.0
»
Gateway IP Address:
To enable IP configura-
tion and remote administration of your Livewire
network or an external NTP server, you’ll need a
network gateway. Usually this will be the IP ad-
dress of your router.
Содержание element v.2.0
Страница 100: ...5 Element Operations 90 2016 Axia Audio Rev 1 8 1 Capital budget may you never decrease for we need new test gear...
Страница 149: ...Appendix A Specifications 139 2016 Axia Audio Rev 1 8 1...
Страница 183: ...Warranty 173 2016 Axia Audio Rev 1 8 1 TCP IP How did we live without thee Analogicly...
Страница 184: ...THIS PAGE INTENTIONALLY LEFT BLANK...
Страница 185: ...THIS PAGE INTENTIONALLY LEFT BLANK...


