A
pp
en
di
x E
: A
cc
esso
ry U
se
r P
an
el
s •
16
3
©2016 Axia Audio- Rev 1.8.1
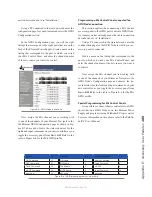
Axia manufactures a comprehensive line of acces-
sory control panels that can be placed near talent, host
or producer positions to give non-board-op users con-
venient control over options such as headphone source
selection and volume, mic channel on/off/mute, talkback
and routing controls. These panels connect to the Axia
network in two ways, depending upon their feature set:
via GPIO, and via CANBus.
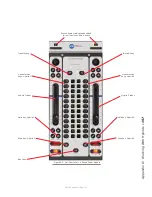
Figure E-1: Axia accessory control panels.
Panels requiring a CANBus connection require a
cable connection to the nearest Element console. These
include the Headphone Selector Panel, Mic Control/
Headphone Selector Panel and the 4-button LCD Smart-
Switch control panels.
Other panels require only a GPIO connection. These
include the Mic Control Panel, Producer’s Mic Control
Panel, 5-Button Film-Cap Switch Panel, and the 5-, 10-
and 15-Button Rackmount Switch Panels.
Installing a CANBus Accessory Panel
Note: Before beginning installation, make cer-
tain that you have the latest software installed
for your StudioEngine and Element console.
Current version software is always available at
https://www.telosalliance.com/Axia
.
Pre-installation Hardware Check
Before installing your new panel, we need to perform
a quick hardware check.
Open the overbridge panel on your Element and ex-
amine the Power Distribution Board (the one in the mid-
dle with all the RJ-45 connectors). Does one of the RJ
jacks contain an RJ-45 termination device? If so, you are
ready to install your accessory panel. Remove the termi-
nator from the distribution board and set it aside for later.
If you do not see this terminator, please contact Axia
support for more information.
Installation
User panels that connect via CANBus are much like
Element fader modules, in that they require a unique ID
setting in order for the system to recognize them cor-
rectly. Each Element module (and each CANBus acces-
sory panel) has a multi-position rotary switch located on
its circuit board; each device attached to an Element’s
CANBus must have this switch set to a unique position.
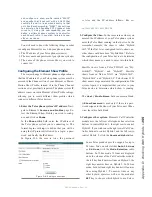
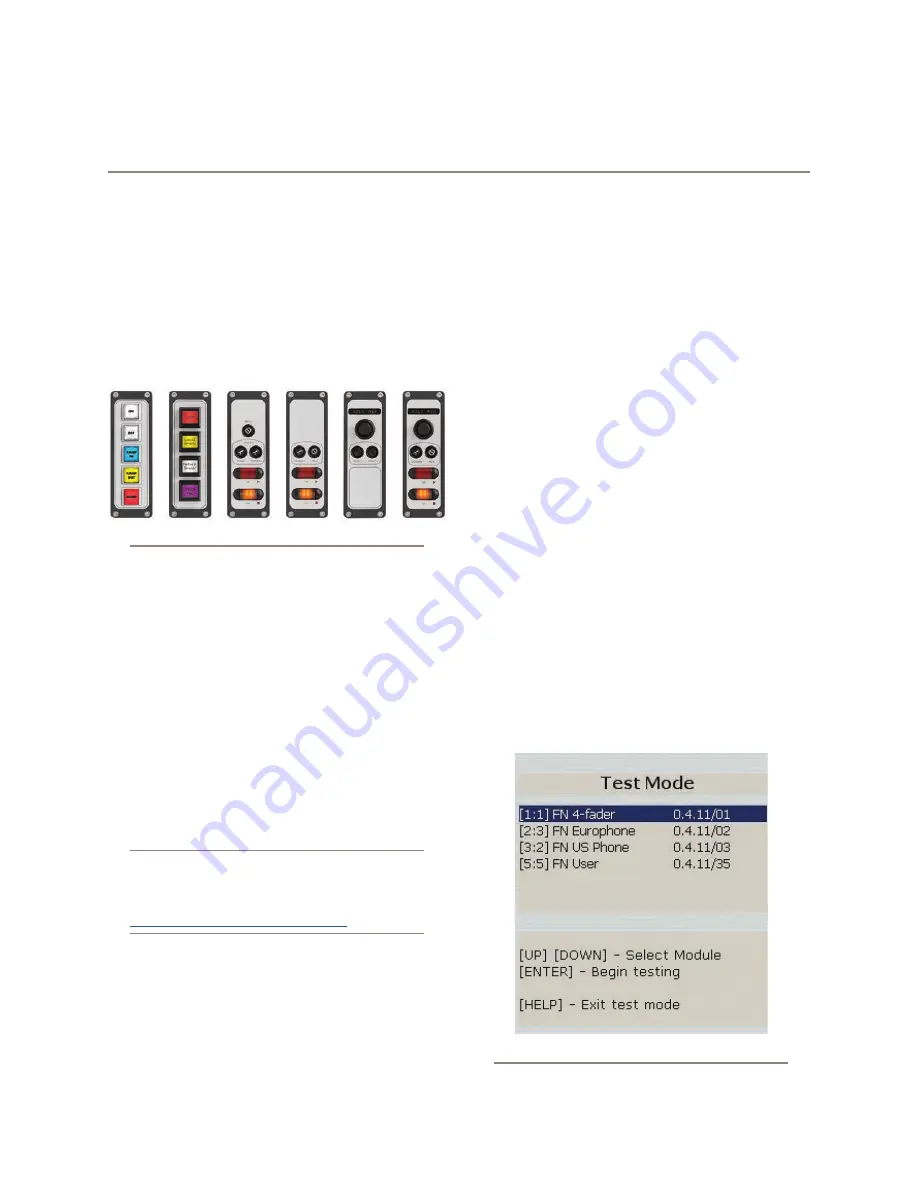
To find out what ID assignments are free, enter El-
ement’s diagnostic mode by pressing and holding the
Help
and
Right Arrow
keys on the Monitor Module for
five seconds.
You’ll see a description of each installed module and
accessory panel device; preceding the description are a
set of numbers in brackets.
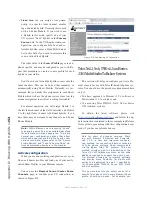
Figure E-2: Element diagnostic mode
Appendix E:
Accessory Panels and User Panels
Содержание element v.2.0
Страница 100: ...5 Element Operations 90 2016 Axia Audio Rev 1 8 1 Capital budget may you never decrease for we need new test gear...
Страница 149: ...Appendix A Specifications 139 2016 Axia Audio Rev 1 8 1...
Страница 183: ...Warranty 173 2016 Axia Audio Rev 1 8 1 TCP IP How did we live without thee Analogicly...
Страница 184: ...THIS PAGE INTENTIONALLY LEFT BLANK...
Страница 185: ...THIS PAGE INTENTIONALLY LEFT BLANK...

