1:
E
le
me
nt
w
ith
S
tu
dio
En
gin
e:
S
et
up
&
C
on
ne
ct
io
ns
•
4
©2016 Axia Audio- Rev 1.8.1
Press and hold both the
*
(star)
and
“2”
keys on the
Monitor Module numeric pad for 5 seconds. The alpha-
numeric displays will change to read
Capture Mode
;
this enumerates all of the installed faders in the control
surface.
Now, make sure that LED displays above the faders
display the channel numbers in the order you desire. If
not, you can adjust them individually using the
PGM1
and
PGM2
buttons above each fader to change the chan-
nel number to the one you desire.
When you’re done adjusting channel number dis-
plays, press the
8
(enter) or #
(if you have a Monitor
+2-fader module)
key to exit Capture Mode and your El-
ement is ready to use.
Hello Moto: If you have motorized faders, you
can “mirror” other motorized faders while you
are in Capture Mode. A motorized fader that is
“slaved” to a master fader will move automati-
cally to mirror the movements of the master.
Mirrored faders both control gain for the same
source, but the master can override the setting
of the slave — useful for “split” Element setups
where talent has a local set of faders that may
be used to control certain sources, but you still
want the Board Operator to have master control.
To mirror a fader, press the Options key above
the fader you wish to make the “slave”. An apos-
trophe (
‘
) will be displayed next to its numeric
indicator. Pressing the fader’s PGM1 and PGM2
keys will change the numeric indicator, indicating
the “Master” to which this fader is now slaved; a
display reading
2’
means that the fader is slaved
to fader 2.
Pressing the Options key again returns the fad-
er to non-mirrored mode.
Short Navigation Tutorial
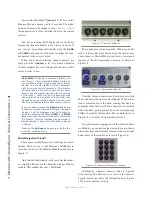
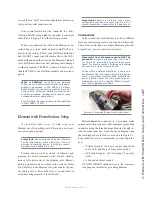
There are several different ways to change on-screen
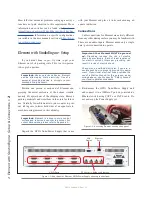
options. The first way is with Element’s SoftKnobs, lo-
cated directly above the Monitor Module and shown in
Figure 1-7.
Note that the functionality is the same but the menus
are slightly different for the Element 2-Fader Monitor
module. This module has only 3 SoftKnobs.
Figure 1-7: Element SoftKnobs.
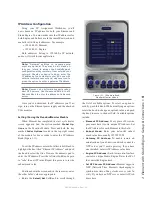
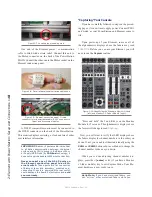
These knobs are context-sensitive. When any of Ele-
ment’s setup modes are activated using the options keys
on the faders or Master Module, you’ll see a correspond-
ing row of “knobs” represented onscreen, as shown in
Figure 1-8.
Figure 1-8: On-screen SoftKnobs.
Note that there are sometimes functions shown both
above and below the on-screen SoftKnobs. When a func-
tion is presented above the knob, turning that knob ac-
complishes that function. When a function is presented
below the knob, pushing in gently on the corresponding
SoftKnob activates that function. The example shown in
Figure 1-8 is from the IP Address Book screen.
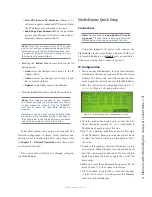
If your Element is equipped with the standard Moni-
tor Module, you can also navigate using the control knob,
directional keys and Enter key located at the lower right-
hand corner of the module, as shown in Figure 1-6.
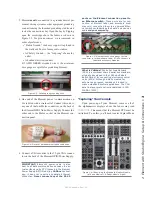
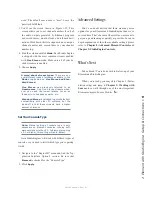
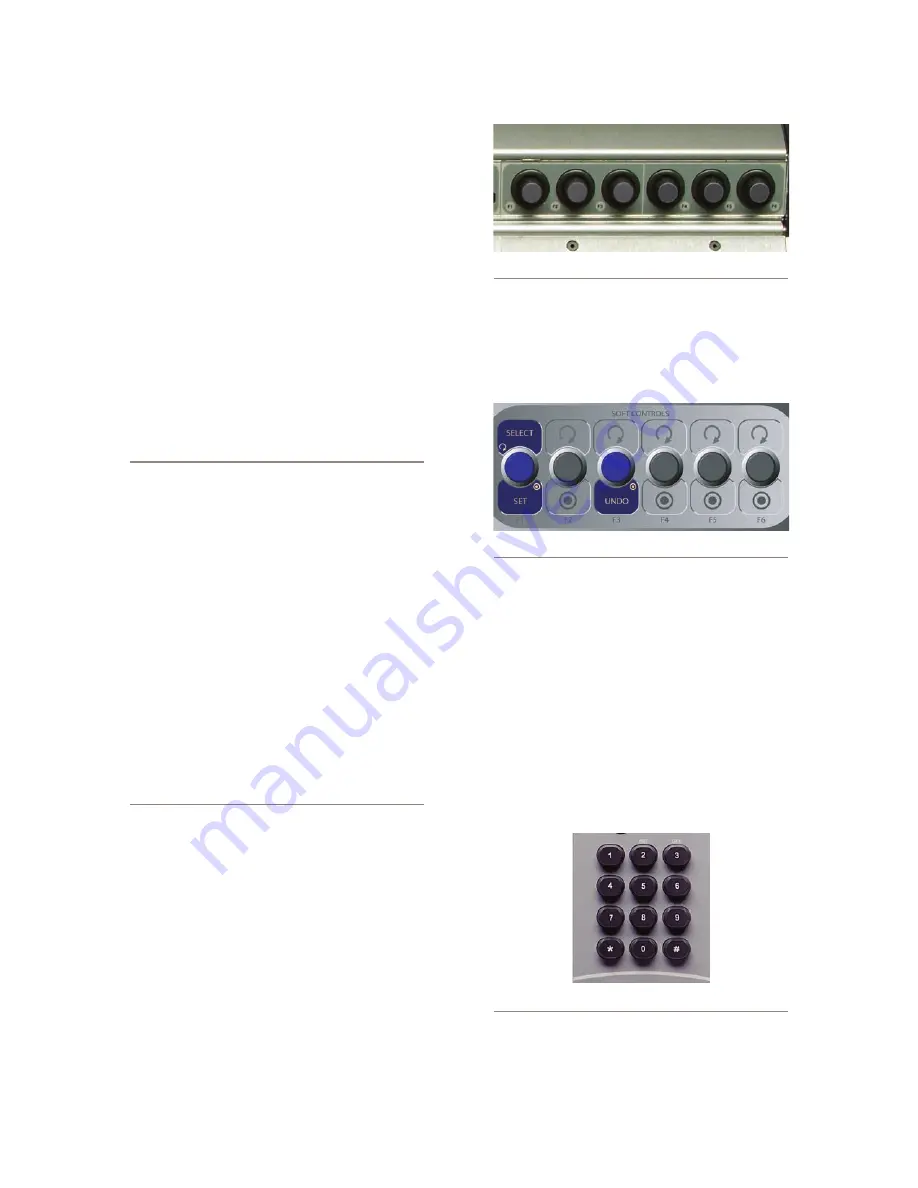
Figure 1-10: Master Module numeric keypad.
Additionally, whenever numeric input is required
(like entering IP addresses), you can use the numeric
keypad located just above the Navigation Keys (Figure
1-10) to enter numbers directly.
Содержание element v.2.0
Страница 100: ...5 Element Operations 90 2016 Axia Audio Rev 1 8 1 Capital budget may you never decrease for we need new test gear...
Страница 149: ...Appendix A Specifications 139 2016 Axia Audio Rev 1 8 1...
Страница 183: ...Warranty 173 2016 Axia Audio Rev 1 8 1 TCP IP How did we live without thee Analogicly...
Страница 184: ...THIS PAGE INTENTIONALLY LEFT BLANK...
Страница 185: ...THIS PAGE INTENTIONALLY LEFT BLANK...


