9:
S
tu
dio
En
gin
e C
on
tr
ol
s
• 1
2
5
©2016 Axia Audio- Rev 1.8.1
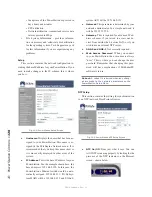
engine is of the variety with fans).
• The
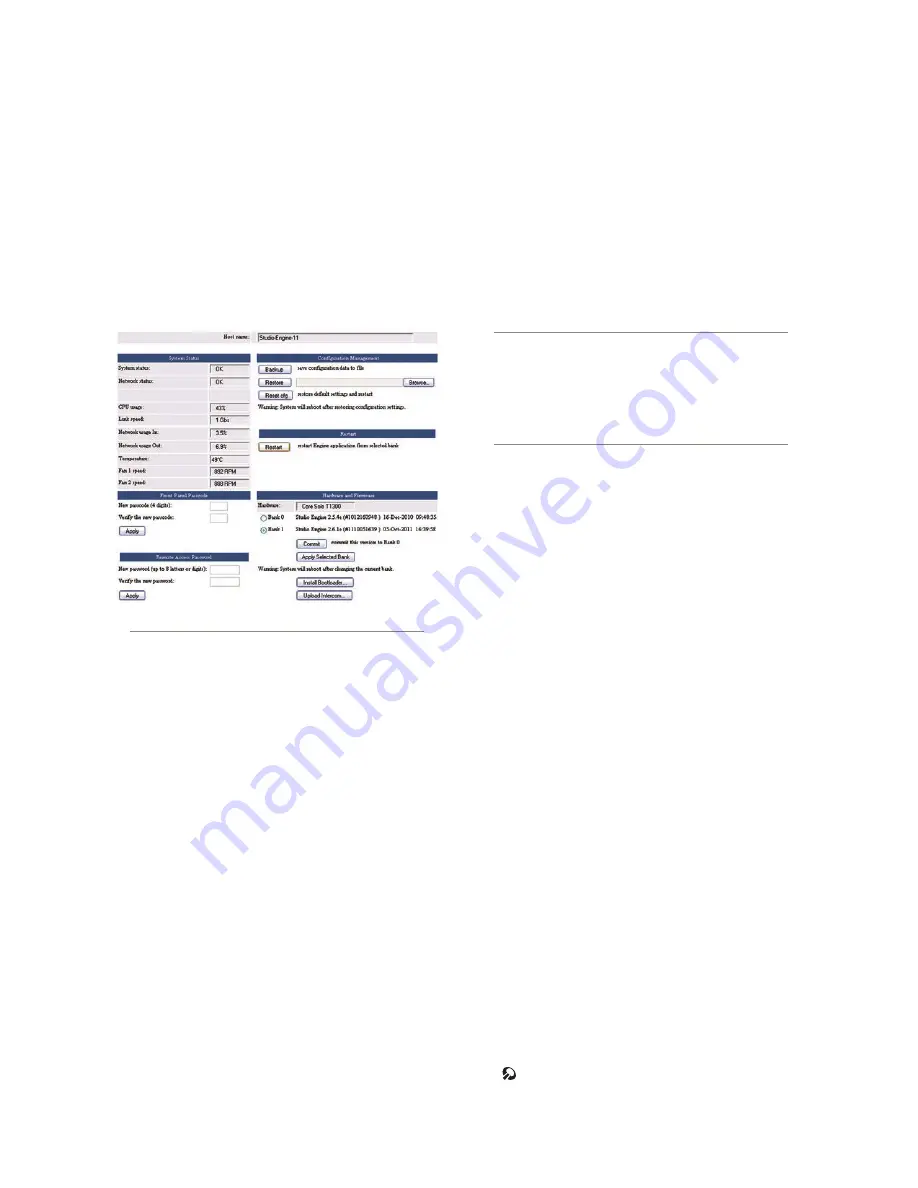
Configuration Management
section lets you
make backups of and restore your Engine settings.
Use the
Browse
,
Backup
and
Restore
buttons to
accomplish these actions. Use the
Reset Cfg
button
to reset all of your StudioEngine’s settings to an “as-
shipped” state. This command will completely erase
any choices you have made and reset your Engine to
the way it came from the factory, so use with caution!
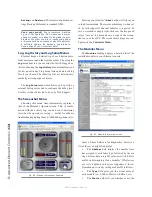
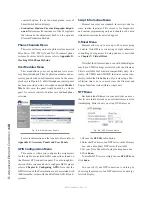
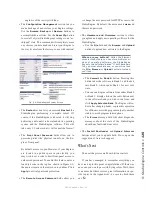
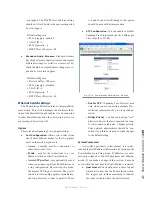
Fig. 9-9: StudioEngine System Screen
• The
Restart
section lets you remotely
Restart
the
StudioEngine, performing a complete reboot. Of
course, if the StudioEngine is rebooted, it will stop
delivering audio until is has reloaded its operating
system and the StudioEngine software. This will
take only 1-2 minutes but it will seem like forever!
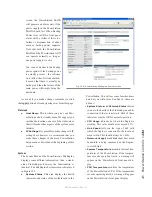
• The
Front Panel Passcode
fields allow you to
passcode-protect the physical controls on the En-
gine’s front panel.
By default, access is open. However, if your Engines
are located in a public space in your facility, you
may wish to set a code to limit front-panel access to
authorized personnel. To enable this feature, enter a
four-digit code in the top box shown in Figure 9-9,
then enter it again in the lower box to confirm. Click
Apply
to activate passcode protection.
• The
Remote Access Password
fields allow you
to change the user password for HTTP access to the
StudioEngine. By default, the user name is
user
and
there is no password.
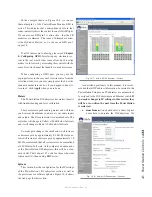
• The
Hardware and Firmware
section is where
you upload and apply new operating software for the
StudioEngine.
»
Use the
File
field and the
Browse
and
Upload
buttons to upload new software to the Engine.
Where are my buttons? Unlike the Element
console itself, where you can store multiple ver-
sions of operating software, the StudioEngine
has only two software “banks.” If both banks are
full, you must eliminate one, or you will not see
the File, Browse or Upload controls. Instead,
you’ll see...
»
The
Commit to Bank 0
button. Pressing this
button takes the software in Bank 1 and loads it
into Bank 0, which opens Bank 1 for new soft-
ware.
»
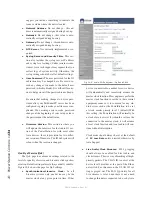
You can run Engine software from either Bank 0
or Bank 1. Simply click on the radio button next
to the software bank you wish to run from, and
click
Apply Selected Bank
. The Engine will re-
boot after changing banks, so plan this operation
for off-hours or switch program output to another
studio to avoid program interruptions.
»
The
Errors
message field will show diagnostic
messages about the state of the StudioEngine
should any fault conditions exist.
• The
Install Bootloader
and
Upload Intercom
buttons allow you to update both. Do so upon the
suggestion of Axia tech support.
What’s Next
The next chapter covers PowerStation controls.
If you have managed to remember everything you
have read up to this point, congratulations! If there was
an exam, you would pass with flying colors. Well, there
is no exam but there is more great information on spe-
cific topics in the Appendices - be sure to check them
out.
Содержание element v.2.0
Страница 100: ...5 Element Operations 90 2016 Axia Audio Rev 1 8 1 Capital budget may you never decrease for we need new test gear...
Страница 149: ...Appendix A Specifications 139 2016 Axia Audio Rev 1 8 1...
Страница 183: ...Warranty 173 2016 Axia Audio Rev 1 8 1 TCP IP How did we live without thee Analogicly...
Страница 184: ...THIS PAGE INTENTIONALLY LEFT BLANK...
Страница 185: ...THIS PAGE INTENTIONALLY LEFT BLANK...


