6: S
ho
w P
ro
fil
es •
97
©2016 Axia Audio- Rev 1.8.1
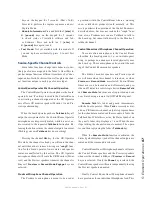
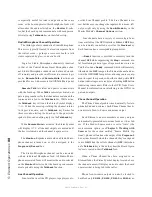
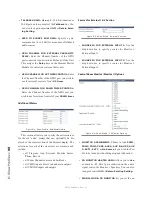
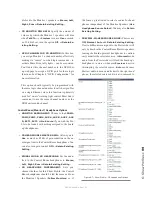
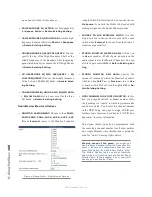
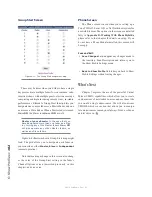
General Monitor Options
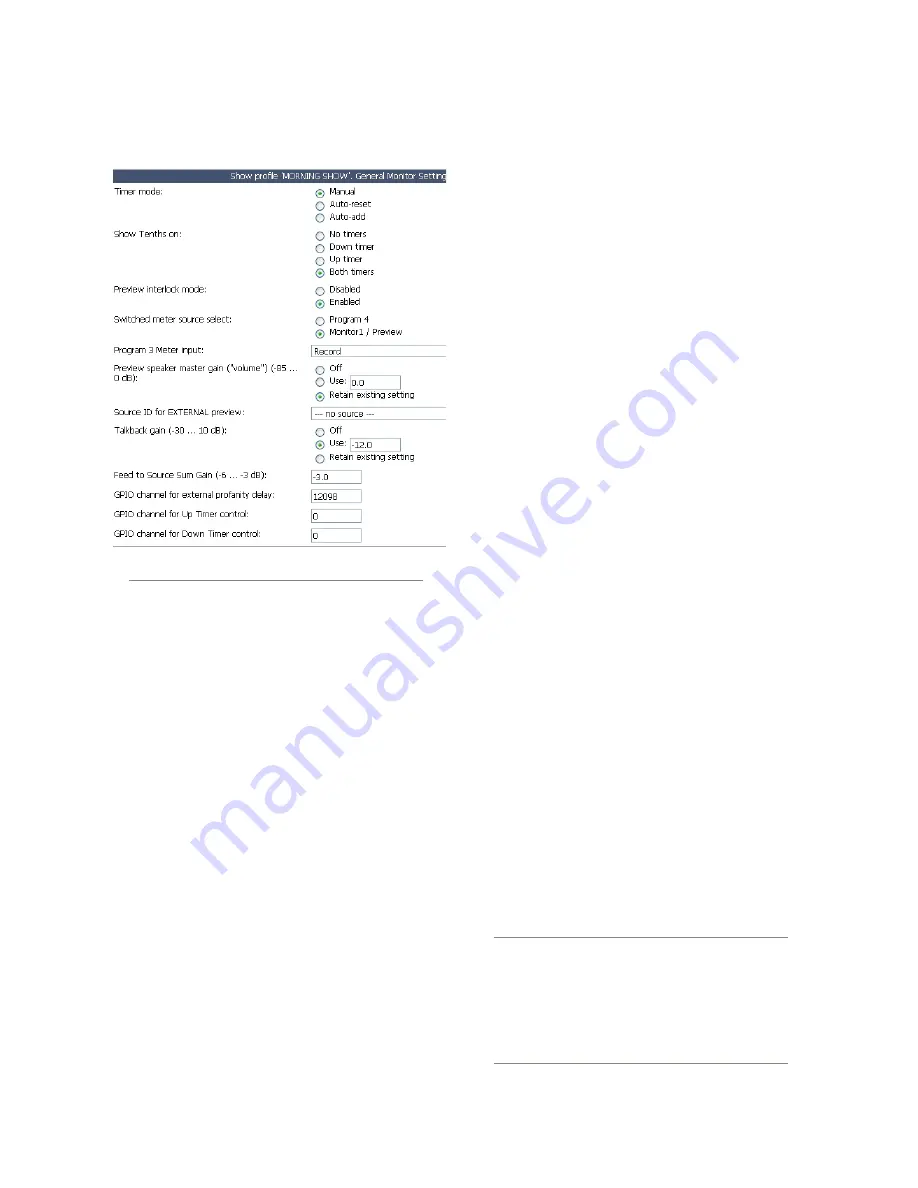
Figure 6-3: Show Profile - Monitor Settings
•
TIMER MODE:
Lets you decide globally how the
onscreen Count Up (event) timer will behave when
this profile is loaded:
»
Choose
Manual
to start, stop and reset the timer
by hand using the controls displayed when the
Timer Options
key is pressed.
»
Choose
Auto-Reset
and the timer will automat-
ically reset to zero and begin counting whenever
a fader is turned
On
.
»
Choose
Auto-Add
to have the timer count up
when a fader is turned
On
and stop counting
when that source is turned
Off.
In this mode, the
timer will not reset to zero when it is restarted.
•
SHOW TENTHS ON:
Allows you to set the Count-
down and Count Up timers to show or hide tenths of
a second displays. Choices are:
»
No Timers:
tenths of a second are hidden on
both timers.
»
Down Timers:
tenths are shown only on Count-
down timers.
»
Up Timers:
tenths are shown only on Count Up
timers.
»
Both Timers:
All timers display tenths of a sec-
ond readouts.
•
PREVIEW INTERLOCK MODE:
If
Enable
is cho-
sen, pressing any fader’s
Preview
key causes any
other, previously-lit
Preview
key to be extinguished,
removing that source from
Preview.
The board
operator can assign multiple faders to
Preview
by
pushing and holding any lit
Preview
key while
pushing other
Preview
keys to add or subtract. If
Disable
is chosen, each
Preview
key works like a
press-on, press-off latching switch. Multiple faders
can be assigned to
Preview
simply by pushing once;
a second push cancels any individual
Preview
as-
signment.
•
SWITCHED METER SOURCE SELECT:
Choose
whether the far-right on-screen meter bars will dis-
play levels for the
PROGRAM 4
bus or the source
feeding the Control Room Monitors.
•
PROGRAM 3 METER INPUT:
Choose from
Pro-
gram 3, Record, Phone, External 1, External 2.
•
PREVIEW SPEAKER MASTER GAIN:
Lets you
Use
up to -85 dB of attenuation on the Control Room
Preview speakers, turn gain adjustment
Off
, or
Re-
tain Existing Setting
.
•
SOURCE ID FOR EXTERNAL PREVIEW:
Ele-
ment’s External Preview allows other devices to
route audio into the console’s Preview system (speak-
ers and operator headphones). Use this drop-down
box to select the External Preview source for this
Show Profile. Note that this must be enabled by a pin
on the CR Monitor GPIO.
What’s External Preview for? The word “Ex-
ternal” refers here to any source not gener-
ated by the studio you’re working in. Let’s say
you have an intercom system that you want to
feed the console’s Preview channel. To do this,
you would take the GPO from the intercom and
use it to gate open the external preview input,
which would be fed by the intercom audio. Voila!
Содержание element v.2.0
Страница 100: ...5 Element Operations 90 2016 Axia Audio Rev 1 8 1 Capital budget may you never decrease for we need new test gear...
Страница 149: ...Appendix A Specifications 139 2016 Axia Audio Rev 1 8 1...
Страница 183: ...Warranty 173 2016 Axia Audio Rev 1 8 1 TCP IP How did we live without thee Analogicly...
Страница 184: ...THIS PAGE INTENTIONALLY LEFT BLANK...
Страница 185: ...THIS PAGE INTENTIONALLY LEFT BLANK...


