


install - concepts - PixMaster - switcher - CG - clips - controls - team - appendix
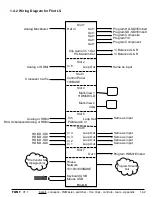
FLINT
V1.1
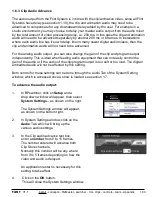
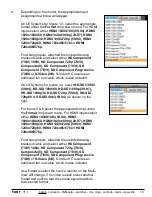
1.6.3 Clip Audio Advance
The audio output from the Flint System is in time with the clip/animation video, since all Flint
Systems have delay (see section 1.10), the clip and animation audio may need to be
advanced to compensate for any downstream delay added by the user. For example in a
studio environment, you may choose to delay your master audio output from the audio mixer
by the total amount of video processing delay, i.e. 200 ms, in this case the clip and animation
audio will need to be advanced separately by another 200 ms or 6 frames. In installations
where each audio line has it’s own delay, like on many newer digital audio mixers, then the
clip and animation audio will not need to be advanced.
For the analog audio output, you can also change the gain of the clip and program output
independently. This is ideal when feeding audio equipment that can not easily control the
gain of the audio or if the audio of the clip/program output is too soft or too loud. The digital/
embedded audio will not be affected by this setting.
Both control for these settings can be done through the Audio Tab of the System Setting
window, which is accessed once a show is loaded, see section 1.7.
1.6.3
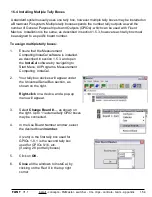
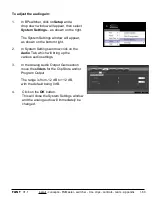
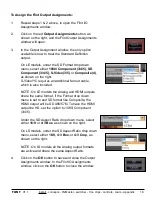
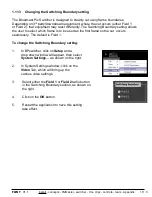
To advance the audio output:
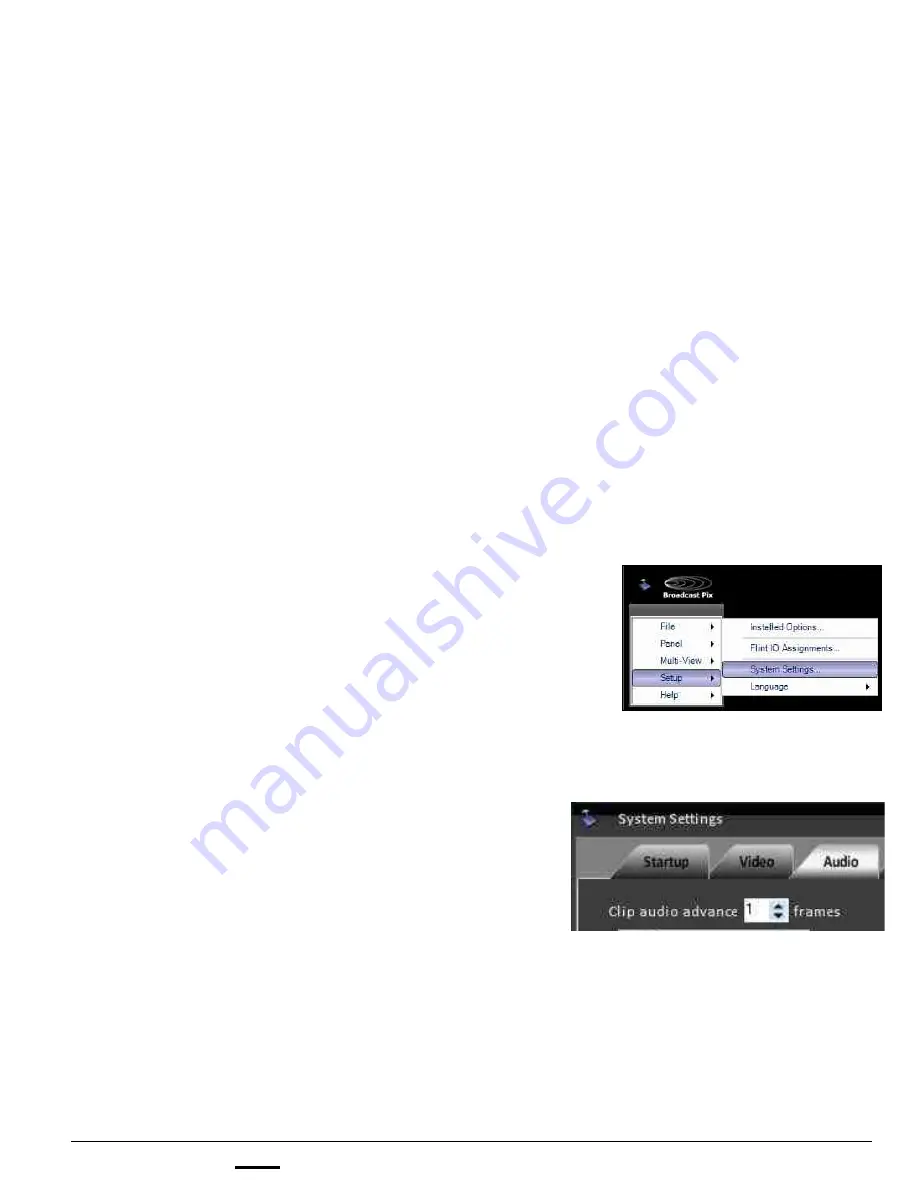
1.
In BPswitcher, click on
Setup
and a
drop down window will appear, then select
System Settings…
as shown on the right.
The System Settings window will appear,
as shown on the bottom right.
2.
In System Settings window, click on the
Audio
Tab, which will bring up the
various audio settings.
3.
In the Clip audio advance text box,
enter a
number
from 0 to 15 frames.
The number entered will advance both
Clip Store channels.
Normally this number will be any where
from 0 to 5 frames depending on how the
video and audio is delayed.
An application restart is necessary for this
setting to take affect.
4.
Click on the
OK
button.
This will close the System Settings window.


