


install - concepts - PixMaster - switcher - CG - clips - controls - team - appendix
FLINT
V1.1
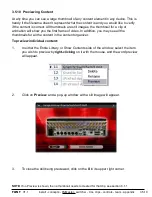
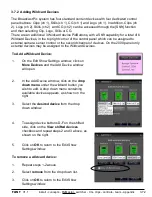
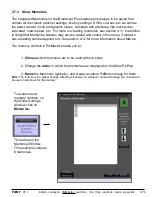
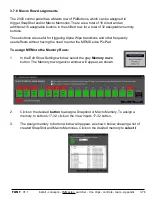
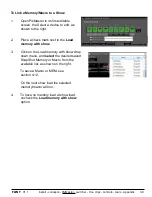
3.7.5 Custom Images on Memory PixButtons
In the Edit memory window, If you
uncheck
Use name of PixButton, then you can
assign a Custom PixButton by clicking on
Custom button
. This will open the ‘Choose
custom PixButton image’ window, where you can navigate to find a custom image
created by the Draw PixButton application, as shown below.
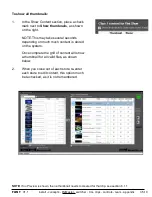
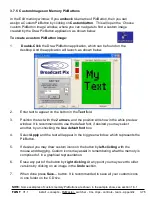
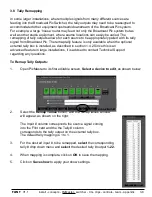
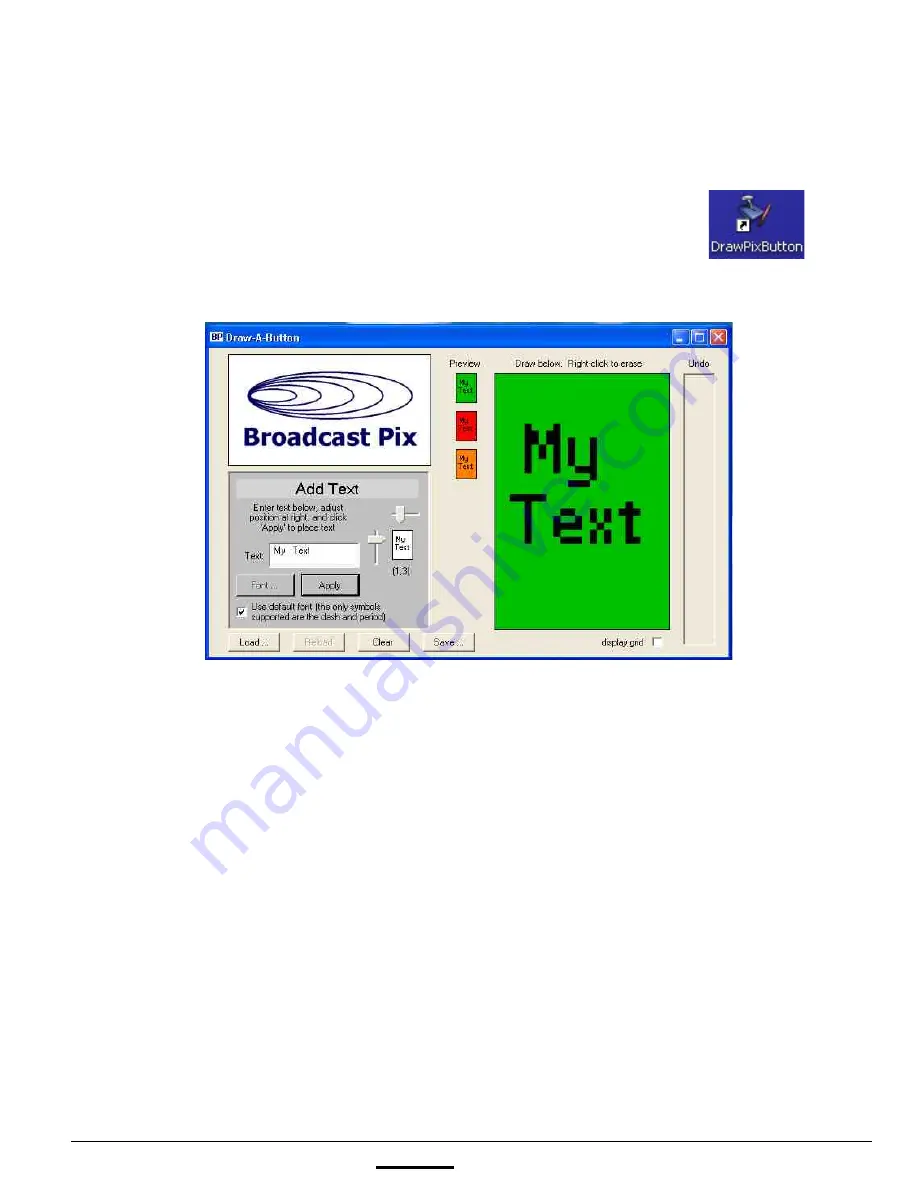
To create a custom PixButton image:
1.
Double-Click
the Draw PixButton application, which can be found on the
desktop. And the application will launch, as shown below.
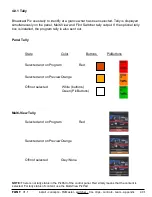
2.
Enter text to appear on the button in the
Text
field.
3.
Position the text with the
2 arrows
, and the position will show in the white preview
window. It is recommended to use the default font, if desired you may select
another, by un-checking the
Use default font
box.
4.
Select
Apply
and the text will appear in the big green window, which represents the
PixButton.
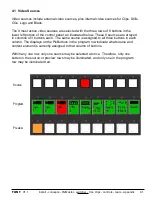
5.
If desired you may draw custom icons on the button by
left-clicking
with the
mouse and dragging. Custom icons may assist in remembering what the memory is
comprised of, in a graphical representation.
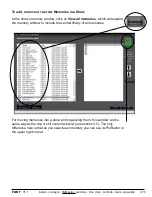
6.
Erase any part of the button by
right clicking
. At any point you may revert to older
versions by clicking on an image in the
Undo
section.
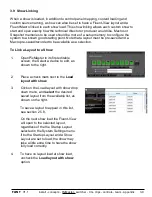
7.
When done press
Save…
button. It is recommended to save all your custom icons
in one folder on the C Drive.
3.7.5
NOTE:
Some examples of custom memory PixButtons are shown in the sample show, see section 1.6.1


