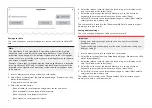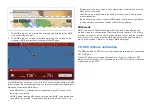
• The
[Shared brightness]
setting set to
On
for all products in the brightness
group.
• Products to be assigned to network groups.
• All the products in each group to be synchronized.
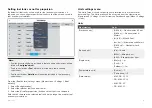
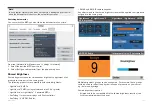
Setting up shared brightness
To set up shared brightness follow the steps below.
Before setting up shared brightness on your MFD, ensure that all displays
that you want to use shared brightness are switched on and set to the same
[Display group]
as your MFD.
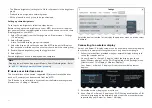
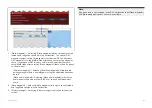
1. Select
[This display]
from the
[Settings]
menu:
[Homescreen > Settings
> This display]
.
2. Select
[Display group]
.
A list of available display groups is displayed.
3. Select the display group that you want the MFD to be part of (Displays
that have been installed next to each other should be in the same group).
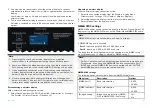
4. Enable
[Shared brightness]
using the toggle switch.
5. Select
[Sync]
.
‘Shared brightness active’ is displayed when complete.
Note:
Display group selection may impact Mercury SmartCraft integration. Refer
to:
p.352 — Mercury SmartCraft helm grouping
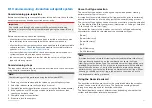
IP device user interface access
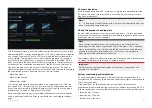
The user interface of connected, supported IP (Internet Protocol) devices
(such as IP cameras) can be accessed from the MFD.
The IP device’s user interface is accessed from the Network settings menu:
[Homescreen > Settings > Network]
.
Select the device from the list to display the pop-over menu, and then select
[Calibrate]
.
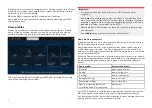
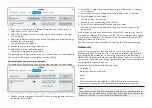
Connecting to a wireless display
Axiom® and Axiom® 2 display screens can be mirrored to an external display
that has built-in wireless mirroring feature or using an external dongle
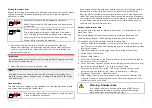
1. Follow the instructions provided with your external display or dongle to
set up that specific device.
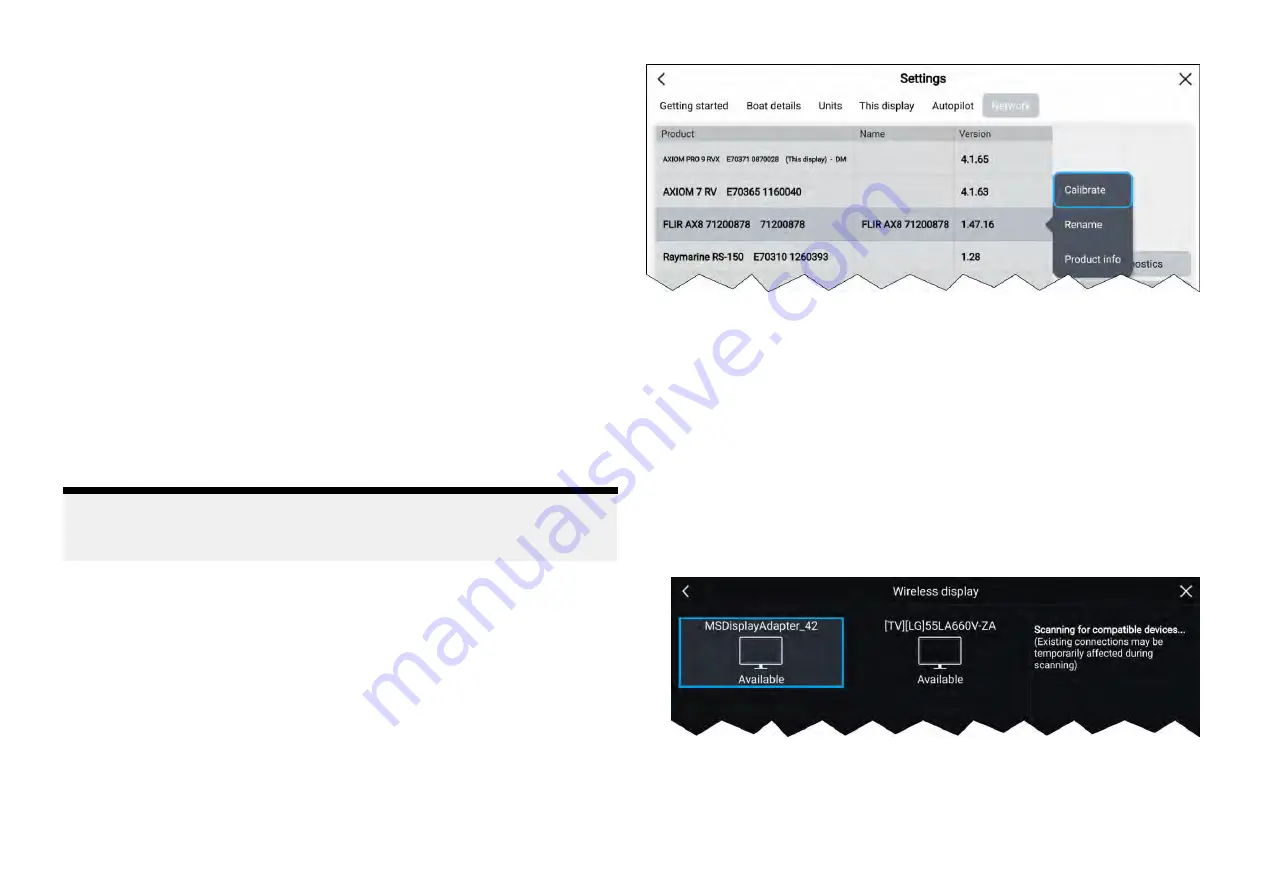
2. On your Axiom® or Axiom® 2 display, select the display icon found
under
[Wireless display:]
on the
[This Display]
tab of the
[Settings]
menu:
(
[Homescreen > This Display > Wireless Display:]
).
Your Axiom® or Axiom® 2 display will search for available external
displays.
3. Select the external display you want to use.
4. If your Axiom® or Axiom® 2 display has Wi-Fi Sharing enabled then a PIN
number is displayed on the external display, input this pin number when
requested by your Axiom® or Axiom® 2 display.
106
Summary of Contents for LIGHTHOUSE 4
Page 2: ......
Page 4: ......
Page 20: ...APPENDIX C HARDWARE AND SOFTWARE COMPATIBILITY 478 APPENDIX D DOCUMENT CHANGE HISTORY 480 20...
Page 414: ...414...
Page 451: ...4 Select Delete again to confirm 5 Select OK YachtSense ecosystem 451...
Page 484: ......
Page 503: ......

