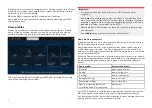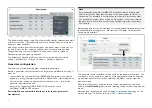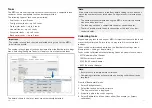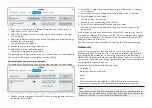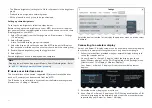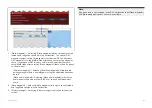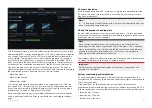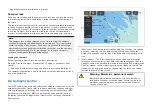
5. You may also be requested to allow the external display to connect
automatically in future, select
[Yes]
or
[No]
as appropriate on your external
display.
Your Axiom® or Axiom® 2 display screen will now be displayed on the
external display.
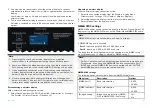
6. To allow the external display to connect each time your Axiom® or Axiom®
2 display is switched on, enable
[Connect on power up]
from the pop-over
options.
Note:
1.
Don’t forget to check your external display for any required
confirmations / acknowledgements during the connection process.
2. Some non Miracast-certified devices may not be able to connect with
Wi-Fi Sharing enabled, in this case disable Wi-Fi Sharing and try again.
3.
If you experience connection issues, try disabling and enabling the
wireless display feature on the external display and on your Axiom® or
Axiom® 2 display, or power cycle both devices.
4.
Once connected/paired to an external display do not change your
Axiom® or Axiom® 2 display’s Wi-Fi Passphrase, as on certain devices a
factory reset maybe required to re-establish a connection.
Disconnecting a wireless display
With a wireless display connection active:
1. Select Disconnect from the
[This Display]
tab: (
[Homescreen > Settings >
This Display > Wireless Display: > Disconnect]
).
Unpairing a wireless display
With the wireless display connection active:
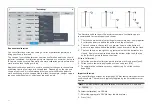
1. Select the connected display from the Wireless display menu:
(
[Homescreen > Settings > This Display > Wireless Display:]
).
2. Select the connected display from the list of available displays.
3. Select
[Unpair]
from the pop-over menu.
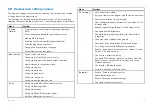
NMEA 0183 settings
NMEA 0183 devices can be connected directly to Axiom® Pro and Axiom® XL
displays using the NMEA 0183 wires on the Power/Video/NMEA 0183 cable.
Note:
NMEA 0183 settings are not available on Axiom® 2 displays.
2 NMEA 0183 ports are available:
•
Port 1
: Input and output, 4,800 or 38,400 baud rate.
•
Port 2
: Input only, 4,800 or 38,400 baud rate.
The baud rate for each input port must be specified in the
[NMEA set-up ]
menu (
[Homescreen > Settings > Network > NMEA set-up ]
).
Note:
• For Port 1, both the input and output communicate at the same baud rate.
For example, if you have one NMEA 0183 device connected to Port 1
INPUT, and another NMEA 0183 device connected to Port 1 OUTPUT,
both NMEA devices must use the same baud rate.
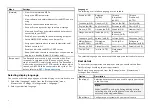
NMEA 0183 settings
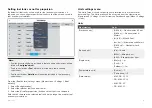
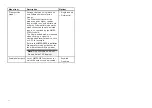
The following options are available from the
[NMEA Set-up]
menu.
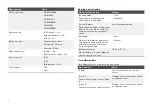
Menu item
Description
Options
[NMEA Port 1]
Baud rate selection.
• 4,800
• 38,400
[NMEA input port
2]
Baud rate selection.
• 4,800
• 38,400
[Bridge heading]
Bridge heading data from NMEA
0183 to NMEA 2000 / SeaTalkng ®
• Yes
• No
107
Summary of Contents for LIGHTHOUSE 4
Page 2: ......
Page 4: ......
Page 20: ...APPENDIX C HARDWARE AND SOFTWARE COMPATIBILITY 478 APPENDIX D DOCUMENT CHANGE HISTORY 480 20...
Page 414: ...414...
Page 451: ...4 Select Delete again to confirm 5 Select OK YachtSense ecosystem 451...
Page 484: ......
Page 503: ......


