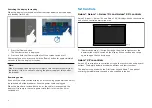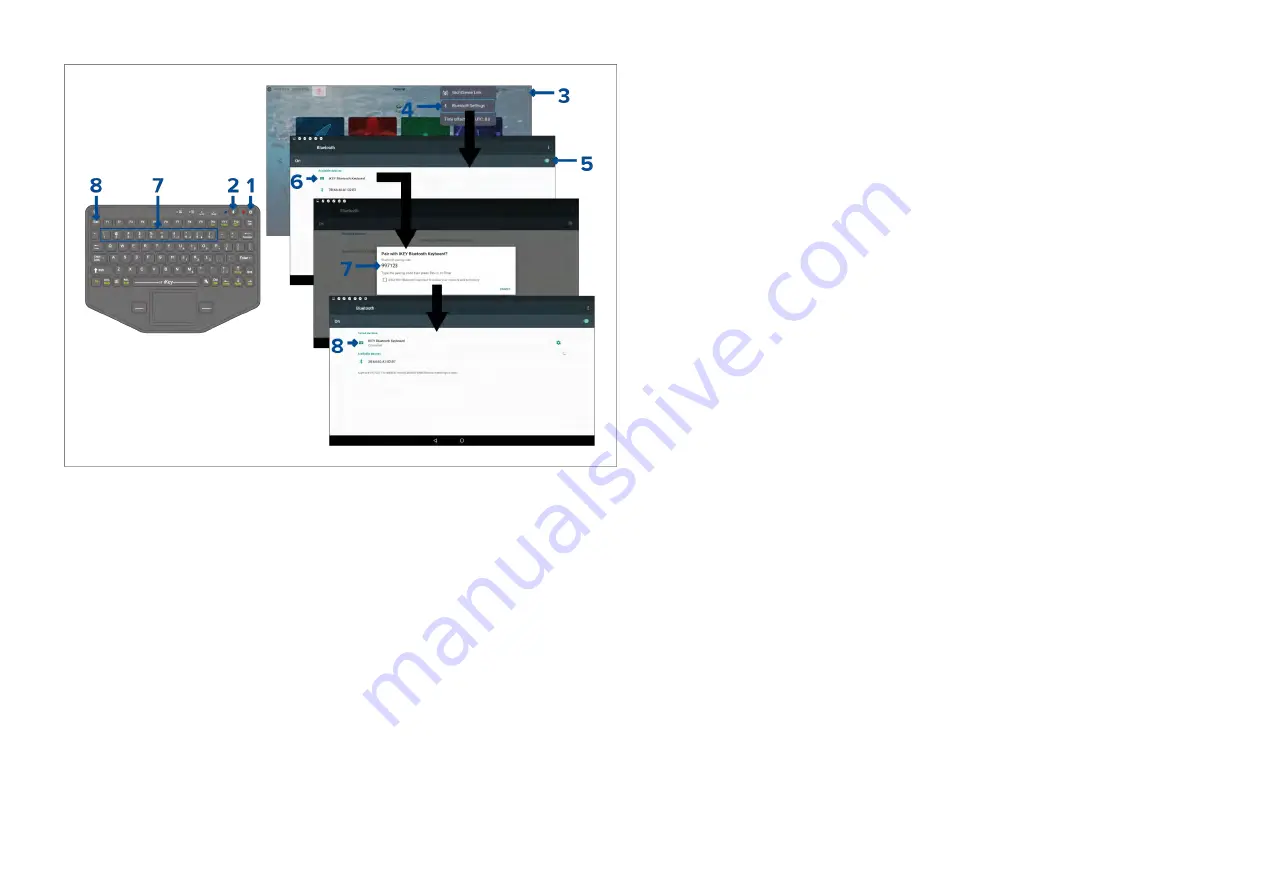
1. Press and hold the
[Power]
button for approximately 4 seconds, until the
power button LED flashes red.
2. Press and release the
[Bluetooth]
button.
3. From the display, select the status area (top right of homescreen).
4. Select
[Bluetooth Settings]
.
5. Enable bluetooth using the toggle switch.
6. Select the bluetooth keyboard.
7. Using the keyboard enter the bluetooth pairing code that is displayed on
the display screen and press
[Enter]
.
8. Once connected press the
[Esc]
button on the keyboard to return to the
homescreen.
5.3 Initial setup
First power up
When you power up your new display for the first time a number of actions
are required.
The list below shows the actions that should be performed on your new
display:
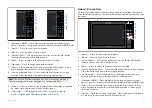
1.
[Power]
on the display.
2. Select your datamaster (only required on networks with more than 1
display).
3.
Complete the
[Startup wizard]
(the wizard will not be shown if you are
connecting to an existing system that has already been set up).
4.
Select keypad type (Axiom® 2 Pro displays only).
5. Read and agree to the
[Limitations on Use]
disclaimer.
6. Select/check your preferred
[Data sources]
, if required.
7.
Perform
[Engine identification]
, if required.
8. Select/check
[Transducer settings]
, if required
First power up datamaster selection
Ethernet networks that contain more than 1 display must have a designated
datamaster. The datamaster is the primary display on the network and
should be the display that is also connected to the SeaTalkng ® / NMEA 2000
network and any other sources of data in your system. The datamaster
bridges the data over the ethernet network to any compatible networked
‘repeater’ displays.
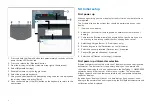
By default your display will be set as a datamaster. If you connect a new
display to the network then on first power up the ‘Multiple datamasters found’
notification will be displayed.
56
Summary of Contents for LIGHTHOUSE 4
Page 2: ......
Page 4: ......
Page 20: ...APPENDIX C HARDWARE AND SOFTWARE COMPATIBILITY 478 APPENDIX D DOCUMENT CHANGE HISTORY 480 20...
Page 414: ...414...
Page 451: ...4 Select Delete again to confirm 5 Select OK YachtSense ecosystem 451...
Page 484: ......
Page 503: ......

