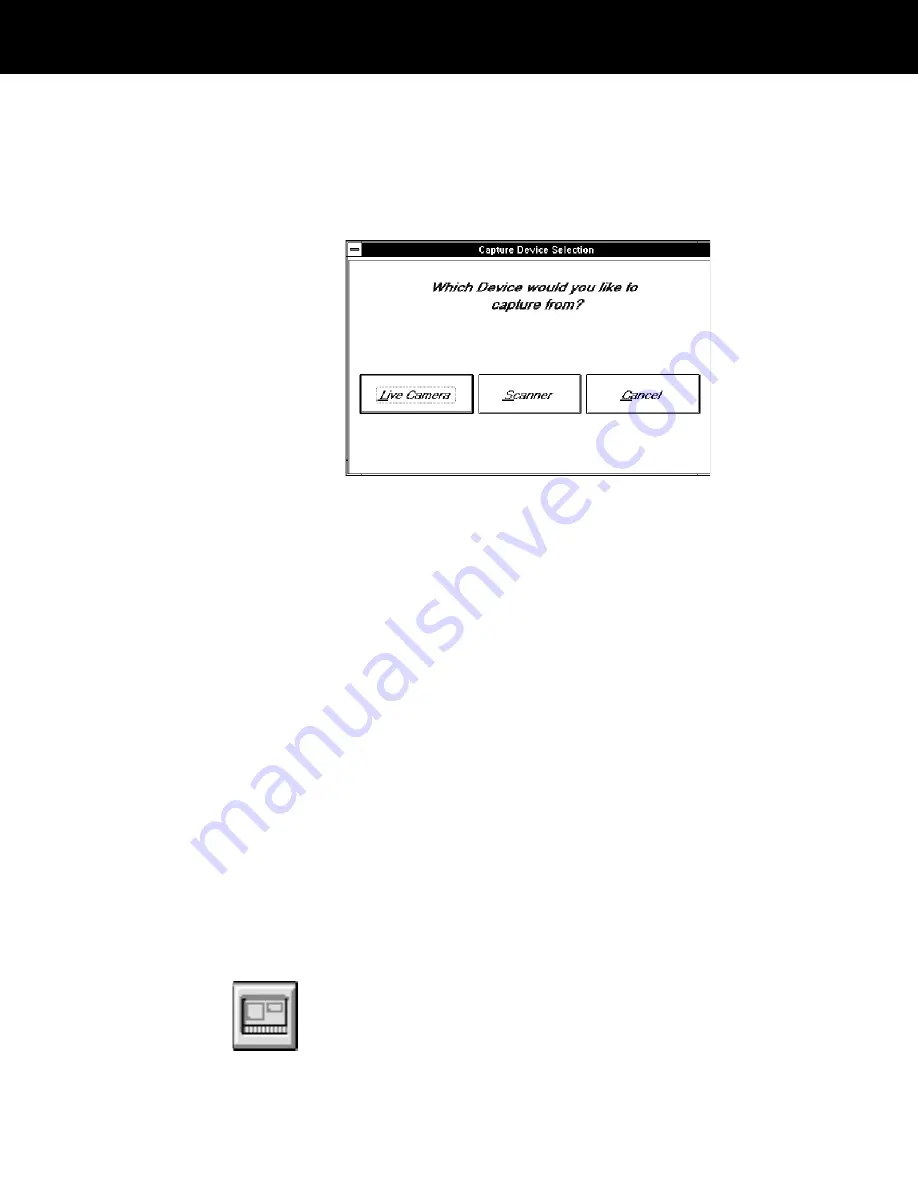
Note: If your system has more than one portrait-capture
device (a portrait camera and a color scanner, for
example) and the device has not been determined
during database and screen design, a device-selection
dialog box appears when you choose the Print button.
Your device selection dialog box may be different from
the one shown.
If the device selection dialog box appears, choose the
desired capture device to display a portrait-capture
dialog box.
3
Capture one or more images from the portrait camera,
color scanner, signature tablet, etc., as appropriate for
the image-capture devices you are using. If necessary,
see Chapter 6,
Input devices, for detailed instructions for
each capture device connected to your ID-4000.
4
Wait for the badge to print on the device you specified in
the Badge Type field during data entry. (The field may
have a different name.)
5
Perform any additional steps necessary for printing the
badge on the output device connected to your system.
See Chapter 7,
ID-4000 output devices, for information
about the badge printer you are using and any post-print
operations such as diecutting and laminating.
6
If your system encodes magnetic stripes on the badges,
choose the Encode button to encode it.
Note: Encode the magnetic stripe only after laminating
the badge.
ID-4000 operation 4-27


