Cast Members and Cast Windows
147
2
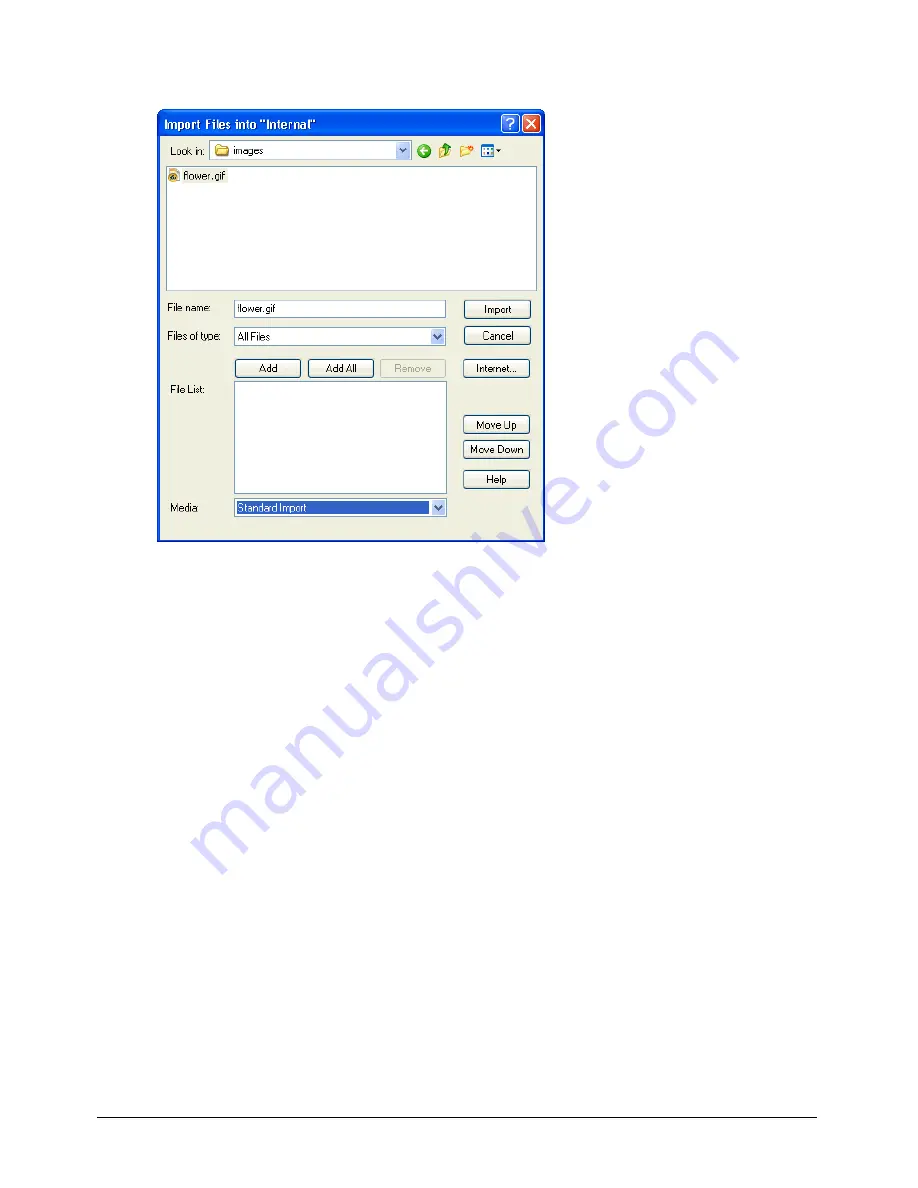
Select File > Import.
3
To import a file from the Internet, click Internet and enter a URL in the Find URL text box.
4
To import local files, select the type of media to import from the Files of Type (Windows) or
the Show (Macintosh) pop-up menu.
All the files in the current directory appear unless you make a selection.
5
To select a file or files to import, do one of the following:
•
Double-click a file.
•
Select one or more files, and click Add.
•
Click Add All.
You can switch folders and import files from different folders at the same time.
6
From the Media pop-up menu at the bottom of the dialog box, select an option to specify how
to treat imported media:
Standard Import
imports all selected files, storing them inside the movie file but not updating
them when changes are made to the source material. If you selected the option to import from
the Internet in step 3, Director retrieves the file immediately from the Internet if a connection
is available.
Note:
AVI and QuickTime files are always linked to the original external file (see the next option, Link to External
File), even if you select Standard Import.
Summary of Contents for DIRECTOR MX-USING DIRECTOR MX
Page 1: ...Using Director MX Macromedia Director MX...
Page 12: ...Contents 12...
Page 156: ...Chapter 4 156...
Page 202: ...Chapter 6 202...
Page 244: ...Chapter 7 244...
Page 292: ...Chapter 10 292...
Page 330: ...Chapter 12 330...
Page 356: ...Chapter 13 356...
Page 372: ...Chapter 14 372...
Page 442: ...Chapter 16 442...
Page 472: ...Chapter 18 472...
Page 520: ...Chapter 19 520...
Page 536: ...Chapter 20 536...
Page 562: ...Chapter 23 562...
Page 566: ...Chapter 24 566...
Page 602: ...Chapter 27 602...


