Director MX 3D Tutorial
125
You’ve almost finished
By now, you should be familiar with the procedure to add the Click Model Go to Marker action
and its trigger. You’ll repeat the steps a final time for the remaining table.
1
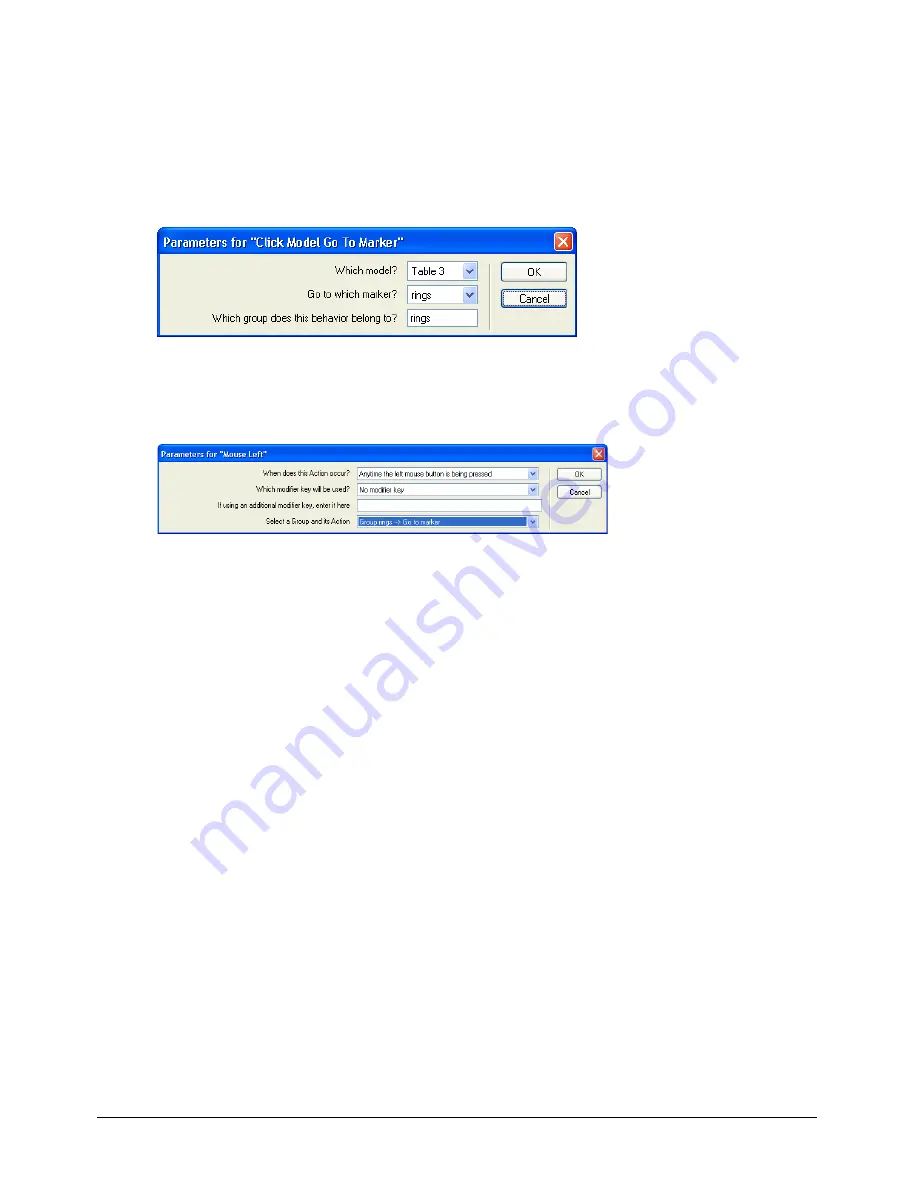
Drag the Click Model Go to Marker behavior from the Cast window to the Magic trick sprite.
This time, specify Table 3 in the Which Model pop-up menu and Rings in the Go to Which
Marker pop-up menu. Create a new group named Rings. Then click OK.
2
Drag the Mouse Left behavior from the Cast window to the Magic trick sprite. Repeat the
steps from the two previous times you’ve applied this behavior, except this time, in the Select a
Group and Its Action pop-up menu, select Group Rings – Go to Marker. Then click OK.
3
Save your movie.
Play your completed movie
When you play your movie, you’ll look at the Score to see the Click Model Go to Marker
behaviors in action.
1
Arrange the Score and the Stage so that they are both visible on your screen, and play
the movie.
Notice how the movie plays from frame 1 to frame 9 in the Score and then loops back to
the Intro marker.
2
Move the pointer on the Stage so that it is touching the left table or the cards on top of it (the
Table 1 model).
Summary of Contents for DIRECTOR MX-USING DIRECTOR MX
Page 1: ...Using Director MX Macromedia Director MX...
Page 12: ...Contents 12...
Page 156: ...Chapter 4 156...
Page 202: ...Chapter 6 202...
Page 244: ...Chapter 7 244...
Page 292: ...Chapter 10 292...
Page 330: ...Chapter 12 330...
Page 356: ...Chapter 13 356...
Page 372: ...Chapter 14 372...
Page 442: ...Chapter 16 442...
Page 472: ...Chapter 18 472...
Page 520: ...Chapter 19 520...
Page 536: ...Chapter 20 536...
Page 562: ...Chapter 23 562...
Page 566: ...Chapter 24 566...
Page 602: ...Chapter 27 602...


