Animation
187
4
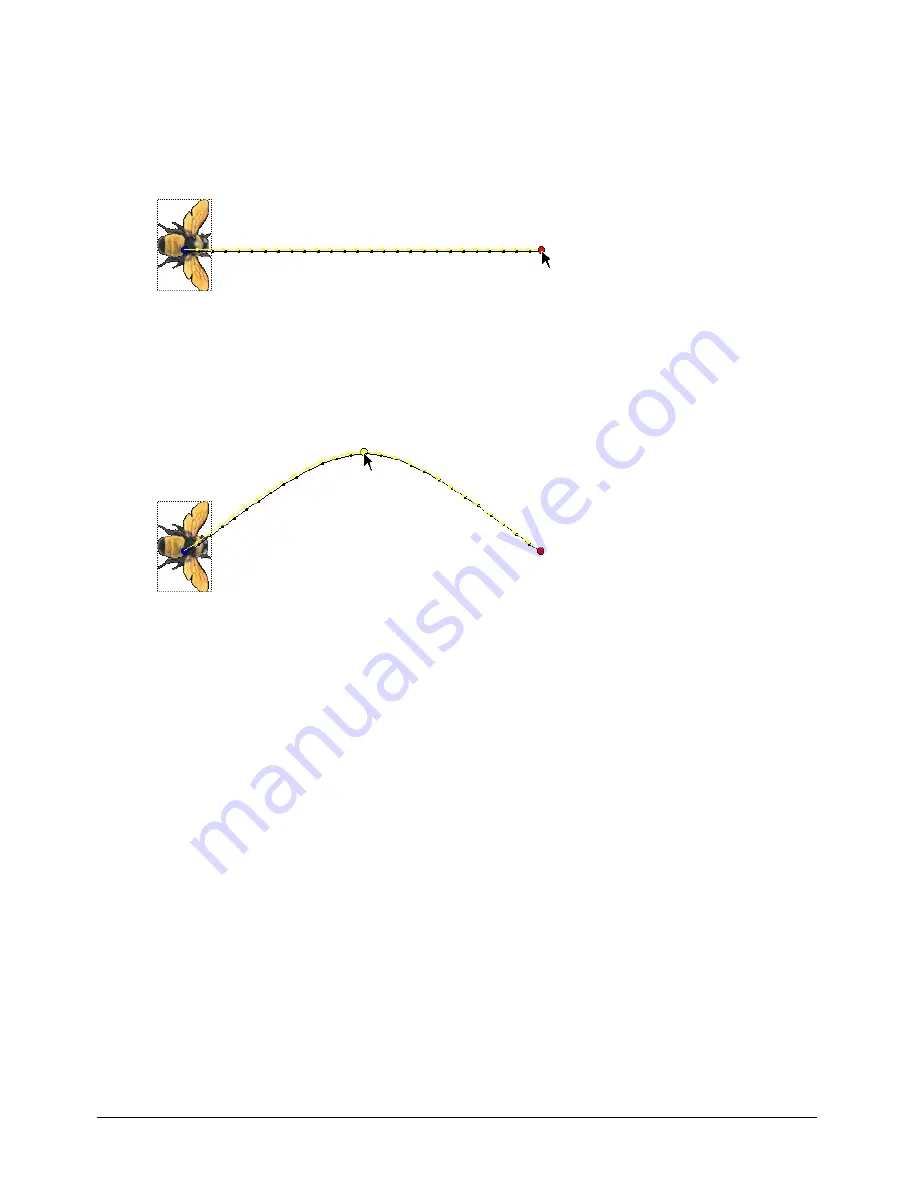
Drag the red handle within the sprite to the place on the Stage where you want the sprite’s
path to end.
The red handle represents the sprite’s location in the end frame. For bitmaps, the red handle is
usually in the center of the image. For vector shapes and other media types, the handle is often
in the upper left corner.
5
Director displays the path the sprite will follow. The tick marks along the path show the sprite
location in each frame in between.
6
To make the sprite’s path curve between more points, hold down the Alt key (Windows) or
Option key (Macintosh) and move the pointer on the Stage over a tick mark. When the
pointer changes color, drag the tick mark to a new location.
This creates a new keyframe and records the new location. Repeat this step to create additional
keyframes.
7
To make the property changes defined by a keyframe occur at a different time, drag the
keyframe in the Score to a new frame within the sprite.
8
To change the degree of curvature between keyframes, select Modify > Sprite > Tweening and
adjust the Curvature slider. To make the sprite move in the same direction at the beginning
and end, select Continuous at Endpoints in the Sprite Tweening dialog box. This creates a
circular motion. See “Changing tweening settings” on page 190.
Summary of Contents for DIRECTOR MX-USING DIRECTOR MX
Page 1: ...Using Director MX Macromedia Director MX...
Page 12: ...Contents 12...
Page 156: ...Chapter 4 156...
Page 202: ...Chapter 6 202...
Page 244: ...Chapter 7 244...
Page 292: ...Chapter 10 292...
Page 330: ...Chapter 12 330...
Page 356: ...Chapter 13 356...
Page 372: ...Chapter 14 372...
Page 442: ...Chapter 16 442...
Page 472: ...Chapter 18 472...
Page 520: ...Chapter 19 520...
Page 536: ...Chapter 20 536...
Page 562: ...Chapter 23 562...
Page 566: ...Chapter 24 566...
Page 602: ...Chapter 27 602...


