PN A51387A
B
3-23
Installing and Calibrating an Aperture Tube
The Change Aperture Tube Wizard
3
In the Change Aperture Tube Wizard window, click
(
Next
)
at the top of the window to proceed to
the next step. Click
(
Back
)
to return to the previous step.
Step 1: Select the new aperture tube
When you install a new aperture tube, you will need to enter the aperture tube size and serial
number in the Multisizer 4 software.
To select the aperture tube:
1.
In the Change Aperture Tube Wizard, click
(
Aperture Tube
)
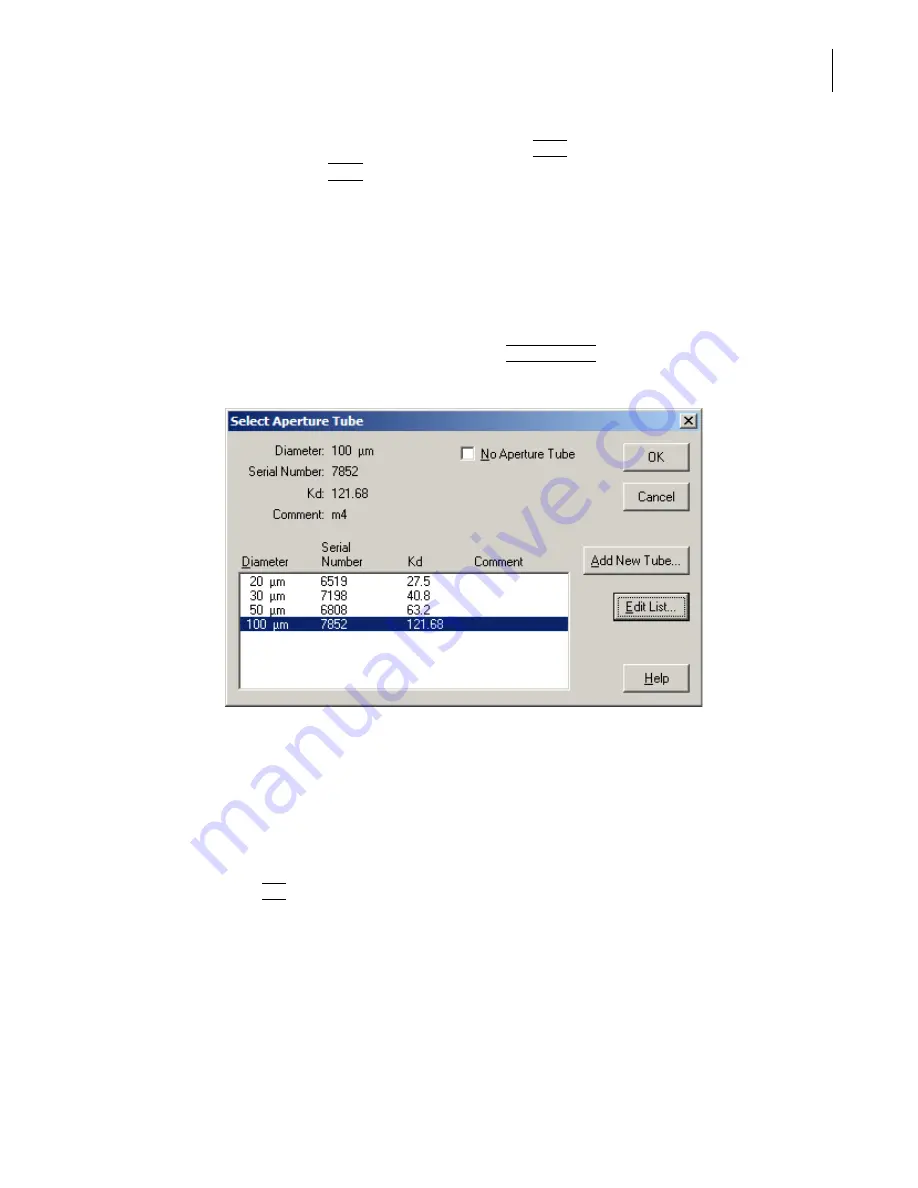
to the right of the Select a new
aperture tube radio button. The Select Aperture Tube window opens.
2.
If the aperture tube (identified by size, serial number, and Kd) has been entered into the
software, click to highlight the correct aperture tube. To ensure that you select the correct
aperture tube serial number and Kd, you can scan the aperture tube bar code. For information
on using the Bar Code Reader, see page
.
If the aperture tube does not appear in the list, you will need to enter the aperture tube size,
serial number, and Kd (after aperture tube calibration). See
Entering and Editing Aperture Tube
3.
Click
(
OK
)
to return to the Wizard. The Wizard automatically highlights the next step, Remove
the currently installed aperture tube (page
Entering and Editing Aperture Tube Information
To enter or update the size, serial number, and Kd of a new aperture tube in the Multisizer 4
software, use the Change Aperture Tube Wizard.
Summary of Contents for Multisizer 4
Page 12: ...xii List of Figures ...
Page 14: ...xiv List of Tables ...
Page 22: ...PN A51387AB xxii Introduction Before You Start Warnings and Cautions ...
Page 42: ...PN A51387AB 1 20 Analyzer Overview Preparing the Analyzer for Sample Runs ...
Page 160: ...PN A51387AB 6 16 Analyzing a Sample Using Blank Runs ...
Page 232: ...PN A51387AB 10 8 Regulatory Compliance Additional Security Features ...


