


If this happens, ensure that the N4916A has been correctly installed (see
the N4916A/B - Procedure” on page 539
).
Check the Power Supply
Ensure that the power cord is connected.
The green LED close to the power switch must be illuminated when the unit is
turned on.
Check the USB Communication
Ensure that the USB cable is connected between the USB port at the rear of the
N4916A and one of the USB ports at the rear of the Serial BERT.
1
Open the
Utility
menu and click
Minimize GUI
to gain access to the Windows
operating system.
2
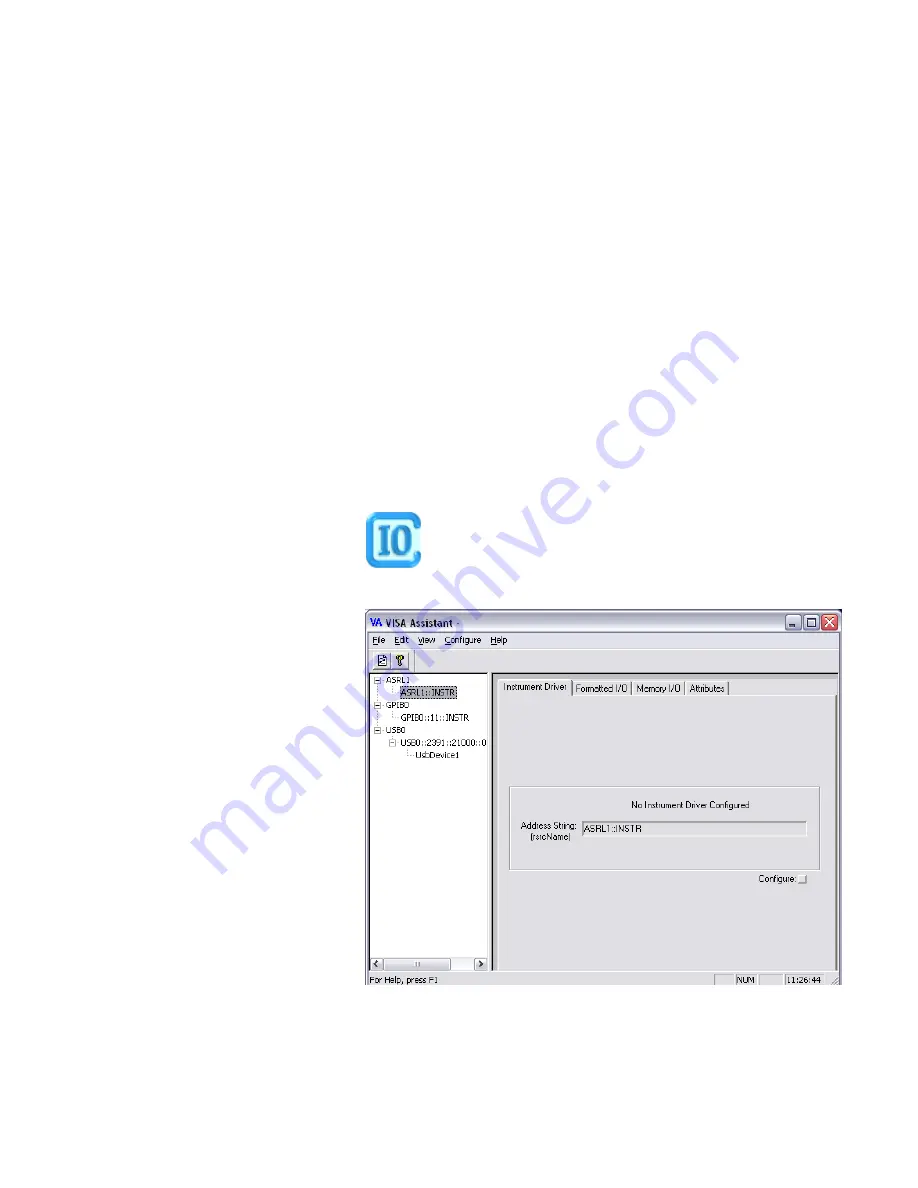
In the Windows task bar, click the Agilent IO Control icon.
3
From the
Agilent IO Control
menu, open the
VISA Assistant
.
4
If no VISA alias name has been assigned so far, the VISA Assistant should
indicate an instrument named "UsbDevice1". If the N4916A has been installed
9
Solving Problems
494
Agilent J-BERT N4903B High-Performance Serial BERT
Summary of Contents for J-BERT N4903B
Page 1: ...S Agilent J BERT N4903B High Performance Serial BERT User Guide s Agilent Technologies ...
Page 10: ...10 Agilent J BERT N4903B High Performance Serial BERT ...
Page 36: ...1 Planning the Test 36 Agilent J BERT N4903B High Performance Serial BERT ...
Page 60: ...2 Setting up External Instrument s 60 Agilent J BERT N4903B High Performance Serial BERT ...
Page 120: ...3 Setting up Patterns 120 Agilent J BERT N4903B High Performance Serial BERT ...
Page 360: ...6 Advanced Analysis 360 Agilent J BERT N4903B High Performance Serial BERT ...
Page 468: ...8 Jitter Tolerance Tests 468 Agilent J BERT N4903B High Performance Serial BERT ...
Page 524: ...9 Solving Problems 524 Agilent J BERT N4903B High Performance Serial BERT ...
Page 566: ...10 Customizing the Instrument 566 Agilent J BERT N4903B High Performance Serial BERT ...