9-3
Section
Creating the Sample Data
379
Creating the [Set] button
(8) Copy the [Menu] button and paste it on the screen.
(9) Move the [Menu] button pasted at the upper left area of the screen to the
[Set] button position.
(10) Double click the moved button and modify the properties as shown below.
Note that other properties must be left unchanged.
Settings
Screen No.
3
Label
Label
, Set
*1
*1:
Press
to set the label.
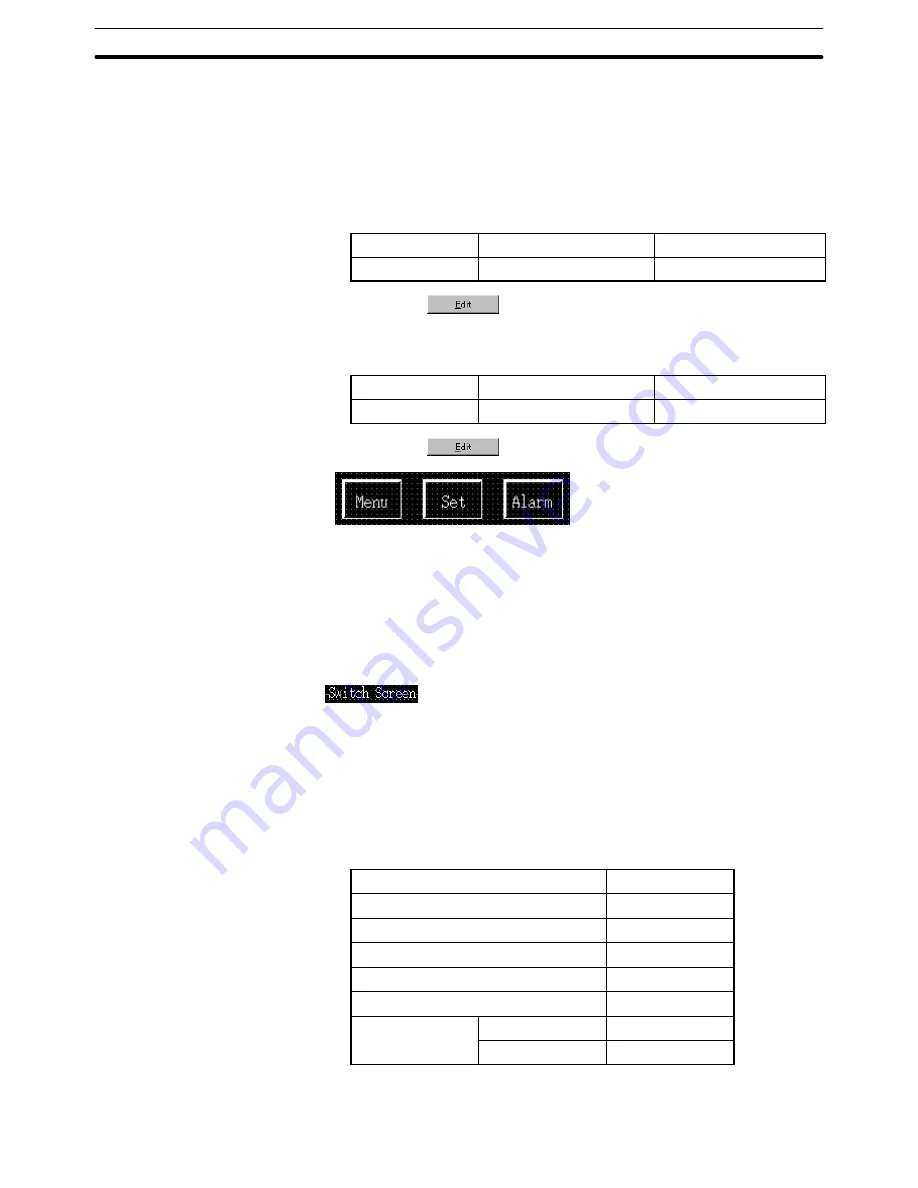
(11) Create the [Alarm] button in the same manner.
Modify [Alarm] button properties as shown below.
Settings
Screen No.
4
Label
Label
, Alarm
*1
*1:
Press
to set the label.
Creating the frame
(12) Select [Objects] (main menu)
→
[Fixed Display]
→
[Rectangle].
(13) Drag the mouse so that the rectangular frame encloses the three buttons.
(14) Use the properties as they are.
(15) Adjust the size and the position of the frame (rectangle).
Setting the [Switch Screen] character string
(16) Select [Objects] (main menu)
→
[Fixed Display]
→
[Text]
(17) Click the mouse with the mouse cursor set at the position where the
[Switch Screen] character string is to be displayed (at the intended upper
left corner).
(18) Set the properties as shown below.
Description
Switch Screen
Position
––
Font Type
Standard
Scale
1
1 (Equal)
Smoothing
Attribute
Standard
Color
Foreground
White
Background
Black
(19) Adjust the position of the “Switch Screen” character string on the data cre-
ation screen by dragging it.


