8-1
Section
Image Editor
332
When more than one image editor window is displayed or when two Support
Tools are opened by [Import Component] from the [File] menu (same PT model
setting), cut, copy and paste operations between these image editor windows
are possible. For details, refer to 3-3-6 Importing Components from Different
Screen Data File (Starting Up the Second Support Tool).
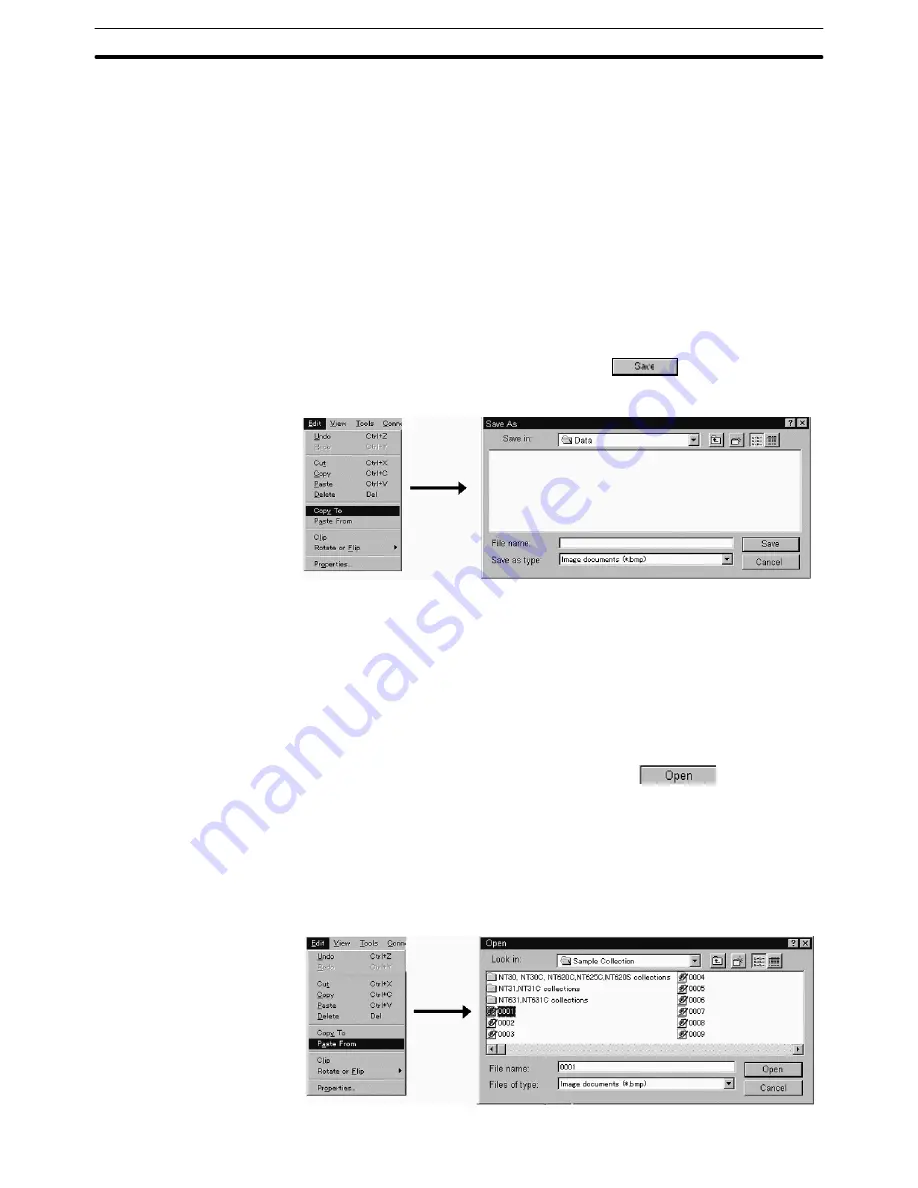
Saving to the bit map file
You can save the created graphic to the file in bit map format.
This operation is valid for the graphics in the range specifying frame.
To save the graphic to the bit map file, follow the procedure below.
(1) Specify the area to be saved in a file with a range specifying frame.
(2) Select [Copy To] from the [Edit] menu.
The dialog box to specify the file name is displayed.
(3) Set the folder and file name and click the
Button.
Graphics in the range specifying frame is saved in a file.
Pasting from the bit map file
You can read out the graphics saved in a bit map file and paste them onto the
image editor.
The graphics can be pasted onto the image editor that is currently activated.
To paste the graphic from the bit map file, follow the procedure below.
(1) Select [Paste From] from the [Edit] menu.
The dialog box to specify the file to be read is displayed.
(2) Specify the folder and file name and click the
Button.
Read out graphic is pasted onto the image editor enclosed with a range
specifying frame.
(3) Select [Clip] from the [Edit] menu.
Image data size is changed to the read out image size.
Instead of the procedure (3), it is also possible to drag the read out image to the
required position.


