9-3
Section
Creating the Sample Data
364
Click on
, (return to touch switch property) then click on
again.
Adjusting the size and position of the touch switch
(5) Adjust the size and position of the frame of [Monitor Screen] button.
(6) Specify the [Monitor Screen] button.
(7) Select [Centralize Label] from [Draw] menu.
The label is centralized.
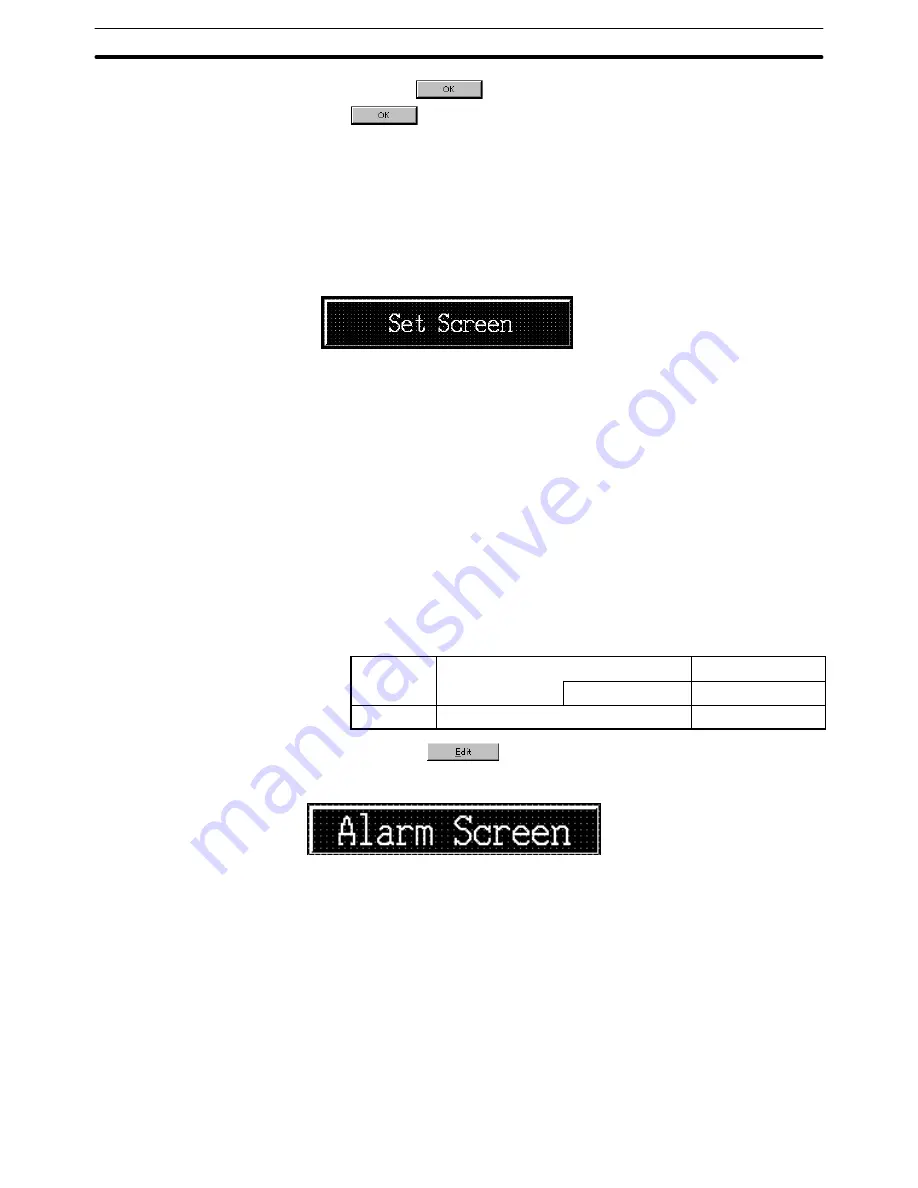
Creating the [Set Screen] button
Copying and pasting the [Monitor Screen] button
(1) Specify the [Monitor Screen] button.
(2) Select [Edit] (menu bar)
→
[Copy]. (Refer to 6-1-5 Copying, Cutting, Past-
ing, and Deleting Elements.)
(3) Select [Edit] (menu bar)
→
[Paste]. (Refer to 6-1-5 Copying, Cutting, Past-
ing, and Deleting Elements.)
(4) Drag the [Monitor Screen] button, displayed at the upper left area in the
data creation screen, to the position where you want to create the [Set
Screen] button.
Modifying to the [Set Screen] button
(5) Double click the moved button and modify the properties as shown below.
Note that other properties must be left unchanged.
Attribute
Label
Description
Set Screen
*1
Settings
Screen No.
3
*1:
Press
to set the label.
Creating the [Alarm Screen] button
Copying and pasting the [Monitor Screen] button
(1) Specify the [Monitor Screen] button.
(2) Select [Edit] (menu bar)
→
[Copy].
(3) Select [Edit] (menu bar)
→
[Paste].
(4) Drag the [Monitor Screen] button, displayed at the upper left area in the
data creation screen, to the position where you want to create the [Alarm
Screen] button.
Modifying to the [Alarm Screen] button
(5) Double click the moved button and modify the properties as shown below.
Note that other properties must be left unchanged.


