15 Tools
448
•
The registered details can be confirmed by printing the Billing Data List. For information on how to
print, refer to "Billing Data List" (P.281).
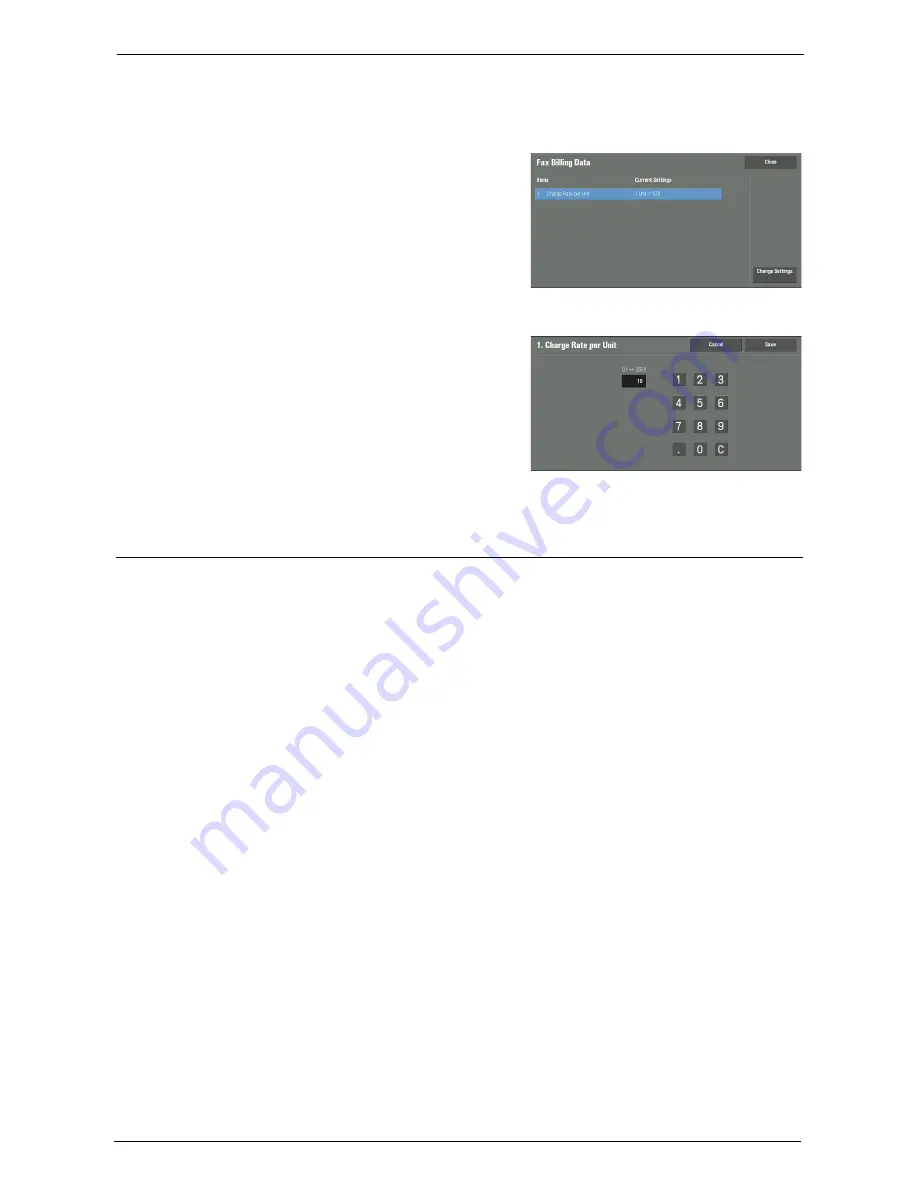
1
Select [Fax Billing Data].
2
Select [Charge Rate per Unit].
Charge Rate per Unit
This is a communication charge per unit. You
can set a value from 0.1 to 255.9 seconds in 0.1
second increments.
3
Select [Change Settings].
4
Enter an amount with the keyboard displayed
on the screen or the numeric keypad.
5
Select [Save].
Accounting/Billing Device Settings
You can configure the accounting or billing device settings.
Note
•
When an accounting or a billing device is connected to the machine, be sure to set a password and
that users other than the system administrator do not disconnect the device by mistake.
•
Optional components or related products are required to use the features. For more information,
contact Customer Support at dell.com/contactdell.
Connect with Account/Billing Device
Allows you to select whether or not to use the connected accounting or billing device from
[None] or [Connected].
Note
•
While a device for maintenance is connected, you cannot change the setting.
Accounting/Billing Device
Select the type of the accounting/billing device connected to the machine.
Note
•
If a device connected does not match the device selected in [Accounting/Billing Device], an error
occurs. Jobs related to the accounting/billing device cannot be performed until the error is resolved.
For information on how to resolve the error, refer to "Status Code" (P.609).
Track Print Jobs
The feature is effective for the Print service.
Select whether or not to track billing information for the print jobs. Select from [No
Tracking] and [Track with Accounting/Billing Device].
This feature is available for all accounting/billing devices.
Содержание C7765DN
Страница 1: ...Dell C7765dn Color Multifunction Printer User s Guide Regulatory Model C7765dn ...
Страница 32: ...1 Before Using the Machine 32 ...
Страница 144: ...3 Copy 144 ...
Страница 155: ...Operations during Faxing 155 3 Set Resolution Original Size and the density 4 Select Save 5 Press the Start button ...
Страница 156: ...4 Fax 156 ...
Страница 168: ...5 Scan 168 ...
Страница 272: ...13 Maintenance 272 ...
Страница 294: ...14 Machine Status 294 ...
Страница 468: ...16 Dell Printer Configuration Web Tool Settings 468 ...
Страница 510: ...19 Scanner Environment Settings 510 ...
Страница 559: ...Configuration for Authentication 559 10 Select Close repeatedly until the Tools screen is displayed 11 Select Close ...
Страница 564: ...22 Authentication and Accounting Features 564 ...
Страница 764: ...28 Using Shortcut Menu 764 ...
Страница 796: ...29 Using Access Google Drive 796 2 Check the content status 3 Select Close ...
Страница 802: ...29 Using Access Google Drive 802 ...
Страница 816: ...30 Google Cloud Print 816 ...
Страница 829: ...www dell com dell com support KB3206EN0 5 ...


