15 Tools
438
5
To print a document also at the relay station, under select [On] for [Print at Relay Station].
6
Select [Save].
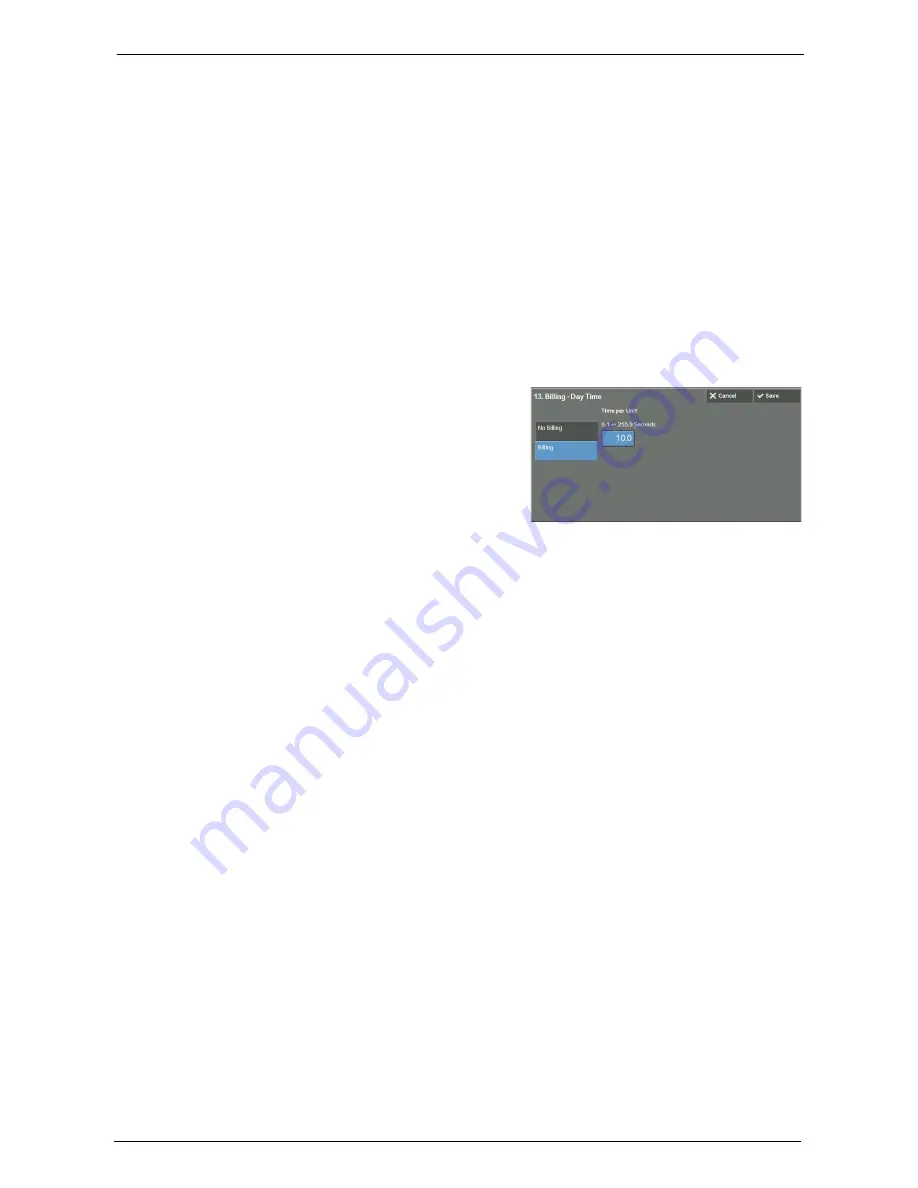
Billing - Day Time, Billing - Night Time, Billing - Midnight
Set the connection time for one unit charge in each of the time bands (daytime/night/
midnight).
You can set a value from 0.1 to 255.9 seconds in 0.1 second increments.
This item is displayed when [Accounting] > [Accounting Type] is set to [Local Accounting] and
[Fax/Internet Fax Service] is set to [Enable Accounting] under [Accounting Mode]. For information
on how to enable the feature, refer to "Accounting Mode" (P.446).
The information registered can be confirmed by printing a Billing Data List. For information about
how to print, refer to "Billing Data List" (P.281).
1
Select one of [Billing - Day Time], [Billing - Night Time], and [Billing - Midnight].
2
Select [Billing].
3
Enter the time for one unit charge from 0.1 to
255.9 seconds in 0.1 second increments with
the numeric keypad.
4
Select [Save].
Internet Fax Profile
Set the format of the Internet fax profile.
A profile is specified to restrict attribute information such as image resolution and paper size
for transmissions between Internet Fax-enabled machines.
TIFF-S
The Internet fax standard profile. For documents larger than A4, the size is automatically
reduced to A4 when transmission.
TIFF-F
Select this profile when you specify [Superfine] for [Resolution] or when you send A3 or B4
documents.
TIFF-J
Select this profile for sending documents in JBIG.
When the [Delete Entry] Button is Selected
Selecting this button deletes all the information registered for the address selected. To delete
all information registered, select [Delete].
Note
•
Deleted information cannot be restored.
Содержание C7765DN
Страница 1: ...Dell C7765dn Color Multifunction Printer User s Guide Regulatory Model C7765dn ...
Страница 32: ...1 Before Using the Machine 32 ...
Страница 144: ...3 Copy 144 ...
Страница 155: ...Operations during Faxing 155 3 Set Resolution Original Size and the density 4 Select Save 5 Press the Start button ...
Страница 156: ...4 Fax 156 ...
Страница 168: ...5 Scan 168 ...
Страница 272: ...13 Maintenance 272 ...
Страница 294: ...14 Machine Status 294 ...
Страница 468: ...16 Dell Printer Configuration Web Tool Settings 468 ...
Страница 510: ...19 Scanner Environment Settings 510 ...
Страница 559: ...Configuration for Authentication 559 10 Select Close repeatedly until the Tools screen is displayed 11 Select Close ...
Страница 564: ...22 Authentication and Accounting Features 564 ...
Страница 764: ...28 Using Shortcut Menu 764 ...
Страница 796: ...29 Using Access Google Drive 796 2 Check the content status 3 Select Close ...
Страница 802: ...29 Using Access Google Drive 802 ...
Страница 816: ...30 Google Cloud Print 816 ...
Страница 829: ...www dell com dell com support KB3206EN0 5 ...


