Inserting USB Memory Device
193
Inserting USB Memory Device
1
Insert the USB memory device into the USB memory slot on the control panel.
2
One of the following occurs.
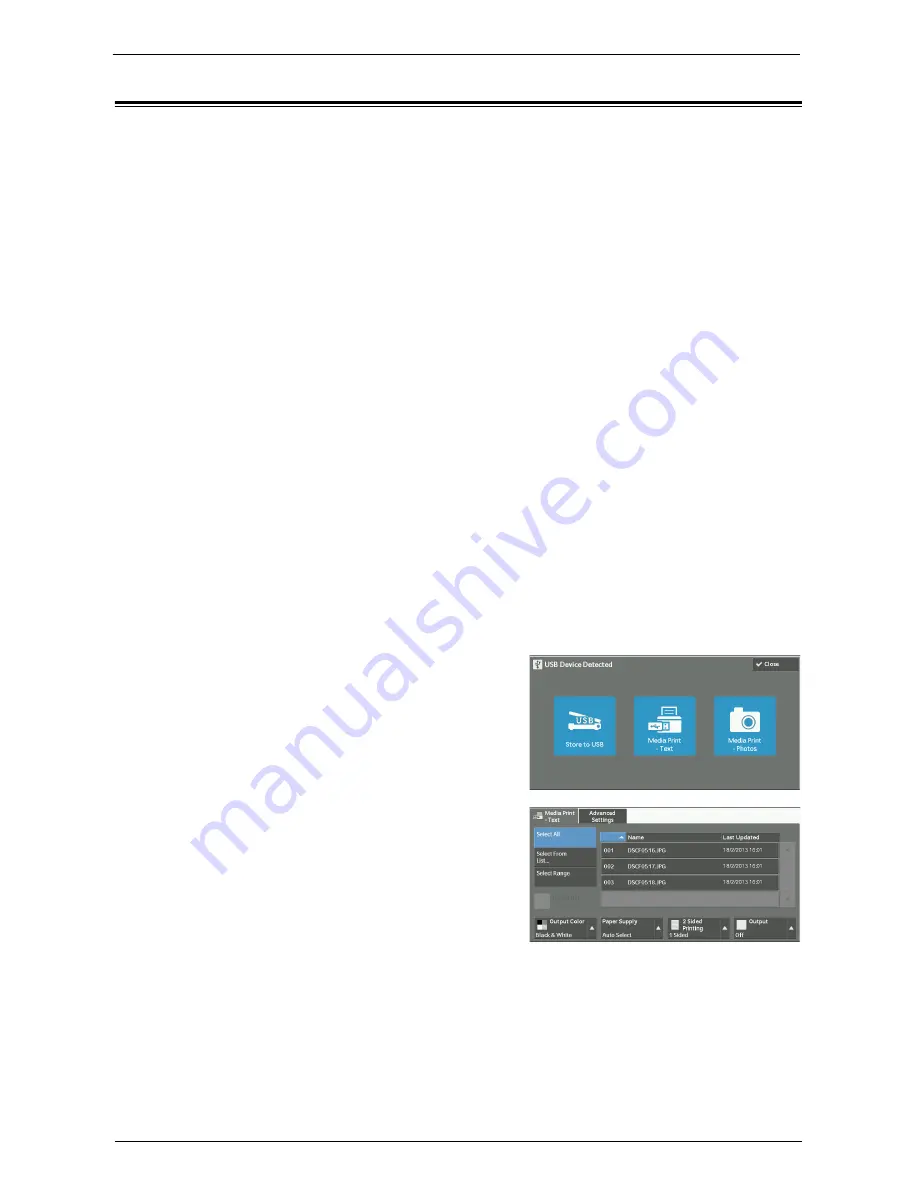
• The [USB Device Detected] screen appears.
• The [Store to USB] screen appears.
• The [Media Print - Text] screen appears.
• The [Media Print - Photos] screen appears.
• The screen display does not change.
Note
•
The behavior depends on the settings. Ask your system administrator for more information.
•
When a USB memory device is inserted into the USB memory slot in the Power Saver mode, the touch
screen does not light. After exiting the Power Saver mode by pressing the <Power Saver> button,
insert the USB memory device again or select [Store to USB] on the [Home] screen. For information on
other ways to exit the Power Saver mode, refer to "Exiting the Power Saver Mode" (P.47).
•
The screen status will be one of the above even when a USB memory device in which only encrypted
data is stored is inserted or USB memory device in unsupported format is inserted. In such case, a
warning message appears during operation and the operation is aborted.
•
The screen status will be one of the above when a commercially available Memory Card Reader is
inserted into the USB memory slot of the machine. It is the same if no media is inserted into the
Memory Card Reader.
•
If a commercially available Memory Card Reader is used and is left inserted all the time, the machine
does not detect media even when they are inserted into the slot of the Memory Card Reader.
•
The screen display remains the same when the inserted USB memory device or Memory Card is
removed. Press the <Home> button or do anything else to change the screen display before starting
next operation.
When the [USB Device Detected] Screen Appears
1
Select [Media Print - Text] or [Media Print -
Photos].
2
The [Media Print - Text] screen or the [Media
Print - Photos] screen appears.
Содержание C7765DN
Страница 1: ...Dell C7765dn Color Multifunction Printer User s Guide Regulatory Model C7765dn ...
Страница 32: ...1 Before Using the Machine 32 ...
Страница 144: ...3 Copy 144 ...
Страница 155: ...Operations during Faxing 155 3 Set Resolution Original Size and the density 4 Select Save 5 Press the Start button ...
Страница 156: ...4 Fax 156 ...
Страница 168: ...5 Scan 168 ...
Страница 272: ...13 Maintenance 272 ...
Страница 294: ...14 Machine Status 294 ...
Страница 468: ...16 Dell Printer Configuration Web Tool Settings 468 ...
Страница 510: ...19 Scanner Environment Settings 510 ...
Страница 559: ...Configuration for Authentication 559 10 Select Close repeatedly until the Tools screen is displayed 11 Select Close ...
Страница 564: ...22 Authentication and Accounting Features 564 ...
Страница 764: ...28 Using Shortcut Menu 764 ...
Страница 796: ...29 Using Access Google Drive 796 2 Check the content status 3 Select Close ...
Страница 802: ...29 Using Access Google Drive 802 ...
Страница 816: ...30 Google Cloud Print 816 ...
Страница 829: ...www dell com dell com support KB3206EN0 5 ...


