Job Assembly
137
Change Quantity
Displays the [Change Quantity] screen on which you can change the number of copy sets
using the numeric keypad.
Change Settings
Displays the [Copy] screen on which you can change the settings for the next document.
After changing the settings, press the <Start> button on the control panel to start scanning
of the document. To return to the previous screen, press the < # > button.
When using a stored program for Build Job
While the machine makes copies using the Build Job feature, you can use a stored program.
1) Select [Change Settings].
2) Select the [Job Assembly] tab.
3) Select [Stored Programming].
4) Select the number of the stored program that contains the features you want to use.
For information on how to register a stored program, refer to "Registering Stored Programs for Build
Job" (P.180).
Delete
Clears the document data stored by the Build Job feature, and cancels the job.
Note
•
You can also press the <C (Clear)> or <Clear All> button on the control panel to perform the same
operation.
•
While the machine is scanning the loaded document, [Delete] is displayed. Select [Delete] to pause
scanning. Select [Start] on the touch screen, or press the <Start> button on the control panel to
resume scanning.
Last Original
Select this button to end scanning of documents. The build job starts.
Next Original
Select this button when you have another document. This button is always selected when
you use the Build Job feature.
Start
After loading the next document, select this button to scan the next document.
Note
•
You can also press the <Start> button on the control panel to perform the same operation.
Sample Job
When making multiple sets of copies, you can print a sample set to check the finished output
and then print the remaining copy sets. You can select to continue or cancel the job after the
confirmation.
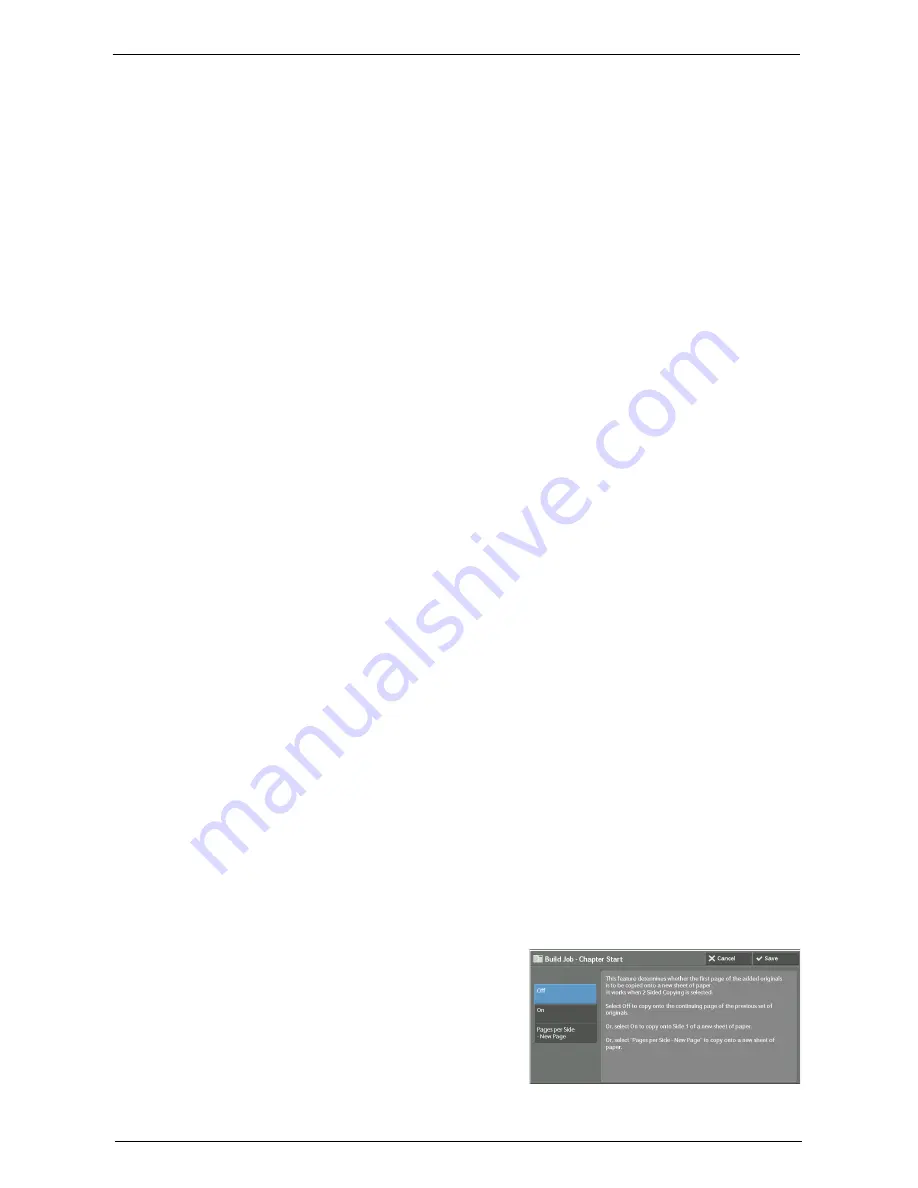
[Build Job - Chapter Start] Screen
This screen allows you to set the chapter start.
1
Select any option.
Содержание C7765DN
Страница 1: ...Dell C7765dn Color Multifunction Printer User s Guide Regulatory Model C7765dn ...
Страница 32: ...1 Before Using the Machine 32 ...
Страница 144: ...3 Copy 144 ...
Страница 155: ...Operations during Faxing 155 3 Set Resolution Original Size and the density 4 Select Save 5 Press the Start button ...
Страница 156: ...4 Fax 156 ...
Страница 168: ...5 Scan 168 ...
Страница 272: ...13 Maintenance 272 ...
Страница 294: ...14 Machine Status 294 ...
Страница 468: ...16 Dell Printer Configuration Web Tool Settings 468 ...
Страница 510: ...19 Scanner Environment Settings 510 ...
Страница 559: ...Configuration for Authentication 559 10 Select Close repeatedly until the Tools screen is displayed 11 Select Close ...
Страница 564: ...22 Authentication and Accounting Features 564 ...
Страница 764: ...28 Using Shortcut Menu 764 ...
Страница 796: ...29 Using Access Google Drive 796 2 Check the content status 3 Select Close ...
Страница 802: ...29 Using Access Google Drive 802 ...
Страница 816: ...30 Google Cloud Print 816 ...
Страница 829: ...www dell com dell com support KB3206EN0 5 ...


