Power Source
41
Power Source
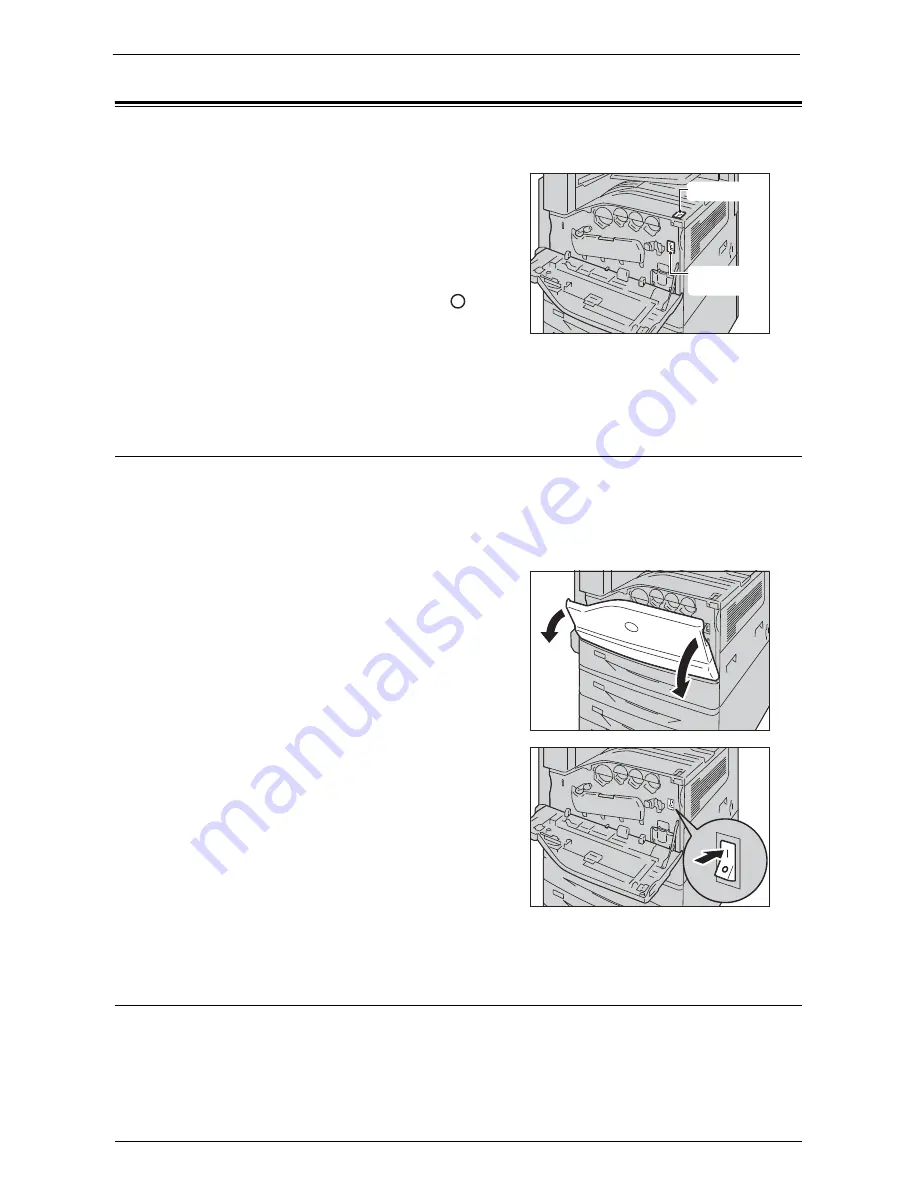
The machine is provided with the power switch and the main power switch.
Power switch
To use the machine, press the power switch to
the [ | ] position to switch its power on. You can
start operations after the machine warms up.
Main power switch
Press the main power switch to the [ ]
position. The <Main Power> indicator goes
out on the right side of the control panel, and
the machine powers off. Do not switch the main
power off except when you connect a cable to the machine or clean the machine. Switching
off the main power may erase the data in the memory when using the Fax service.
Switching the Main Power On
The following describes how to switch the main power on.
Note
•
Do not switch off the main power immediately after switching on the main power. This may damage
the hard disk and the memory or cause a machine malfunction.
1
Make sure that the power cord is plugged in correctly.
2
Open the front cover.
3
Press the main power switch to the [ | ]
position to switch the main power on.
The <Main Power> indicator lights up on the
control panel.
4
Close the front cover.
Switching the Power On
The following describes how to switch the power on.
The machine takes approximately 35 seconds to warm up and to be ready to copy or print
after switching the power on. This may take more time depending on the configuration of
your machine.
Power switch
Main power
switch
Содержание C7765DN
Страница 1: ...Dell C7765dn Color Multifunction Printer User s Guide Regulatory Model C7765dn ...
Страница 32: ...1 Before Using the Machine 32 ...
Страница 144: ...3 Copy 144 ...
Страница 155: ...Operations during Faxing 155 3 Set Resolution Original Size and the density 4 Select Save 5 Press the Start button ...
Страница 156: ...4 Fax 156 ...
Страница 168: ...5 Scan 168 ...
Страница 272: ...13 Maintenance 272 ...
Страница 294: ...14 Machine Status 294 ...
Страница 468: ...16 Dell Printer Configuration Web Tool Settings 468 ...
Страница 510: ...19 Scanner Environment Settings 510 ...
Страница 559: ...Configuration for Authentication 559 10 Select Close repeatedly until the Tools screen is displayed 11 Select Close ...
Страница 564: ...22 Authentication and Accounting Features 564 ...
Страница 764: ...28 Using Shortcut Menu 764 ...
Страница 796: ...29 Using Access Google Drive 796 2 Check the content status 3 Select Close ...
Страница 802: ...29 Using Access Google Drive 802 ...
Страница 816: ...30 Google Cloud Print 816 ...
Страница 829: ...www dell com dell com support KB3206EN0 5 ...


