Settings
The settings for this function are as follows.
When [DISABLE] is selected for [Auto Layout], specify the desired offset value for the
media size to be used.
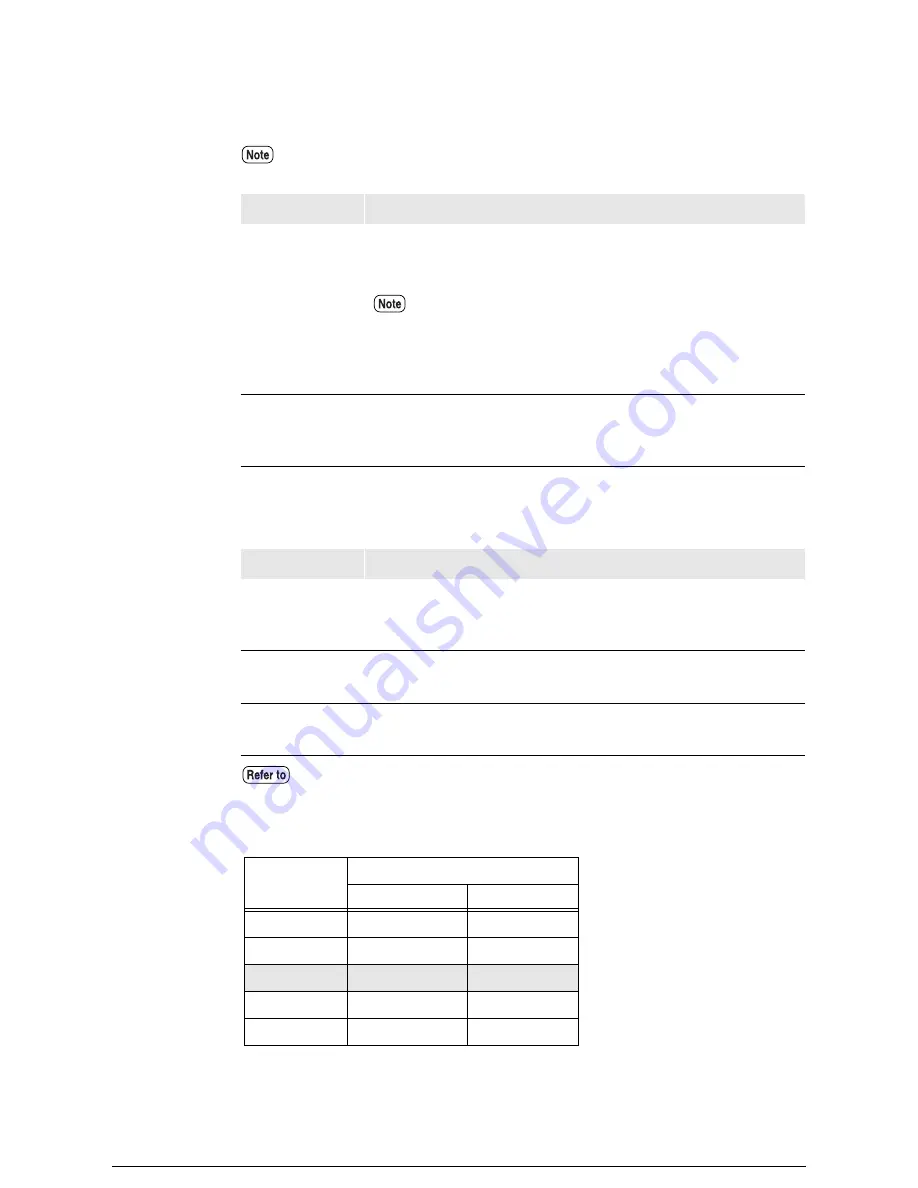
For example, if the following settings have been made, an image with an A2 output size
will be printed with an offset of 20 mm in the X direction and 10 mm in the Y direction.
The plot area cannot be set up for TIFF and CALS data. Only the auto layout function
can be set for them.
Menu Item
Description
Area Mode
Sets the range to be printed at [
ADAPTED
], [
FIXED
], [
IP
], [
IW
],
[
RASTER
], or [
FIRST
]. The default setting is
[ADAPTED]
. See
the next page for more details.
•[IP] and [IW] can be set for HP-GL data only.
•[RASTER] can only be set for HPGL data if the [PS
COMMAND] has been set to [Ignore].
•The PS command takes priority if [Ignore] has not been set.
Auto Layout
Sets up the centering function. The default setting is
[ENABLE]
.
[
ENABLE
] Centers the image.
[DISABLE
] Does not center the image.
Menu Item
Description
Media size
(fixed)
The media size for determining the position of the offset.
The media size displayed will differ in accordance with the
[Output Size] setting in [Media Series].
OFFSET X
Sets the amount of offset to the right and left.
The offset value can be set within a range of –999 to 999 mm.
OFFSET Y
Sets the amount of offset up and down.
The offset value can be set within a range of –999 to 999 mm.
Refer to the section on "Media Series" for further details on paper groups.
Size
OFFSET
X (
–
999 to 999)
Y (
–
999 to 999)
A0
0
mm
0
mm
A1
–10
mm
10
mm
A2
20
mm
10
mm
A3
0
mm
0
mm
A4
0
mm
0
mm
Summary of Contents for Wide Format 6030
Page 1: ...Version 3 0 January 2006 Xerox 6030 6050 Wide Format Copier Printer User Guide 701P45100 ...
Page 28: ......
Page 29: ...ChapterChapter 0 1 Product Overview Chapter 1 ...
Page 31: ......
Page 52: ...3 The scanned original will eject to the document output tray Remove the original ...
Page 60: ...5 Gently but firmly close the media tray ...
Page 65: ...9 Close the media tray ...
Page 74: ......
Page 75: ...Chapter Chapter 0 2 Copy Chapter 2 ...
Page 93: ...ChapterChapter 0 3 Copy Features Chapter 3 ...
Page 98: ......
Page 140: ......
Page 141: ...ChapterChapter 0 4 Stored Jobs Chapter 4 ...
Page 151: ...ChapterChapter 0 5 Custom Presets Meter Check Chapter 5 ...
Page 186: ......
Page 187: ...ChapterChapter 0 6 Scanner Functions Chapter 6 ...
Page 191: ...Chapter Chapter 0 7 Printer Overview Chapter 7 ...
Page 214: ......
Page 215: ...ChapterChapter 0 8 Printer Setup Chapter 8 ...
Page 252: ...An example of the configuration list settings printout is shown below ...
Page 257: ...ChapterChapter 0 9 Logical Printer Setup and Operation Chapter 9 ...
Page 344: ......
Page 345: ...ChapterChapter 0 10 Additional Operations from the Printer Menu Chapter 10 ...
Page 367: ...ChapterChapter 0 11 Ethernet Print Service for UNIX Chapter 11 ...
Page 391: ...ChapterChapter 0 12 Maintenance Chapter 12 ...
Page 396: ......
Page 397: ...ChapterChapter 0 13 Problem Solving Chapter 13 ...
Page 413: ...ChapterChapter 0 14 Specifications Chapter 14 ...
Page 423: ...Appendixes ...
Page 439: ......
Page 440: ......
Page 441: ......
Page 442: ......


