10-48
Troubleshooting > Adjustment/Maintenance
2
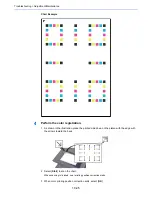
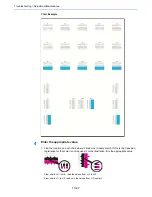
Select the chart to be corrected.
3
Select [+] or [-] to enter the values read from the chart.
Select [+] to increase the value from 0 to 9. To decrease, select [-].
By selecting [-], the value changes from 0 to alphabetic letters, going from A to I. To move in the
reverse direction, select [+].
You cannot use the numeric keys to enter these values.
4
Repeat steps 3 and 4 to enter the registration values for each chart.
5
Select [
Start
] after all values have been entered. Color registration begins.
6
Select [
OK
] after color registration is complete.
Tone Curve Adjustment
After prolonged use, or from the effects of surrounding temperature or humidity, the printed output tone may differ from
the original. Perform this function to ensure consistency with the original tone. Before executing Tone Curve Adjustment,
execute calibration. If calibration does not improve the tones, perform Tone Curve Adjustment.
Calibration (page 10-50)
A total of 3 pattern pages (No. 1 to 3) are printed during adjustment. The printed patterns are read sequentially during
the adjustment.
1
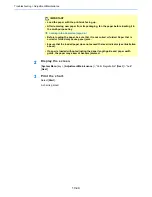
Load paper.
IMPORTANT
• Load the paper with the print side facing up.
• After removing new paper from its packaging, fan the paper before loading it in
the multi-purpose tray.
Loading in the Cassettes (page 3-4)
• Before loading the paper, be sure that it is not curled or folded. Paper that is
curled or folded may cause paper jams.
• Ensure that the loaded paper does not exceed the level indicator (see illustration
above).
• If paper is loaded without adjusting the paper length guide and paper width
guide, the paper may skew or become jammed.
Summary of Contents for TASKalfa 356ci
Page 1: ...OPERATION GUIDE q PRINT q COPY q SCAN q FAX TASKalfa 356ci TASKalfa 406ci ...
Page 463: ...10 22 Troubleshooting Regular Maintenance 4 Install the Punch Waste Box 5 Close the cover ...
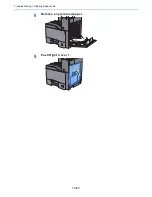
Page 504: ...10 63 Troubleshooting Clearing Paper Jams 8 Remove any jammed paper 9 Push Right Cover 1 ...
Page 564: ......


