5-56
Operation on the Machine > Using Document Boxes
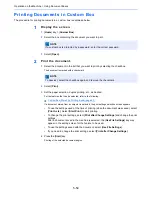
Sending Documents in Custom Box
The procedure for sending documents in a custom box is explained below.
1
Display the screen.
[
Home
] key > [
Custom Box
] > Select the box > [
Open
]
2
Send the document.
1
Select the document you wish to send by checking the checkbox.
The document is marked with a checkmark.
2
Select [
Send
].
3
Set the destination.
For more information on selecting destinations, refer to the following:
4
Set the sending size, original image, etc., as desired.
For the features that can be set, refer to the following:
5
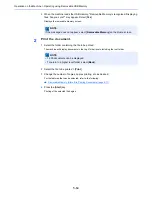
Press the [
Start
] key.
Sending of the selected document begins.
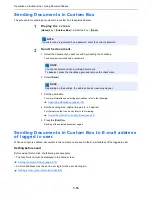
Sending Documents in Custom Box to E-mail address
of logged in user.
When user login is enabled, documents in the custom box are sent to the E-mail address of the logged in user.
Setting before send
Before using this function, the following are necessary.
• The function icon must be displayed in the home screen.
Editing the Home Screen (page 2-13)
• An E-mail address must be set in user login for the user who logs in.
Adding a User (Local User List) (page 9-8)
NOTE
If a custom box is protected by a password, enter the correct password.
NOTE
You cannot select and send multiple documents.
To deselect, press the checkbox again and remove the checkmark.
NOTE
Depending on the settings, the address book screen may appear.
Specifying Destination (page 5-39)
Custom Box (Store File, Printing, Send) (page 6-7)
Summary of Contents for TASKalfa 356ci
Page 1: ...OPERATION GUIDE q PRINT q COPY q SCAN q FAX TASKalfa 356ci TASKalfa 406ci ...
Page 463: ...10 22 Troubleshooting Regular Maintenance 4 Install the Punch Waste Box 5 Close the cover ...
Page 504: ...10 63 Troubleshooting Clearing Paper Jams 8 Remove any jammed paper 9 Push Right Cover 1 ...
Page 564: ......


