10-43
Troubleshooting > Adjustment/Maintenance
Adjustment/Maintenance
Overview of Adjustment/Maintenance
If there is an image problem and the message to run adjustment or maintenance menu appears, run Adjustment/
Maintenance in the system menu.
The table below lists the item you can carry out.
Color Registration Procedure
When first installing the machine or moving it to a new location, color drift during printing may occur. Use this function to
correct the color position of each of cyan, magenta and yellow to resolve color drift.
Auto registration and manual registration are available for Color Registration. Color drift can be largely corrected through
auto registration. However, if it is not resolved or to perform more detailed settings, use the manual registration.
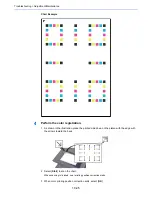
Auto Correction
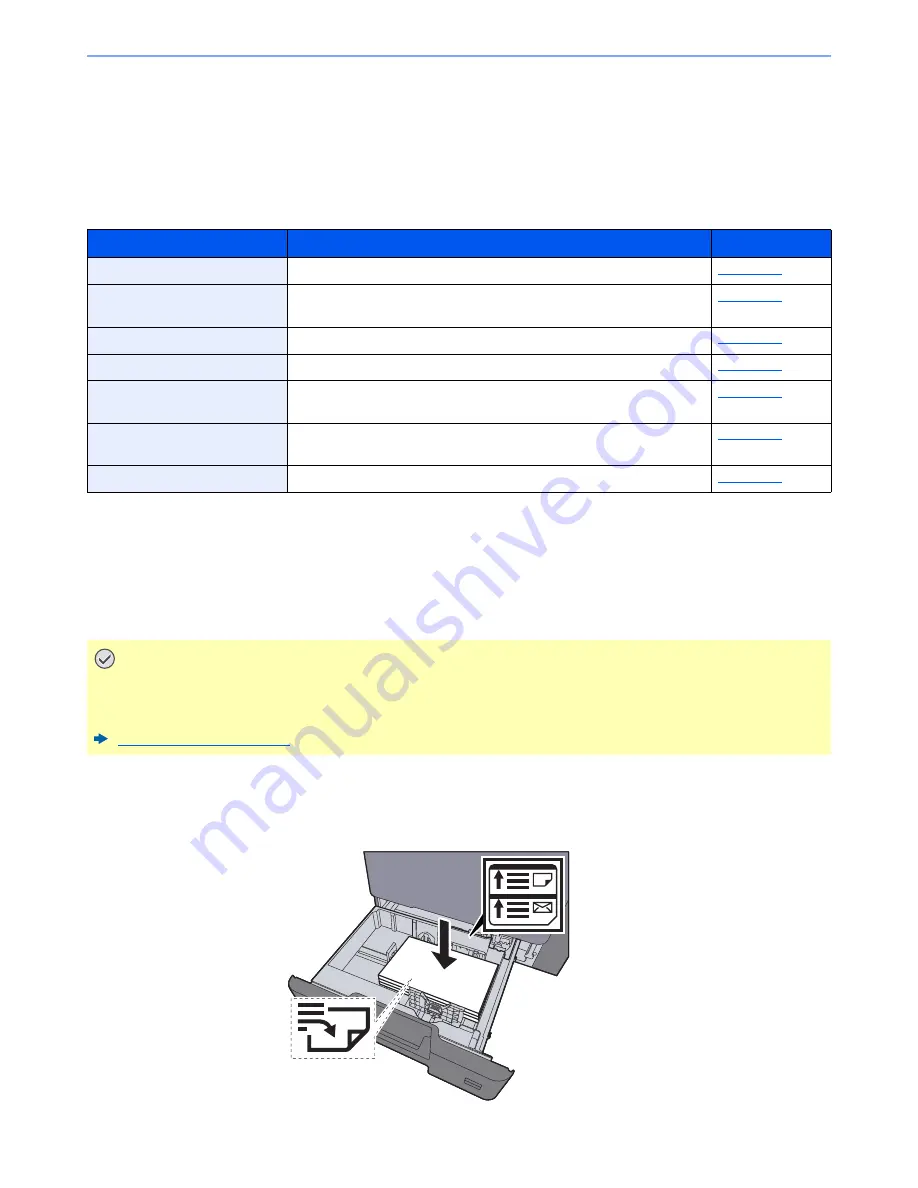
1
Load paper.
Item
Description
Reference Page
Color Registration Procedure
Correct the color position to resolve color drift.
page 10-43
Tone Curve Adjustment
The printed output tone may differ from the original. Perform this function
to ensure consistency with the original tone.
page 10-48
Drum Refresh
Remove image blur and white dots from the printout.
page 10-49
Calibration
Adjust color drift or hue of printed image in the most appropriate color.
page 10-50
Laser Scanner Cleaning
Adjust the printed image that is too light or incomplete, even though there
is enough toner.
page 10-50
Developer Refresh
Adjust the printed image that is too light or incomplete, even though there
is enough toner.
page 10-50
Altitude Adjustment
Adjusts the altitude.
page 10-50
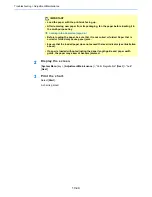
IMPORTANT
Before performing color registration, be sure to perform Calibration. If color drift remains, perform color
registration. By performing color registration without performing Calibration, the color drift will be resolved
once, however, it may cause the serious color drift later.
Calibration on page 10-50
Summary of Contents for TASKalfa 356ci
Page 1: ...OPERATION GUIDE q PRINT q COPY q SCAN q FAX TASKalfa 356ci TASKalfa 406ci ...
Page 463: ...10 22 Troubleshooting Regular Maintenance 4 Install the Punch Waste Box 5 Close the cover ...
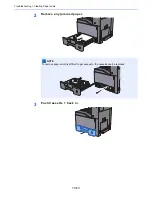
Page 504: ...10 63 Troubleshooting Clearing Paper Jams 8 Remove any jammed paper 9 Push Right Cover 1 ...
Page 564: ......


